Golf Course
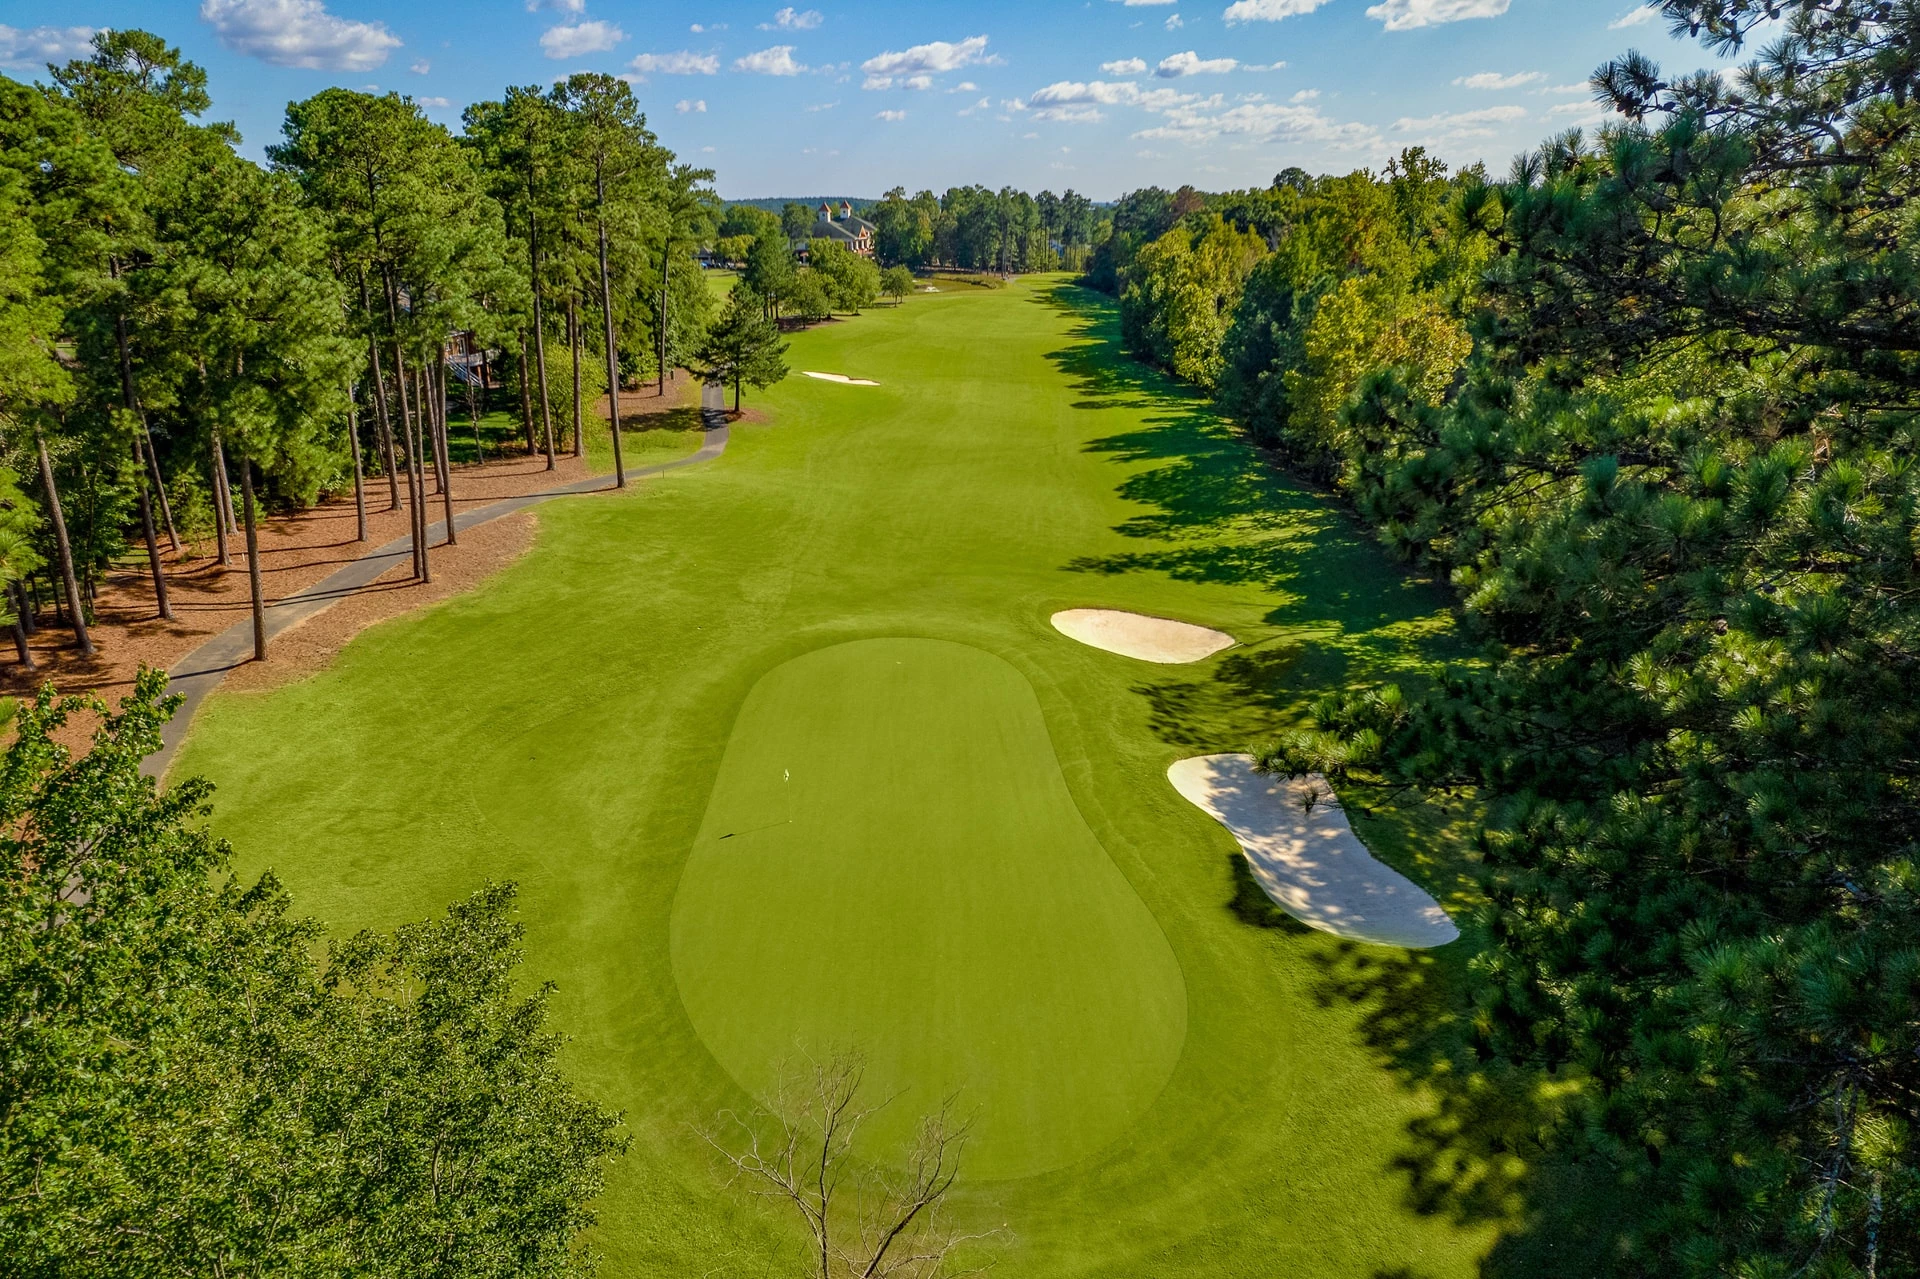
# 1 /
Par: 4
Handicaps:
Men's 13
Women's 13
Yardage by Tee:
GOLD 363
BLUE 339
WHITE 321
RED 294
TEAL 241
Slope:
Gold 137 | Blue 132 | White 124 | Red 121
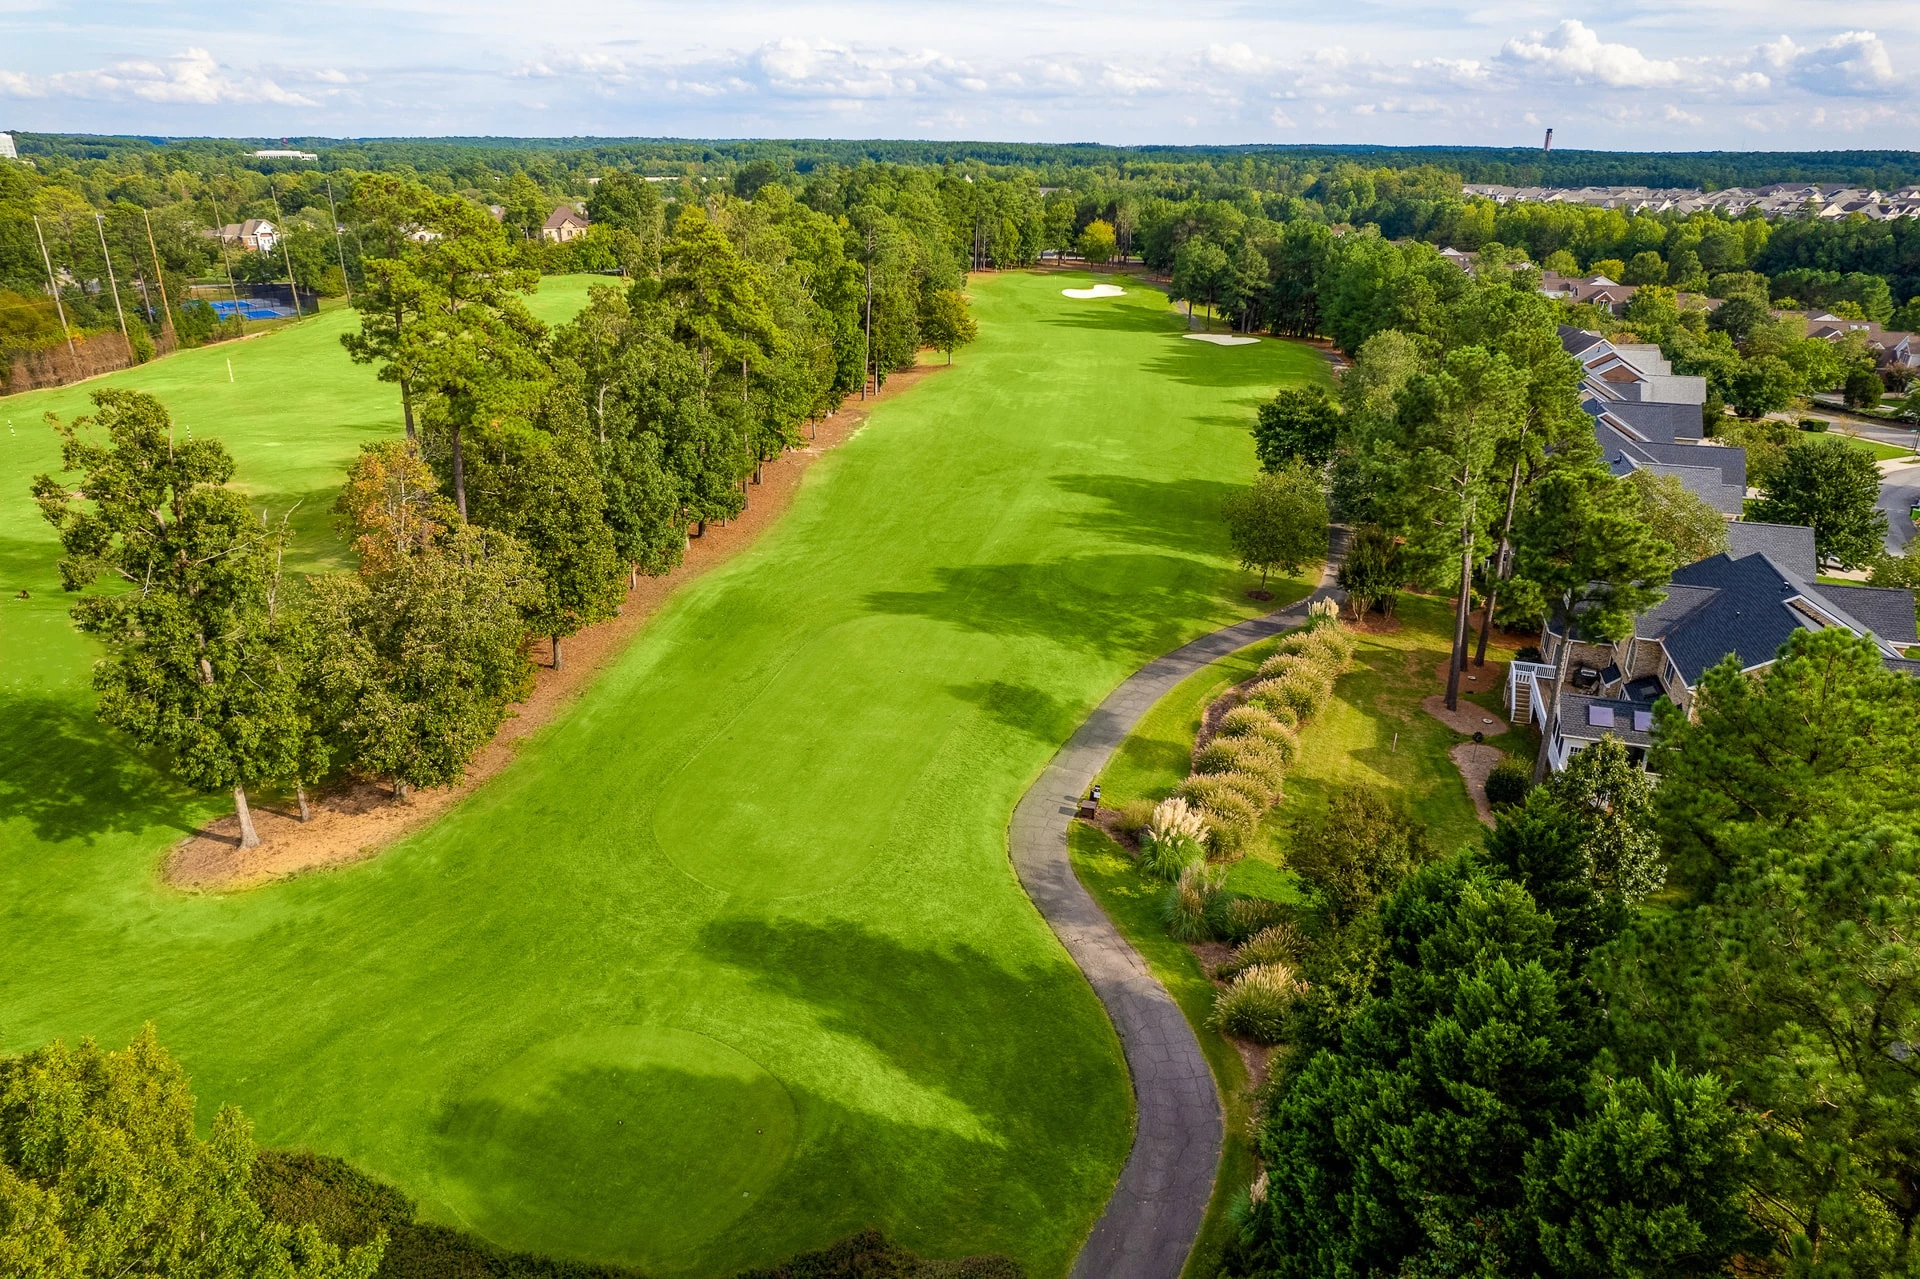
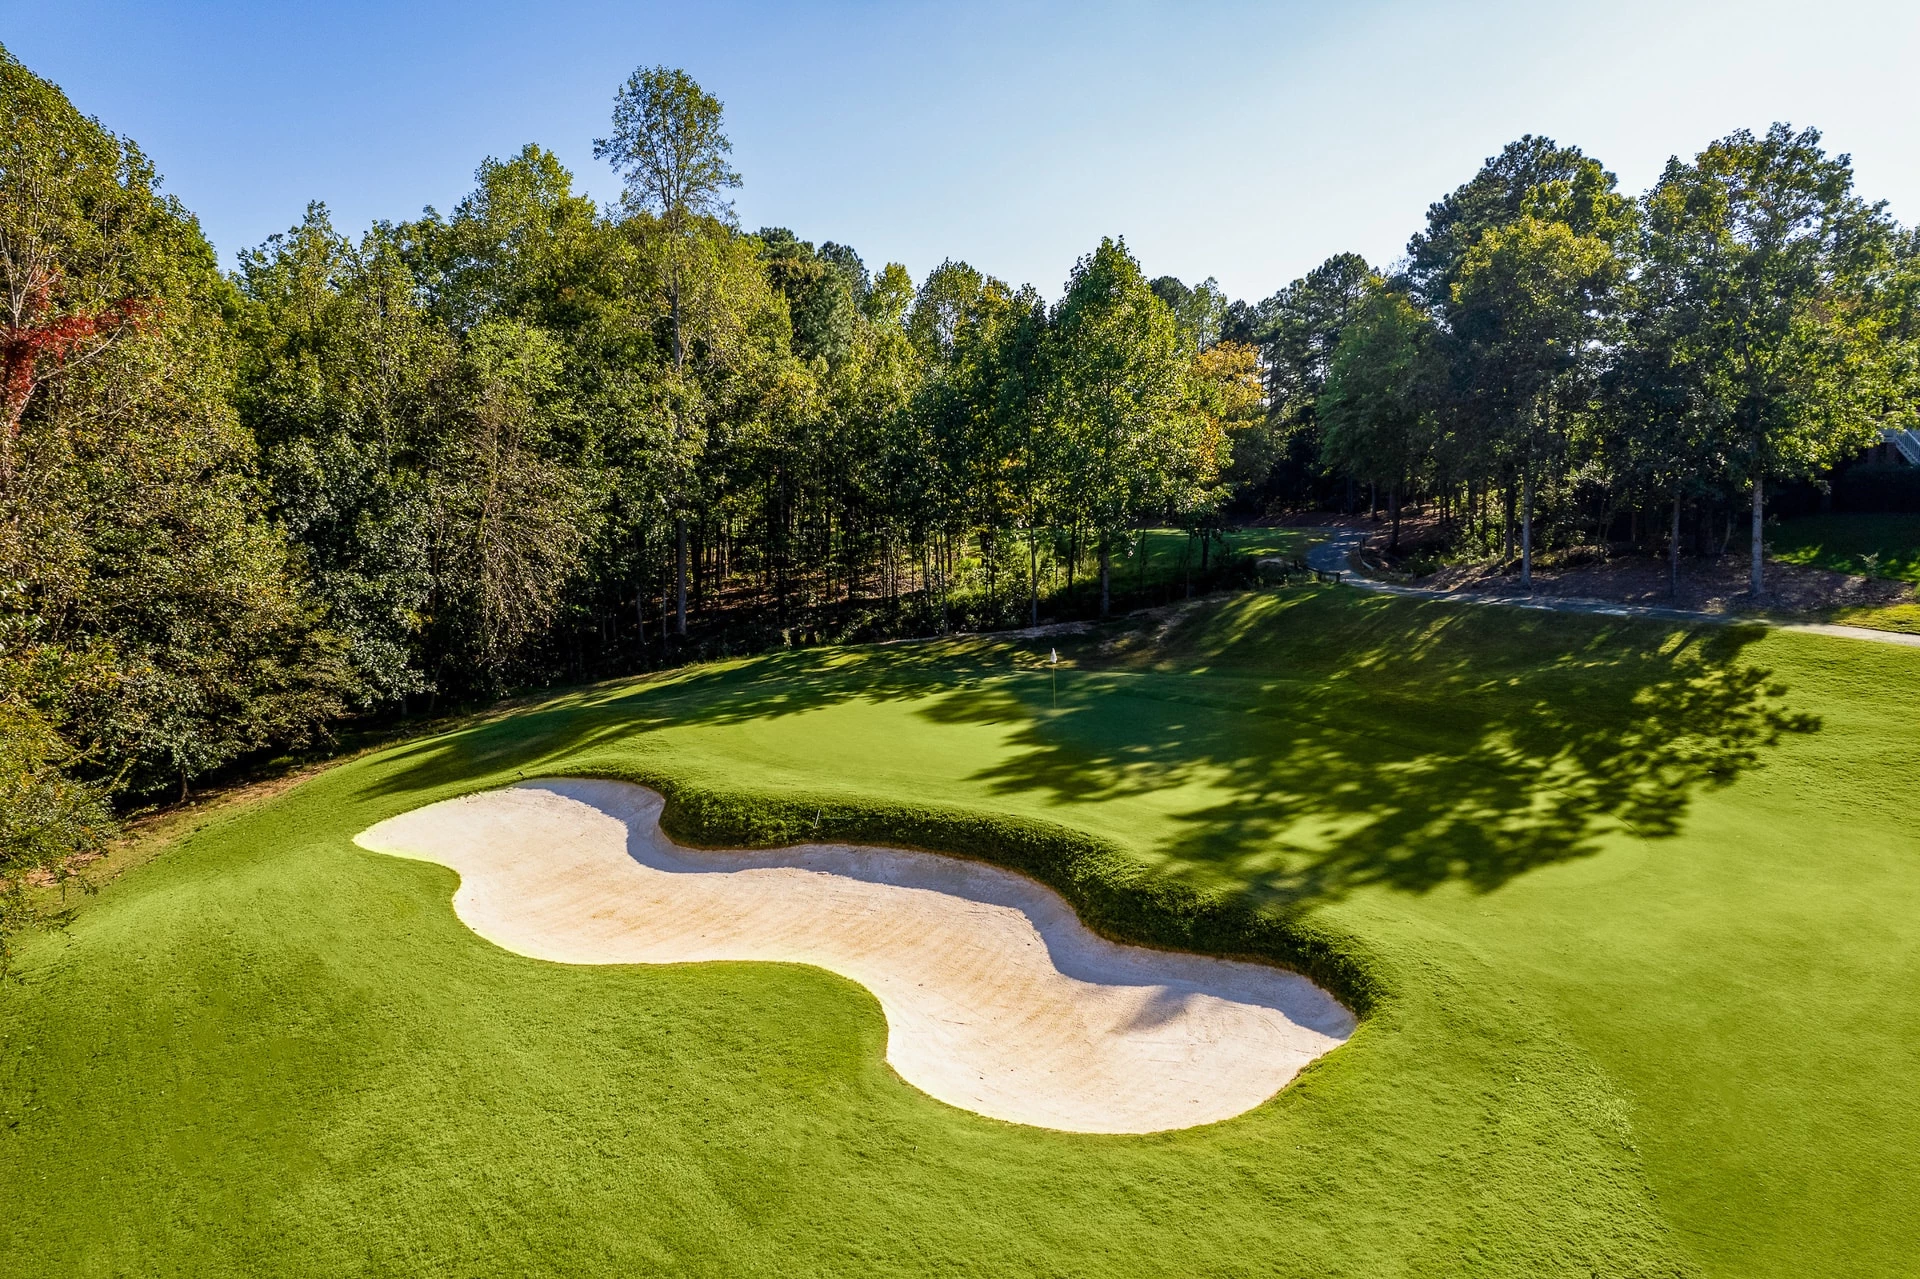
Pro Tips
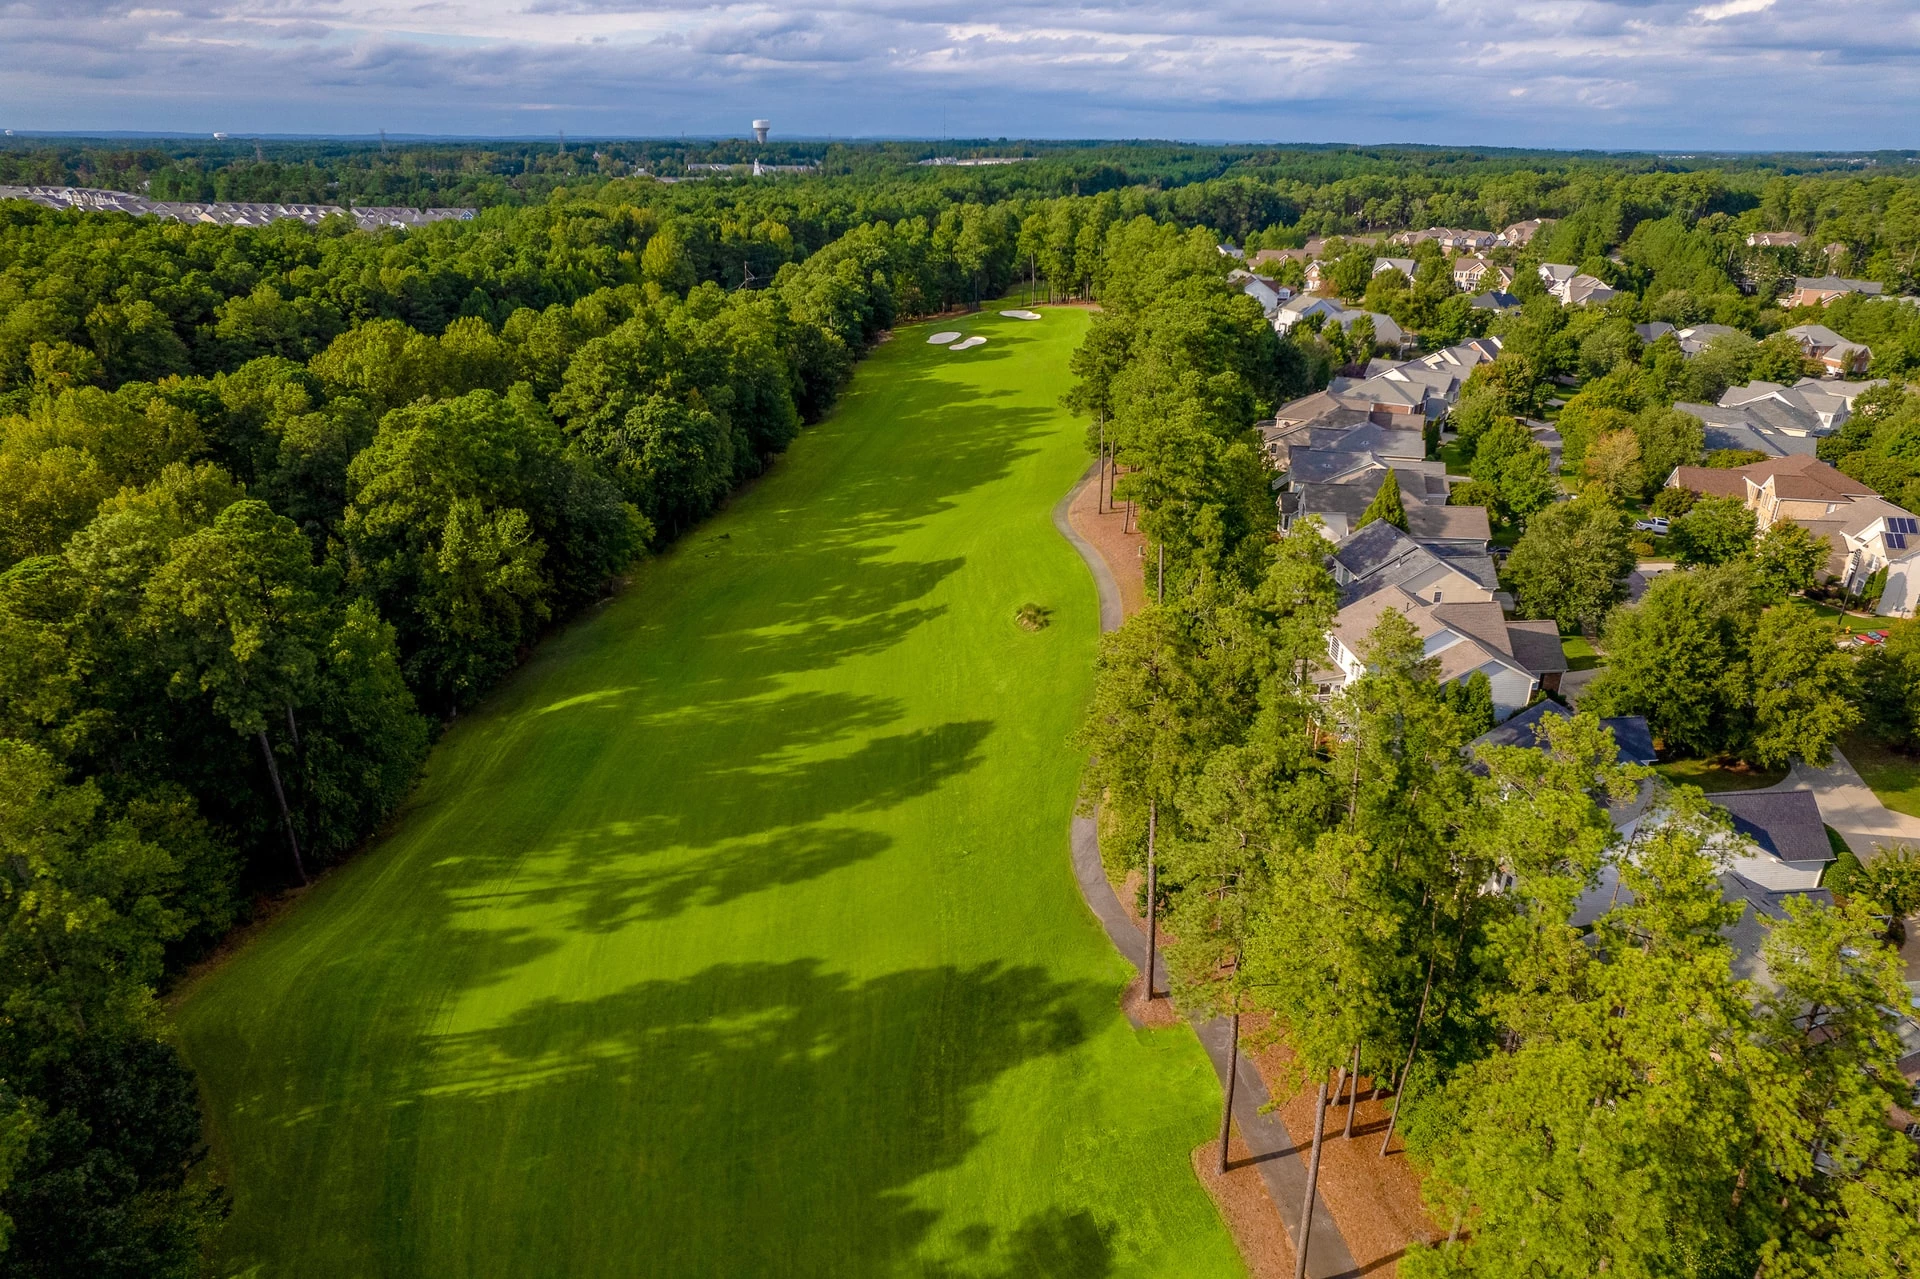
The course opens with a serene par four. A well-placed drive in the left center of the fairway will leave an accessible short iron into this gently undulating green that is tucked neatly behind the front bunker.
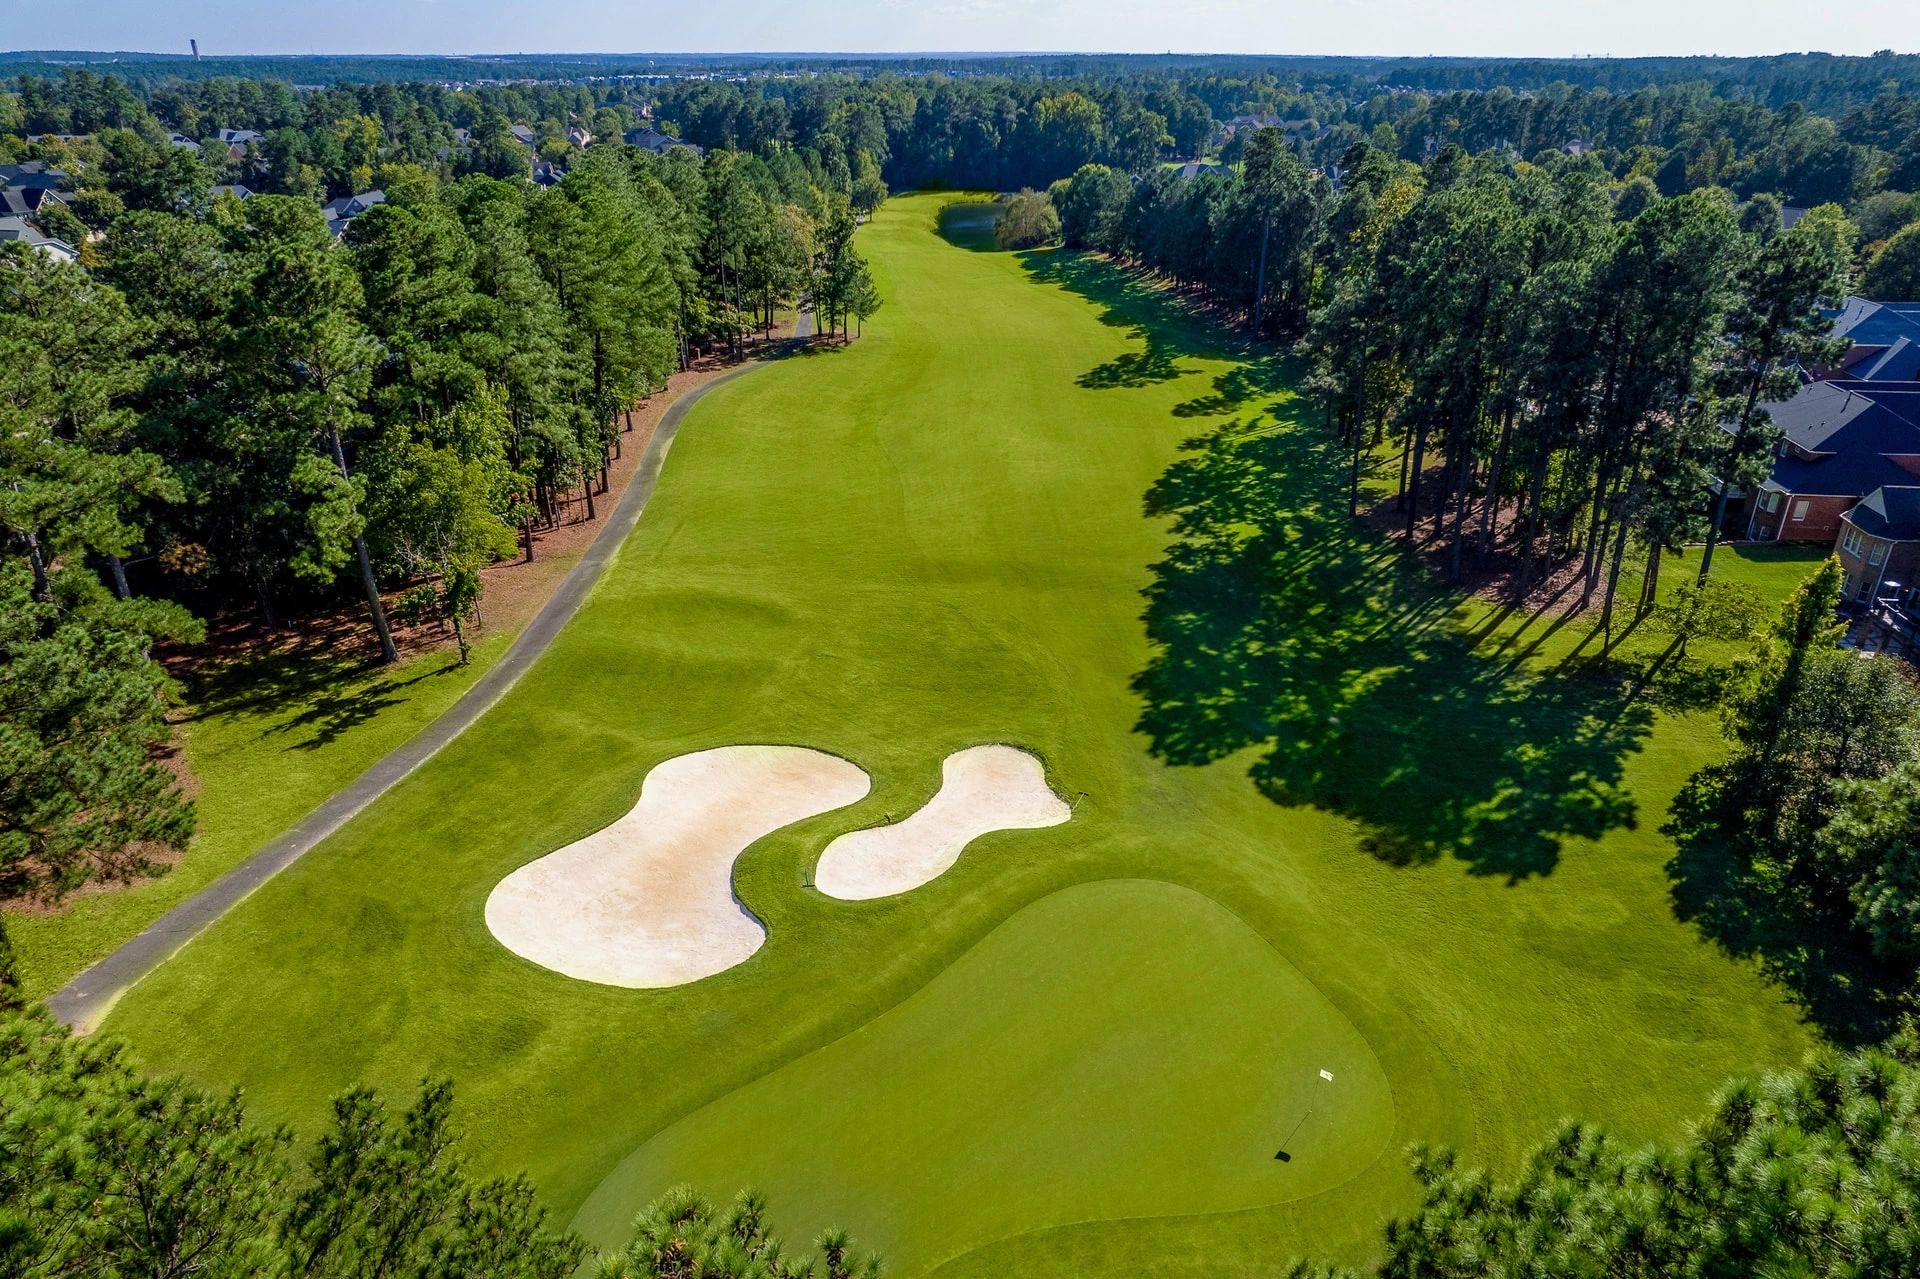
# 2 /
Par: 5
Handicaps:
Men's 7
Women's 9
Yardage by Tee:
GOLD 590
BLUE 521
WHITE 505
RED 452
TEAL 385
Slope:
Gold 137 | Blue 132 | White 124 | Red 121
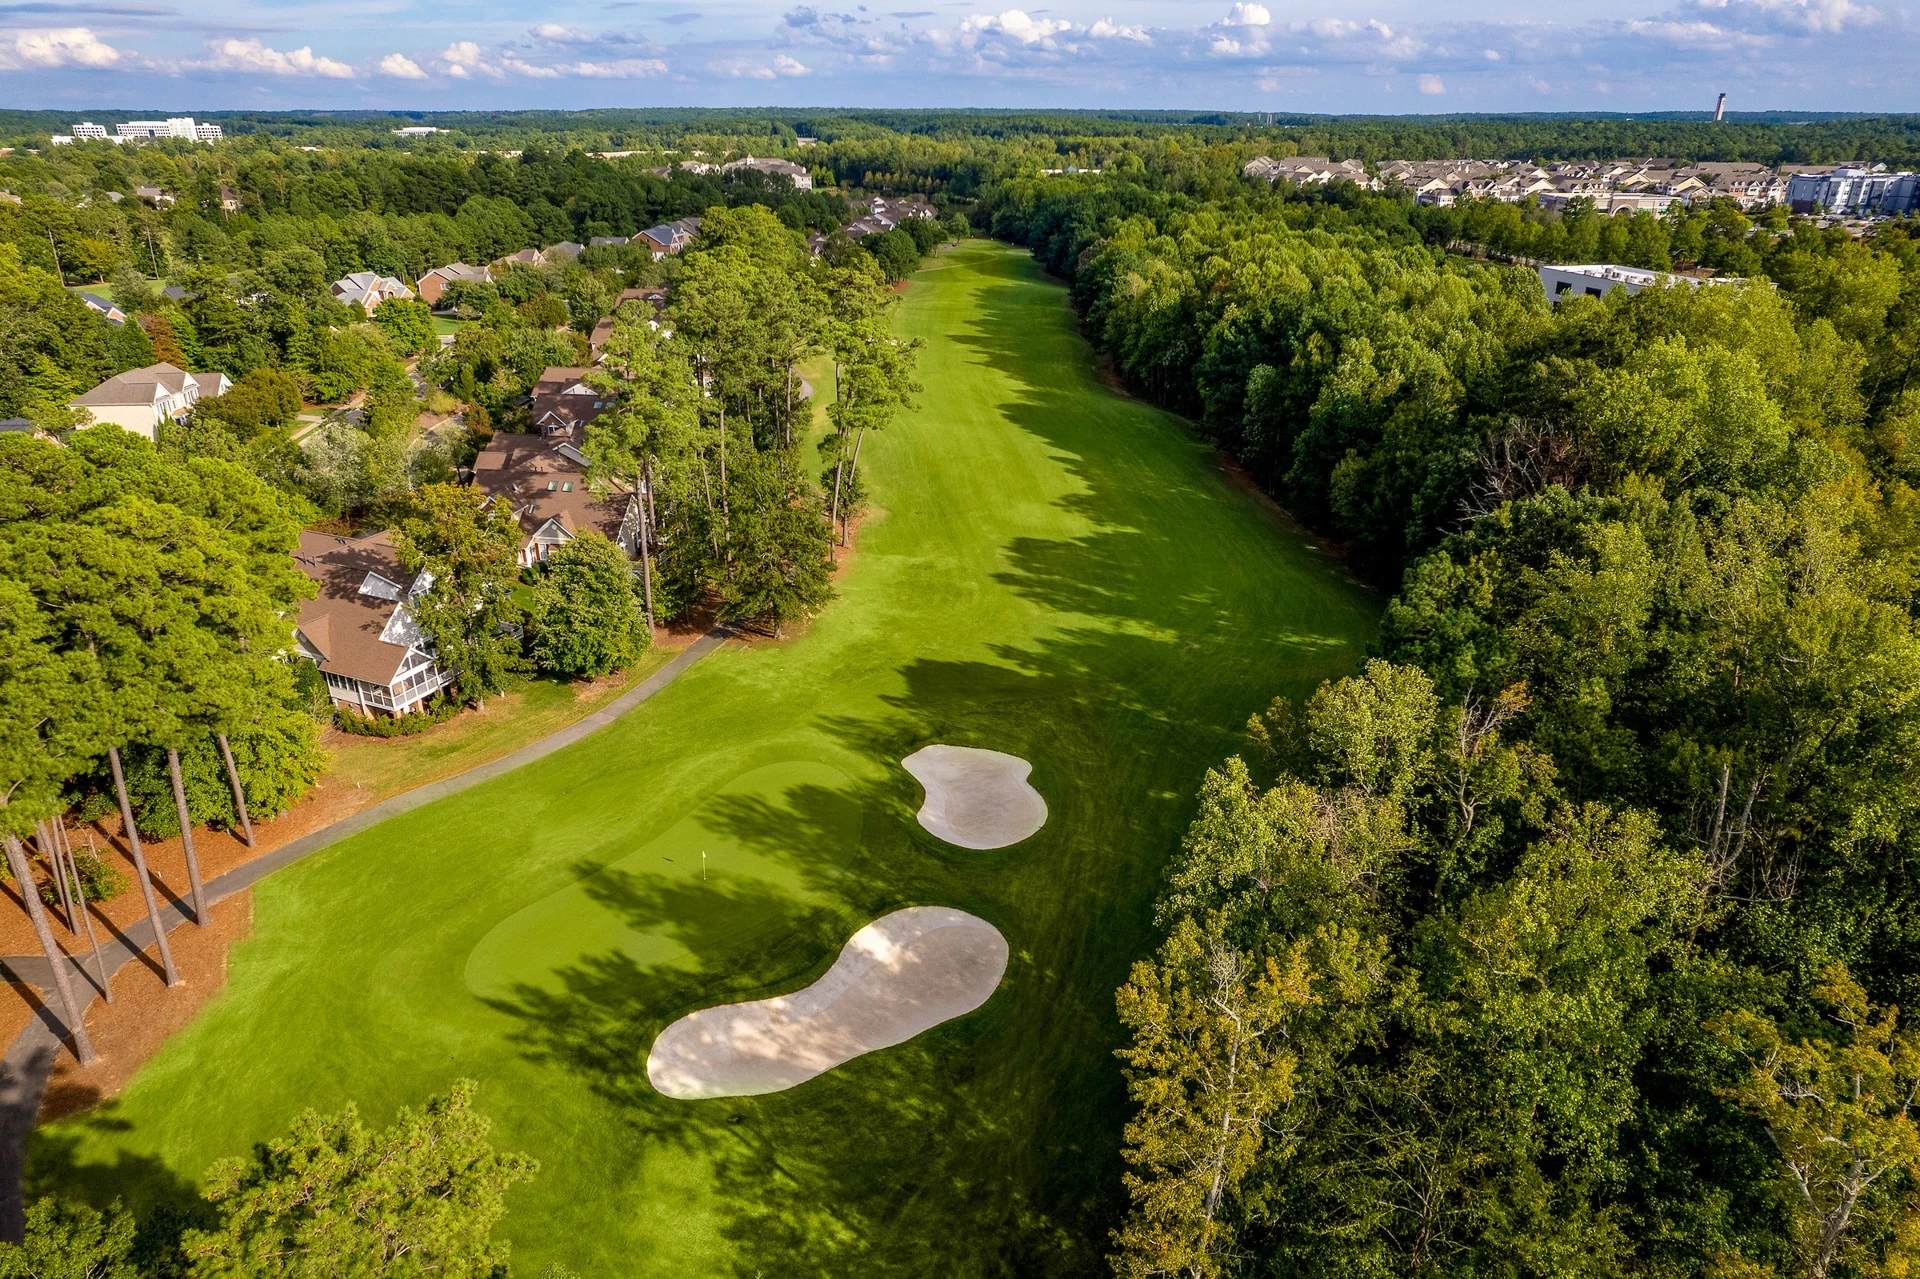
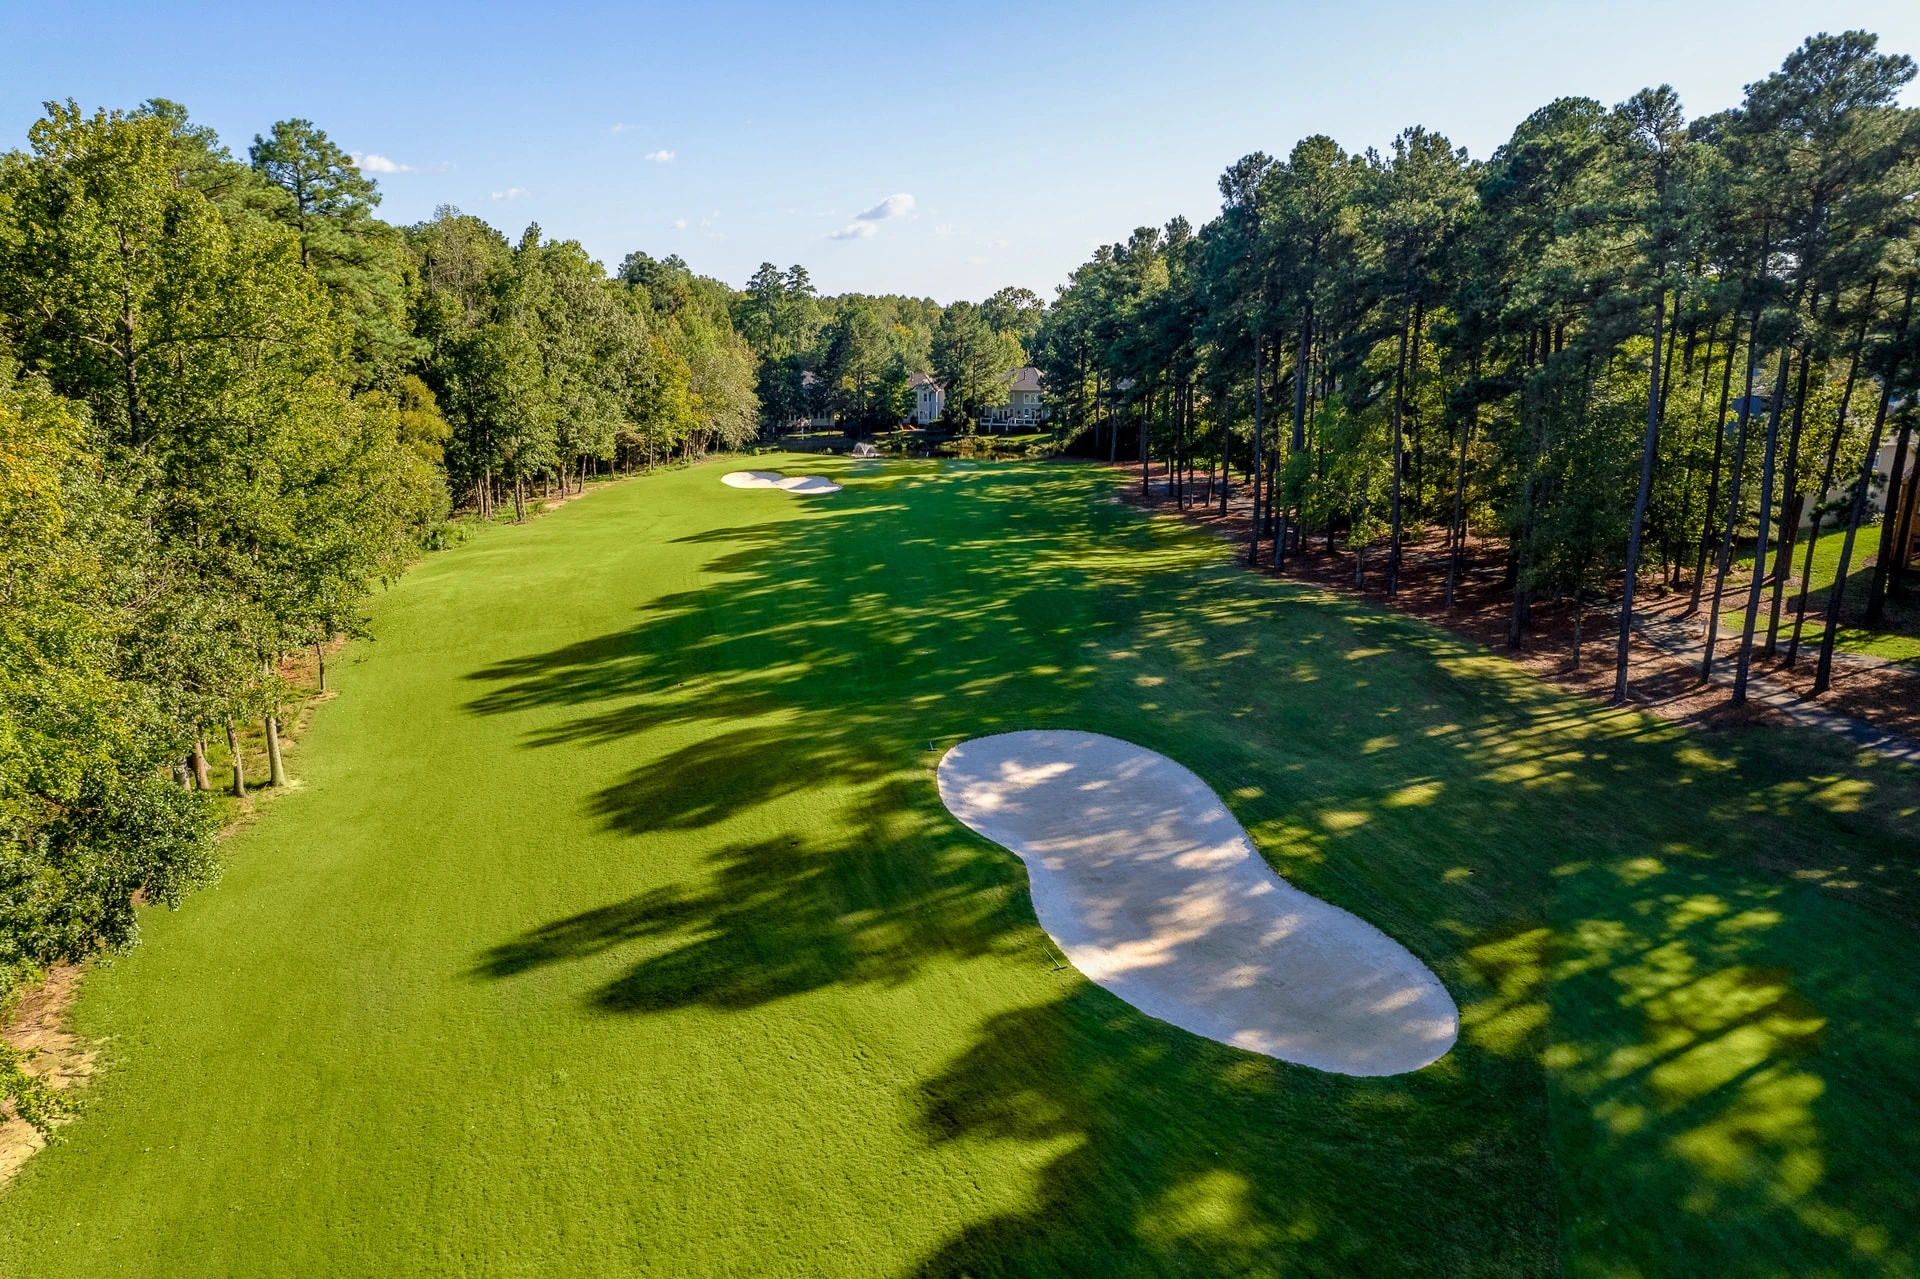
Pro Tips
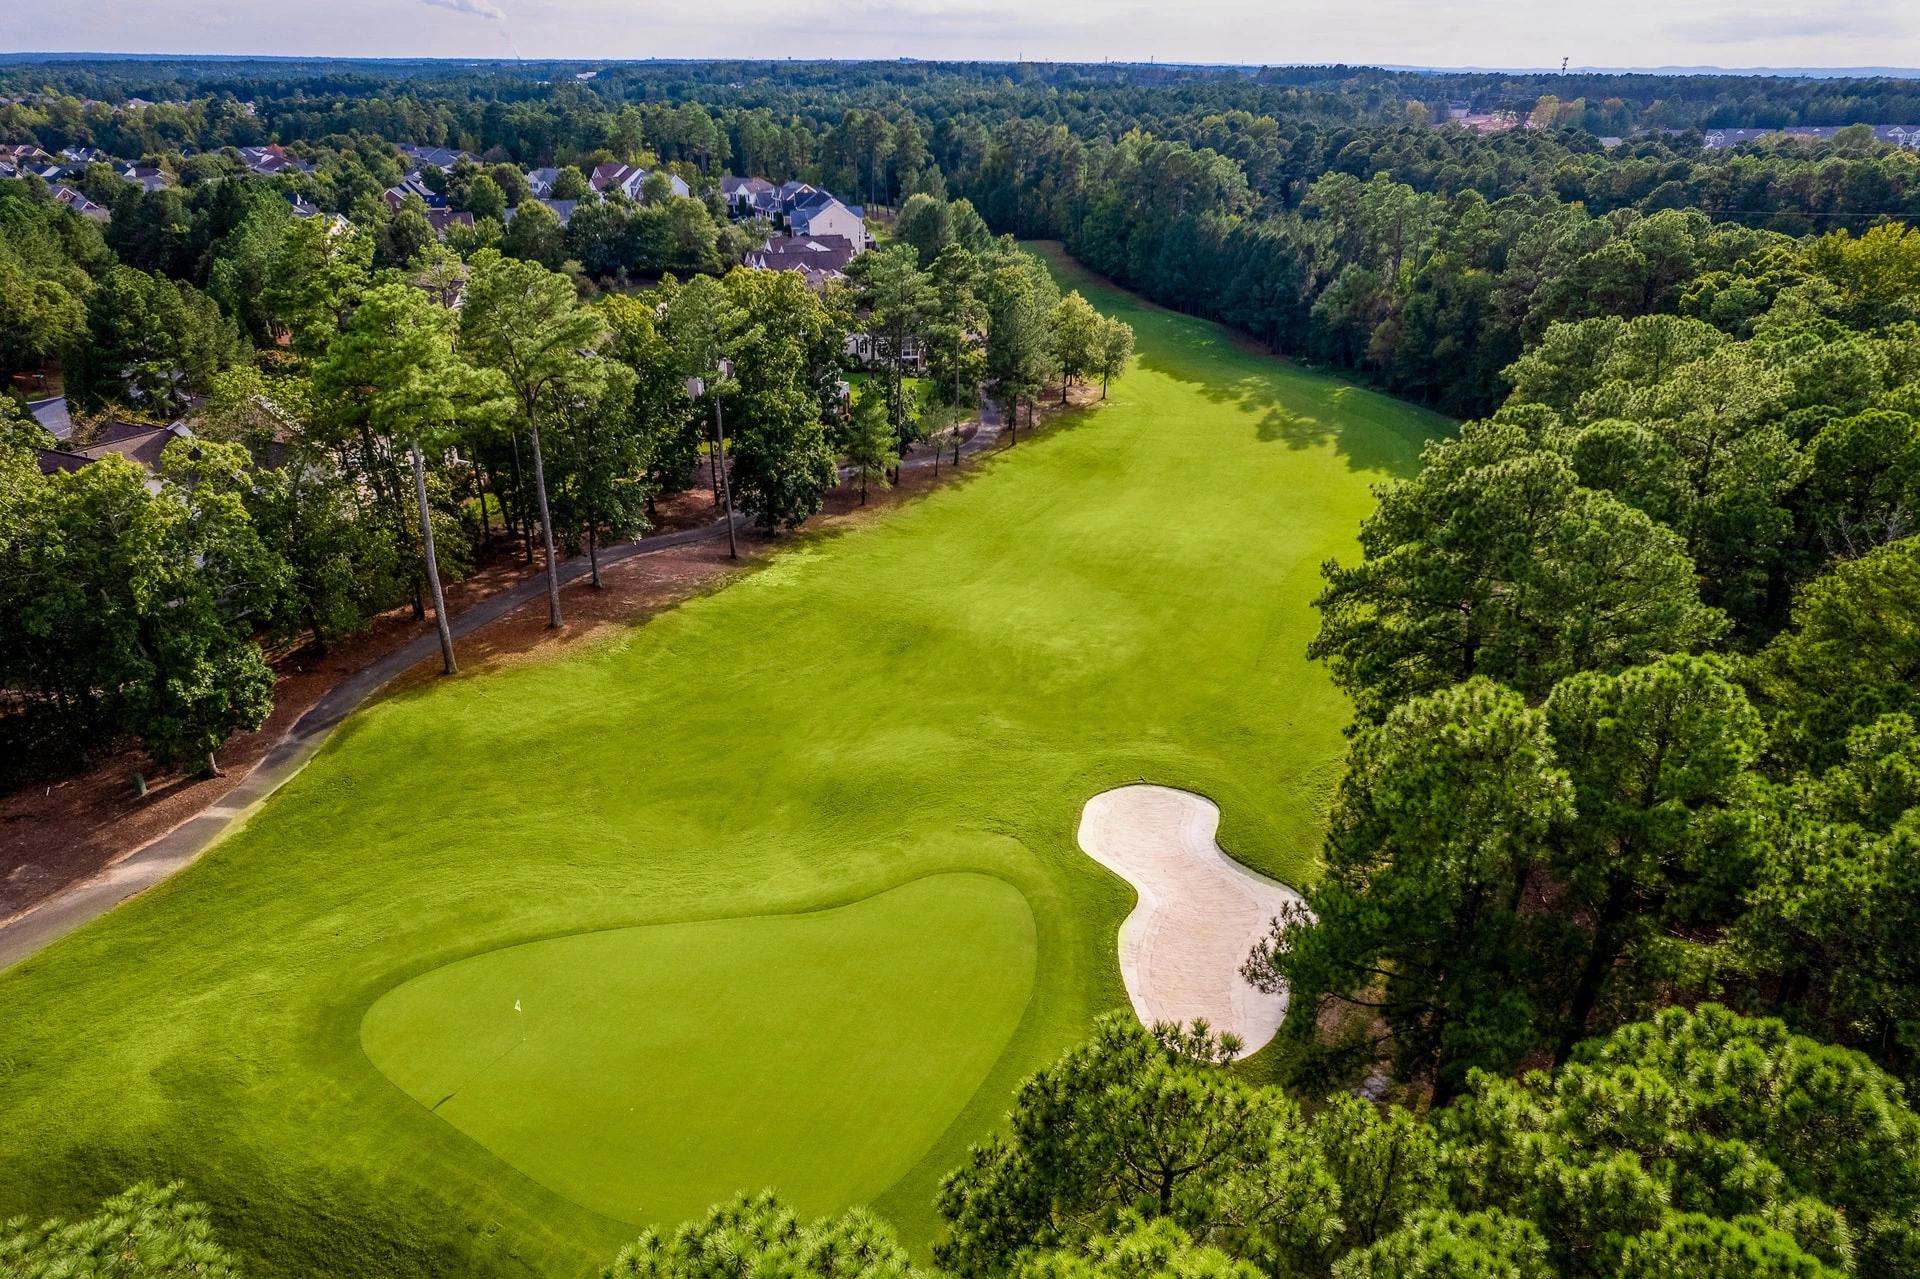
An extremely demanding three-shot par five depends on the result of your drive. Either lay up short left on your second shot, leaving a wedge to a long but shallow green; or risk going for it in two where trees guard the green on the right and a bunker inhibits play from the left
# 3 /
Par: 4
Handicaps:
Men's 9
Women's 1
Yardage by Tee:
GOLD 435
BLUE 400
WHITE 361
RED 338
TEAL 270
Slope:
Gold 137 | Blue 132 | White 124 | Red 121
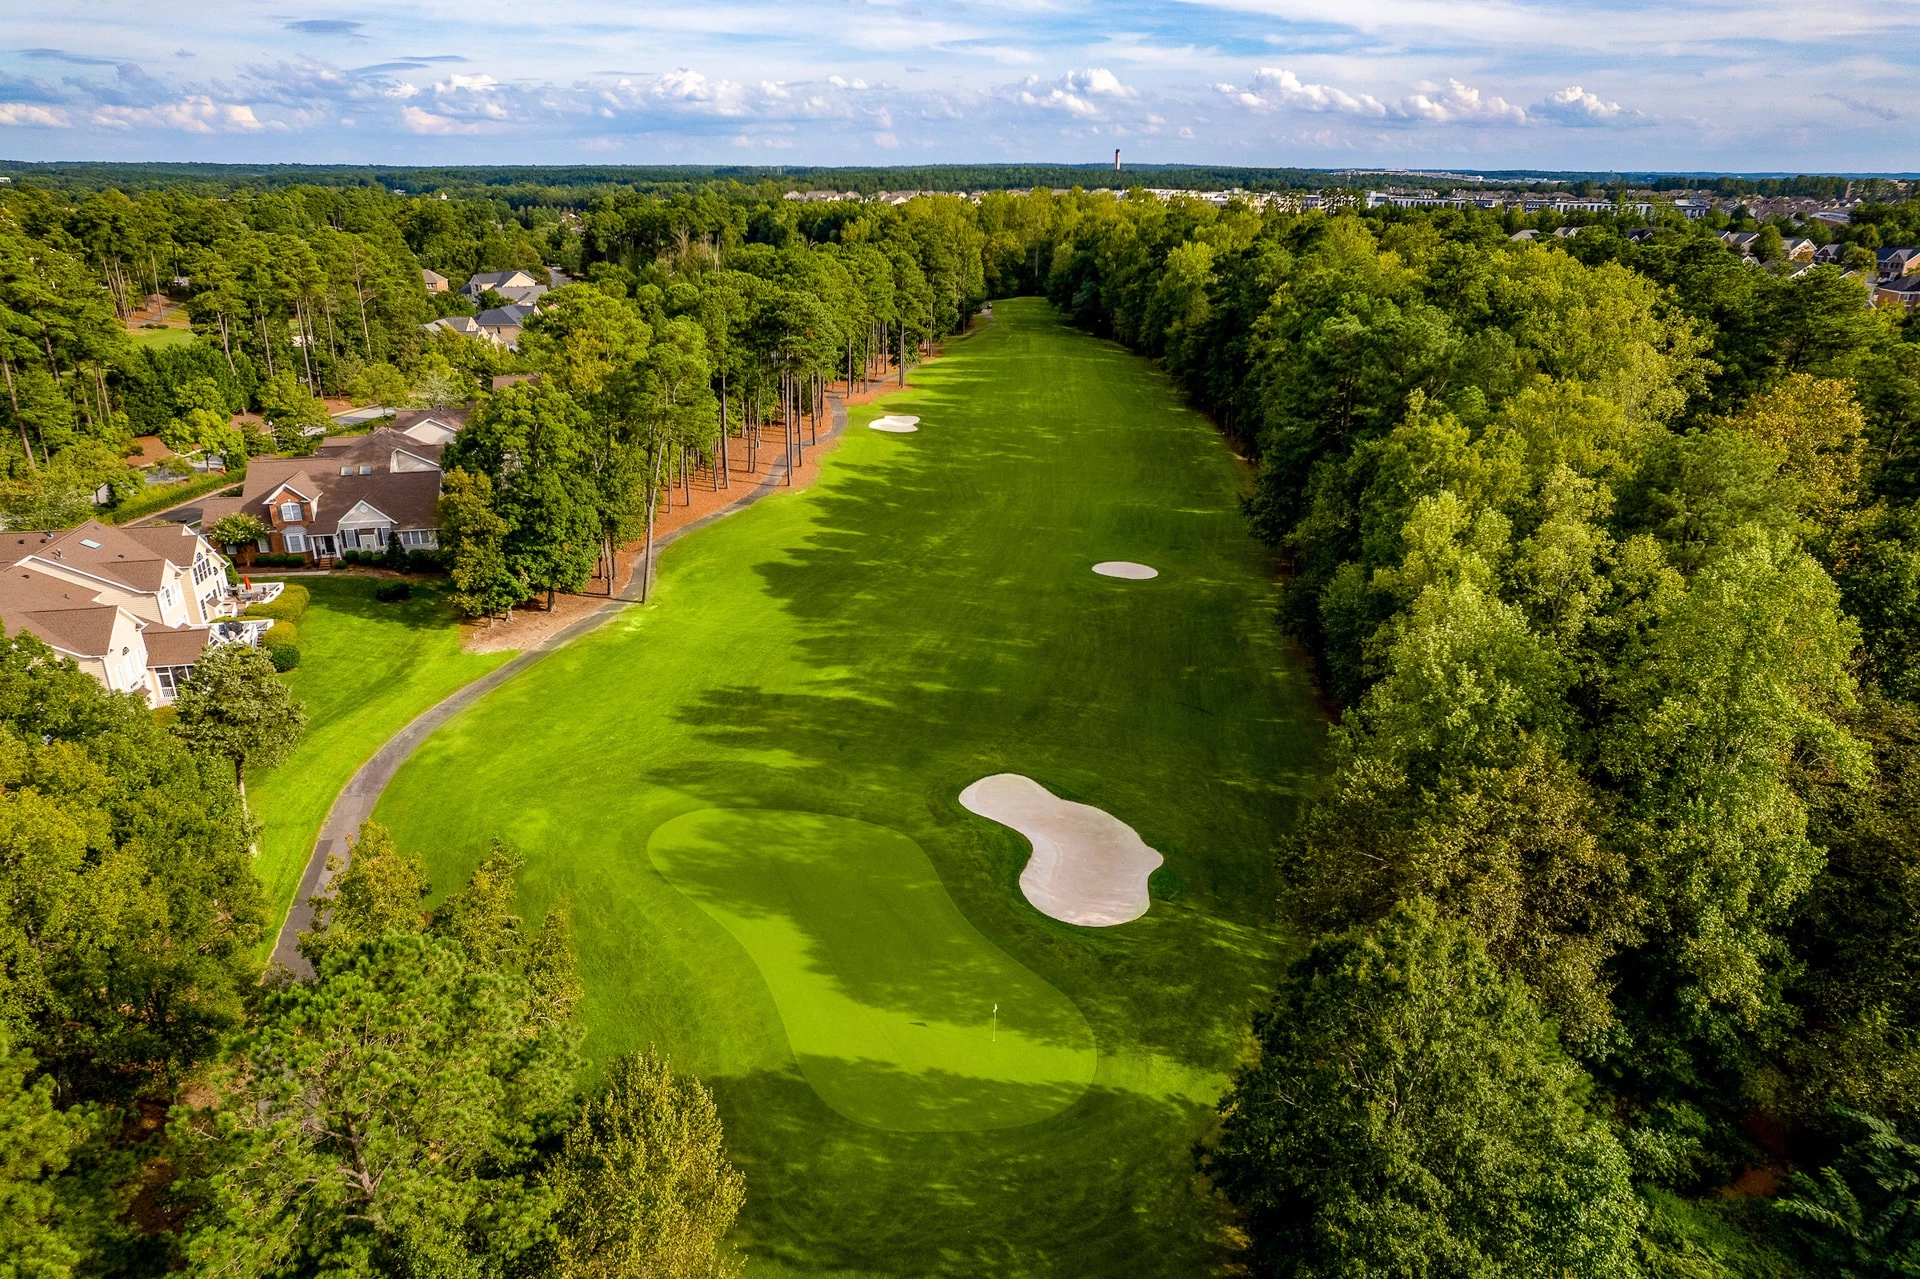
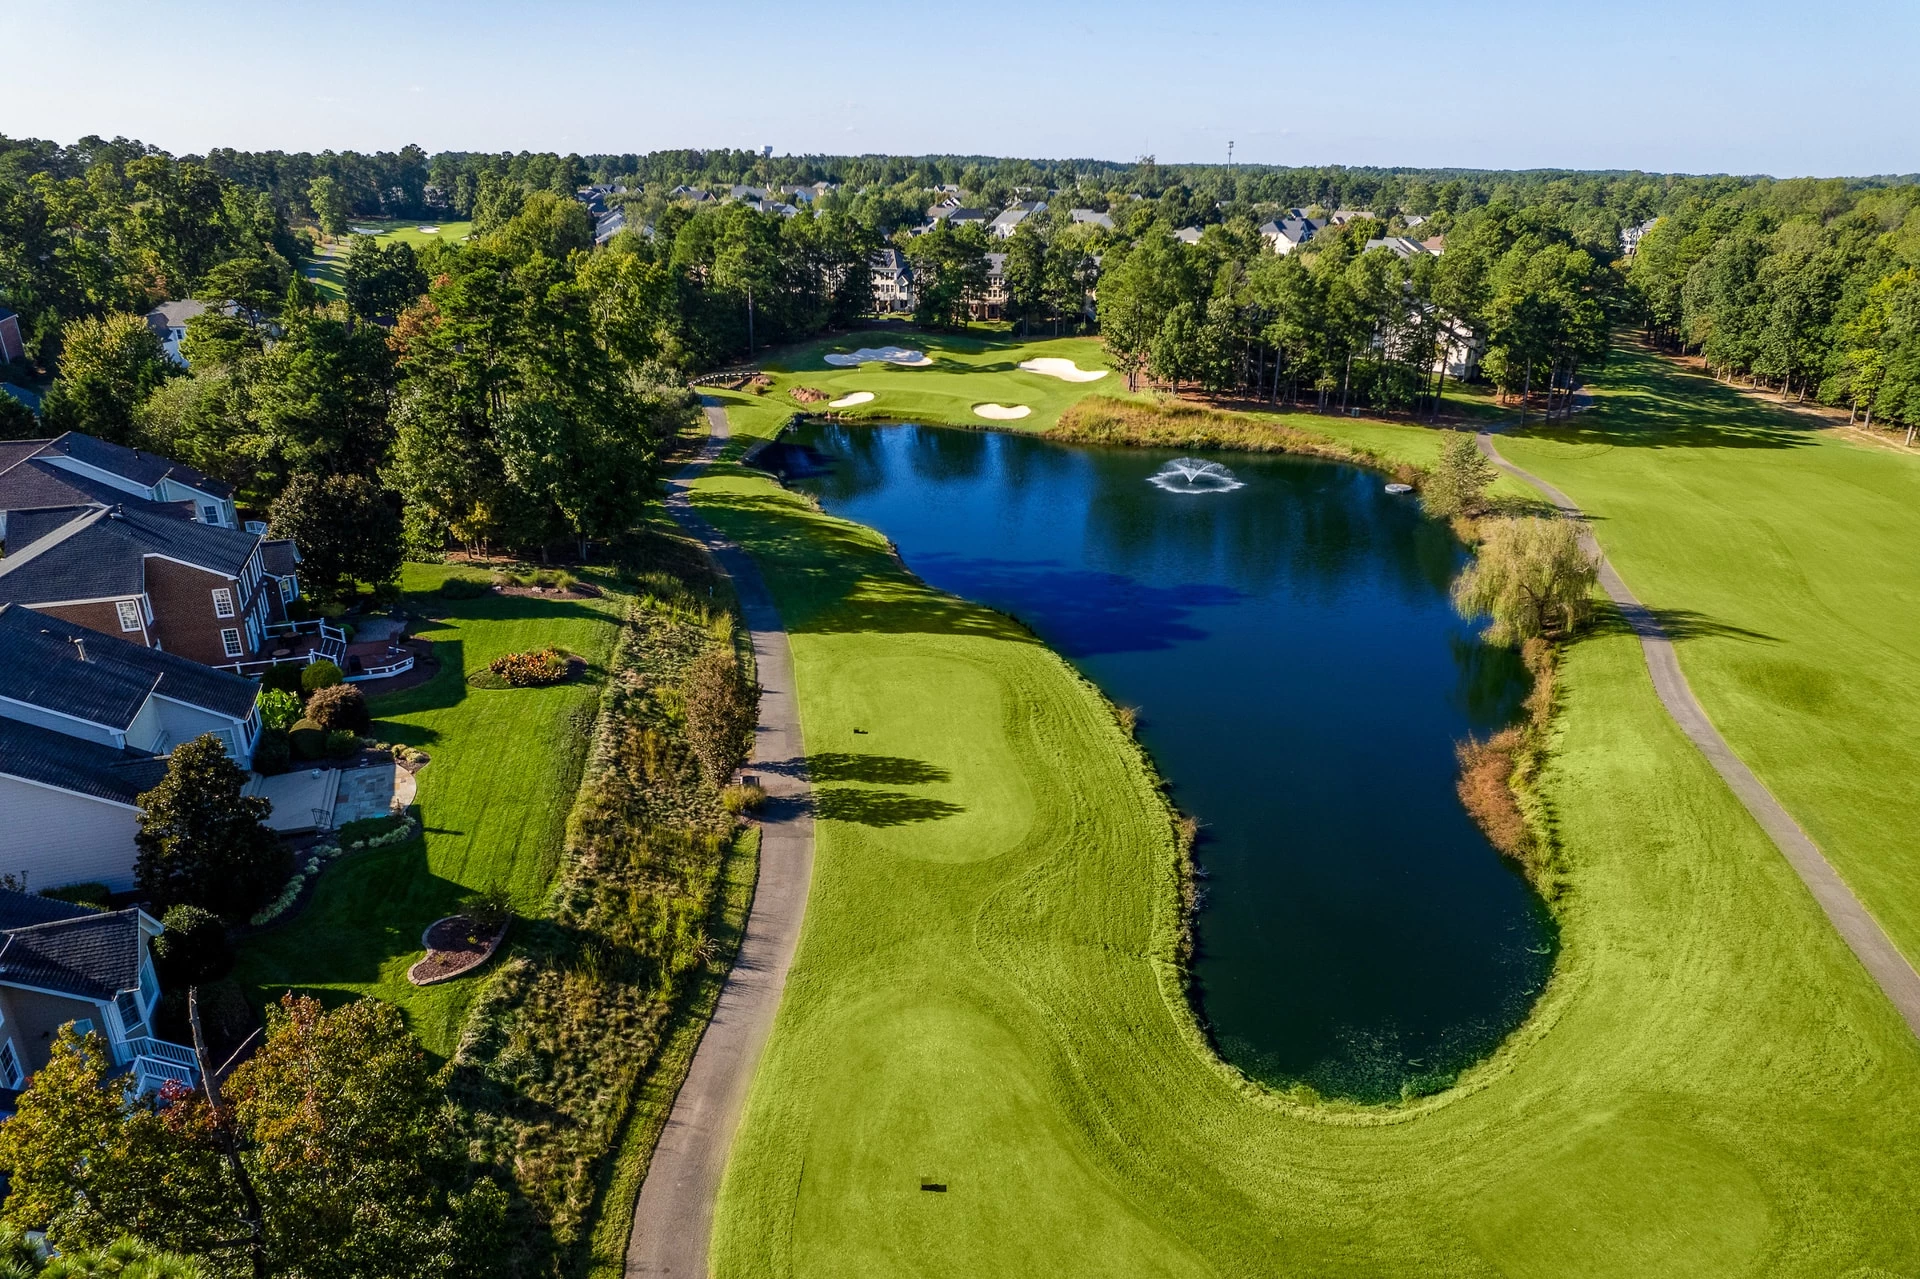
Pro Tips
This par four offers spectacular views of natural beauty and protected wetlands with the river basin bordering the left side. A long hole demanding the right club selection makes access to the flag difficult. Left side pin placements will gather misshit shots in the deep front bunker.
# 4 /
Par: 3
Handicaps:
Men's 17
Women's 17
Yardage by Tee:
GOLD 143
BLUE 122
WHITE 110
RED 97
TEAL 97
Slope:
Gold 137 | Blue 132 | White 124 | Red 121
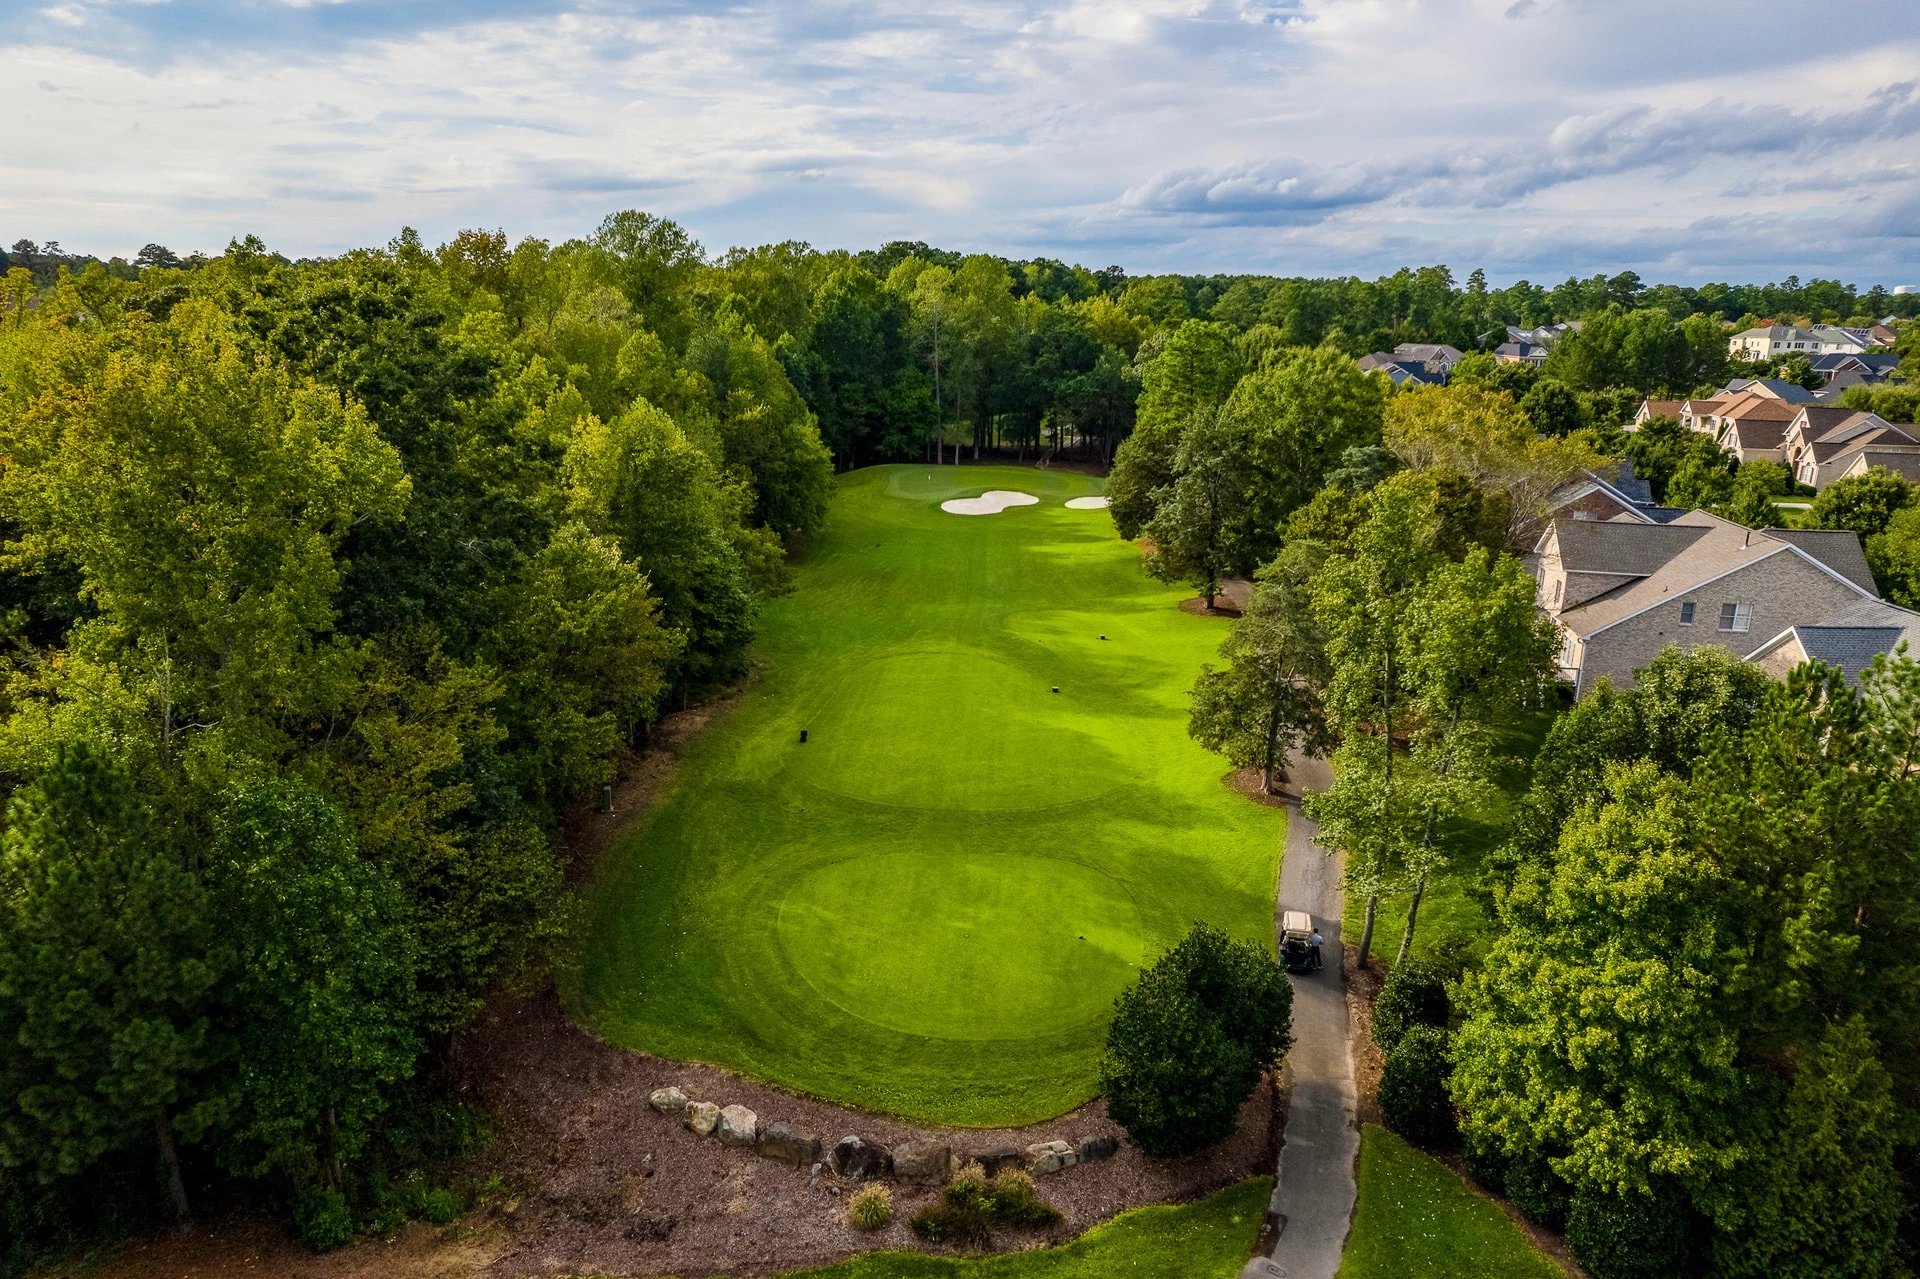
Pro Tips
Though a short par three, this hole is visually intimidating. Proper club selection is critical to avoid the wetlands surrounding the green and the deep bunkers protecting front pin placements.
# 5 /
Par: 5
Handicaps:
Men's 11
Women's 5
Yardage by Tee:
GOLD 545
BLUE 510
WHITE 495
RED 460
TEAL 375
Slope:
Gold 137 | Blue 132 | White 124 | Red 121
Pro Tips
This par five brings the rolling terrain of the course into play from the tee shot. Continuing uphill, third shots with short irons will play longer into an elevated green that is protected by bunkers and wetlands on the left.
# 6 /
Par: 4
Handicaps:
Men's 3
Women's 7
Yardage by Tee:
GOLD 399
BLUE 374
WHITE 365
RED 323
TEAL 238
Slope:
Gold 137 | Blue 132 | White 124 | Red 121
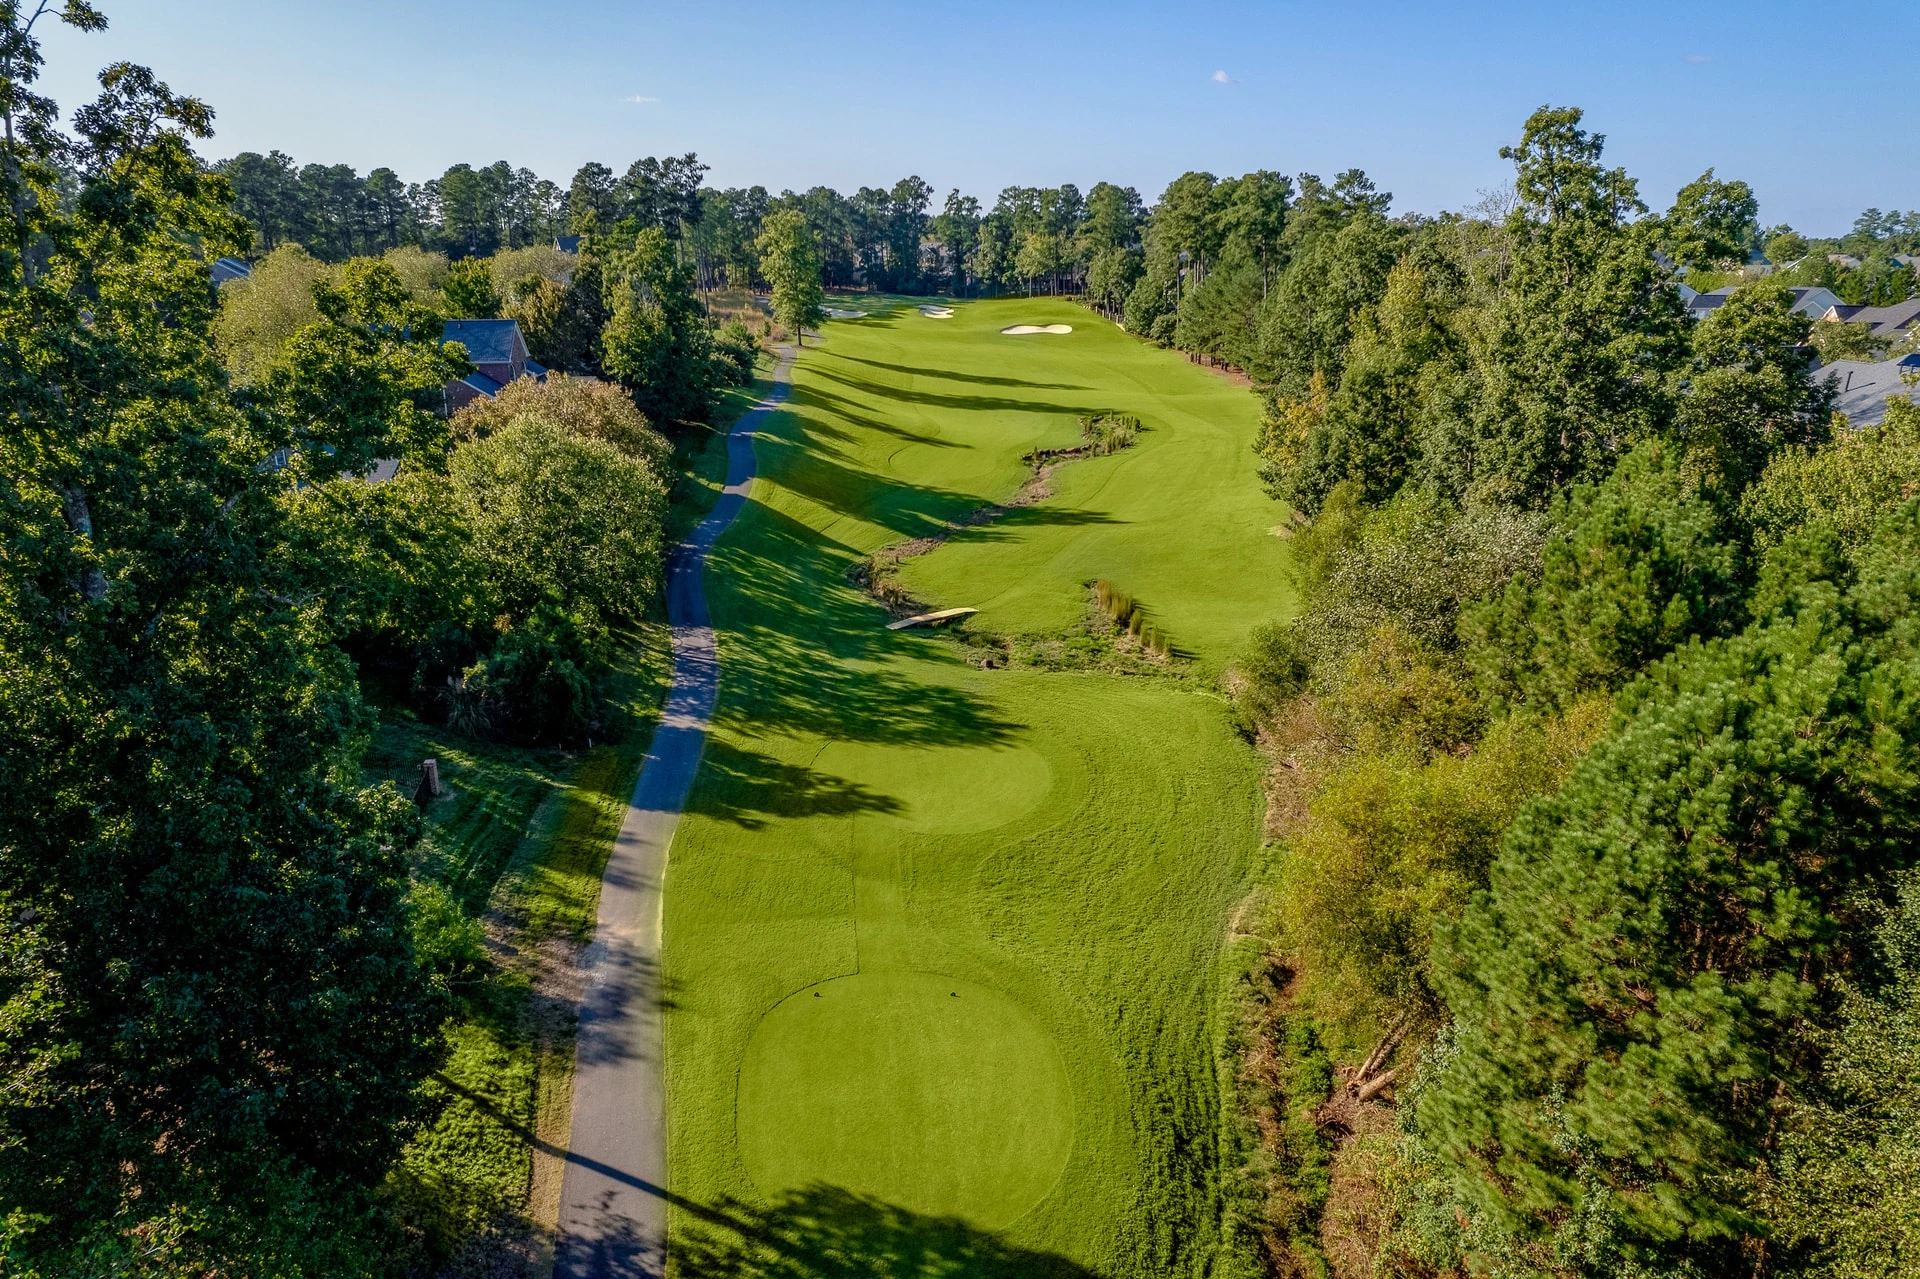
Pro Tips
This dogleg right hole plays uphill to an elevated green that will require precise distance control. Short shots will return to the fairway for a very difficult chip to save par.
# 7 /
Par: 4
Handicaps:
Men's 4
Women's 11
Yardage by Tee:
GOLD 497
BLUE 451
WHITE 418
RED 348
TEAL 262
Slope:
Gold 137 | Blue 132 | White 124 | Red 121
Pro Tips
This long par four prepares players for the challenges that lie ahead. Leaving a long approach iron or wood shot can be intimidating into this very long green. Though playing downhill, players will tend to play to the right to avoid the water and bunkers bordering the left side.
# 8 /
Par: 3
Handicaps:
Men's 15
Women's 15
Yardage by Tee:
GOLD 187
BLUE 173
WHITE 151
RED 112
TEAL 112
Slope:
Gold 137 | Blue 132 | White 124 | Red 121
Pro Tips
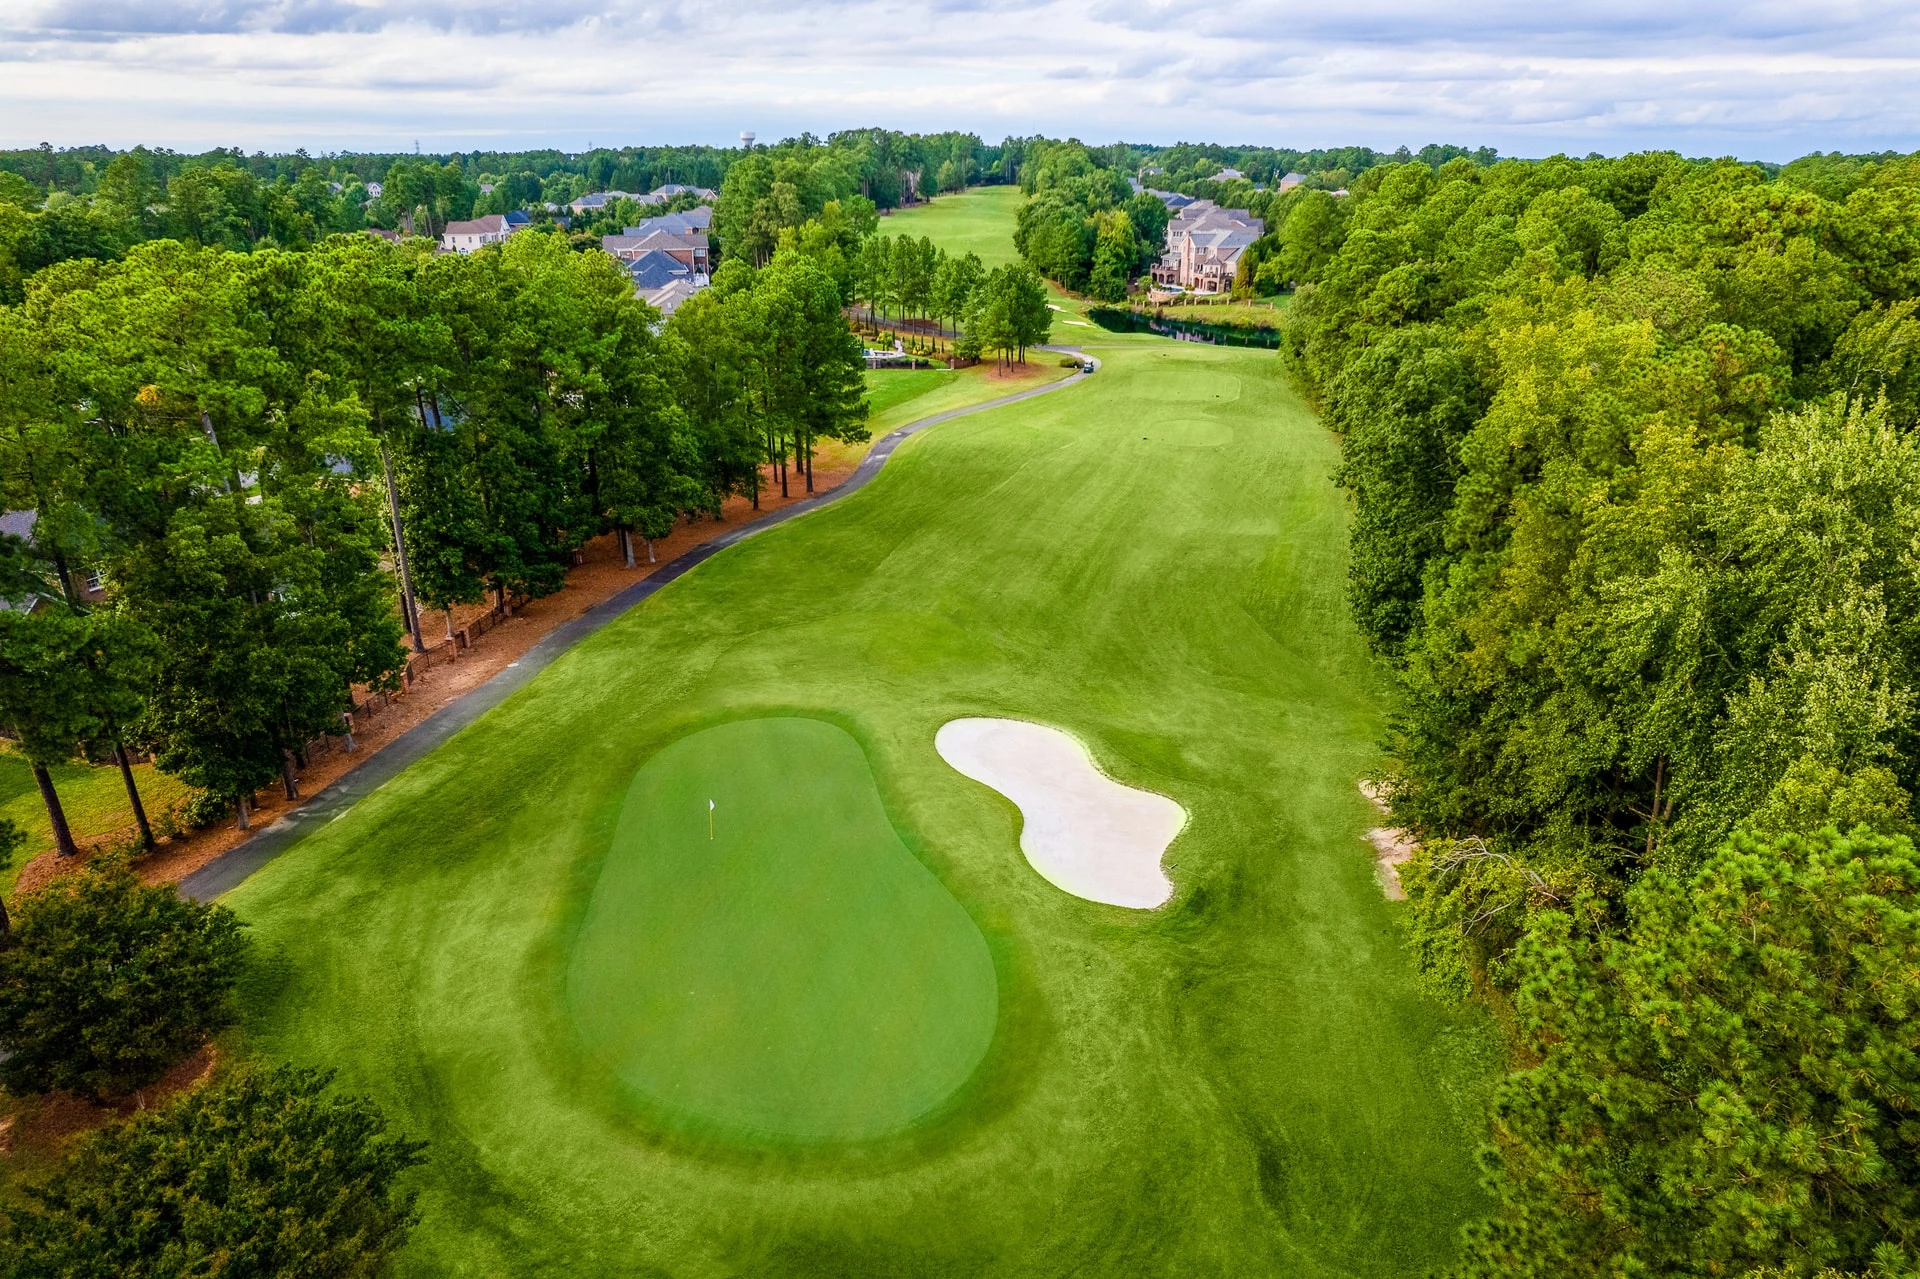
This final par three on the front side is visually spectacular and bordered by the hardwood forest along the left side. The natural flowing bunker along the entire left side of the green will gather short shots making par difficult to achieve.

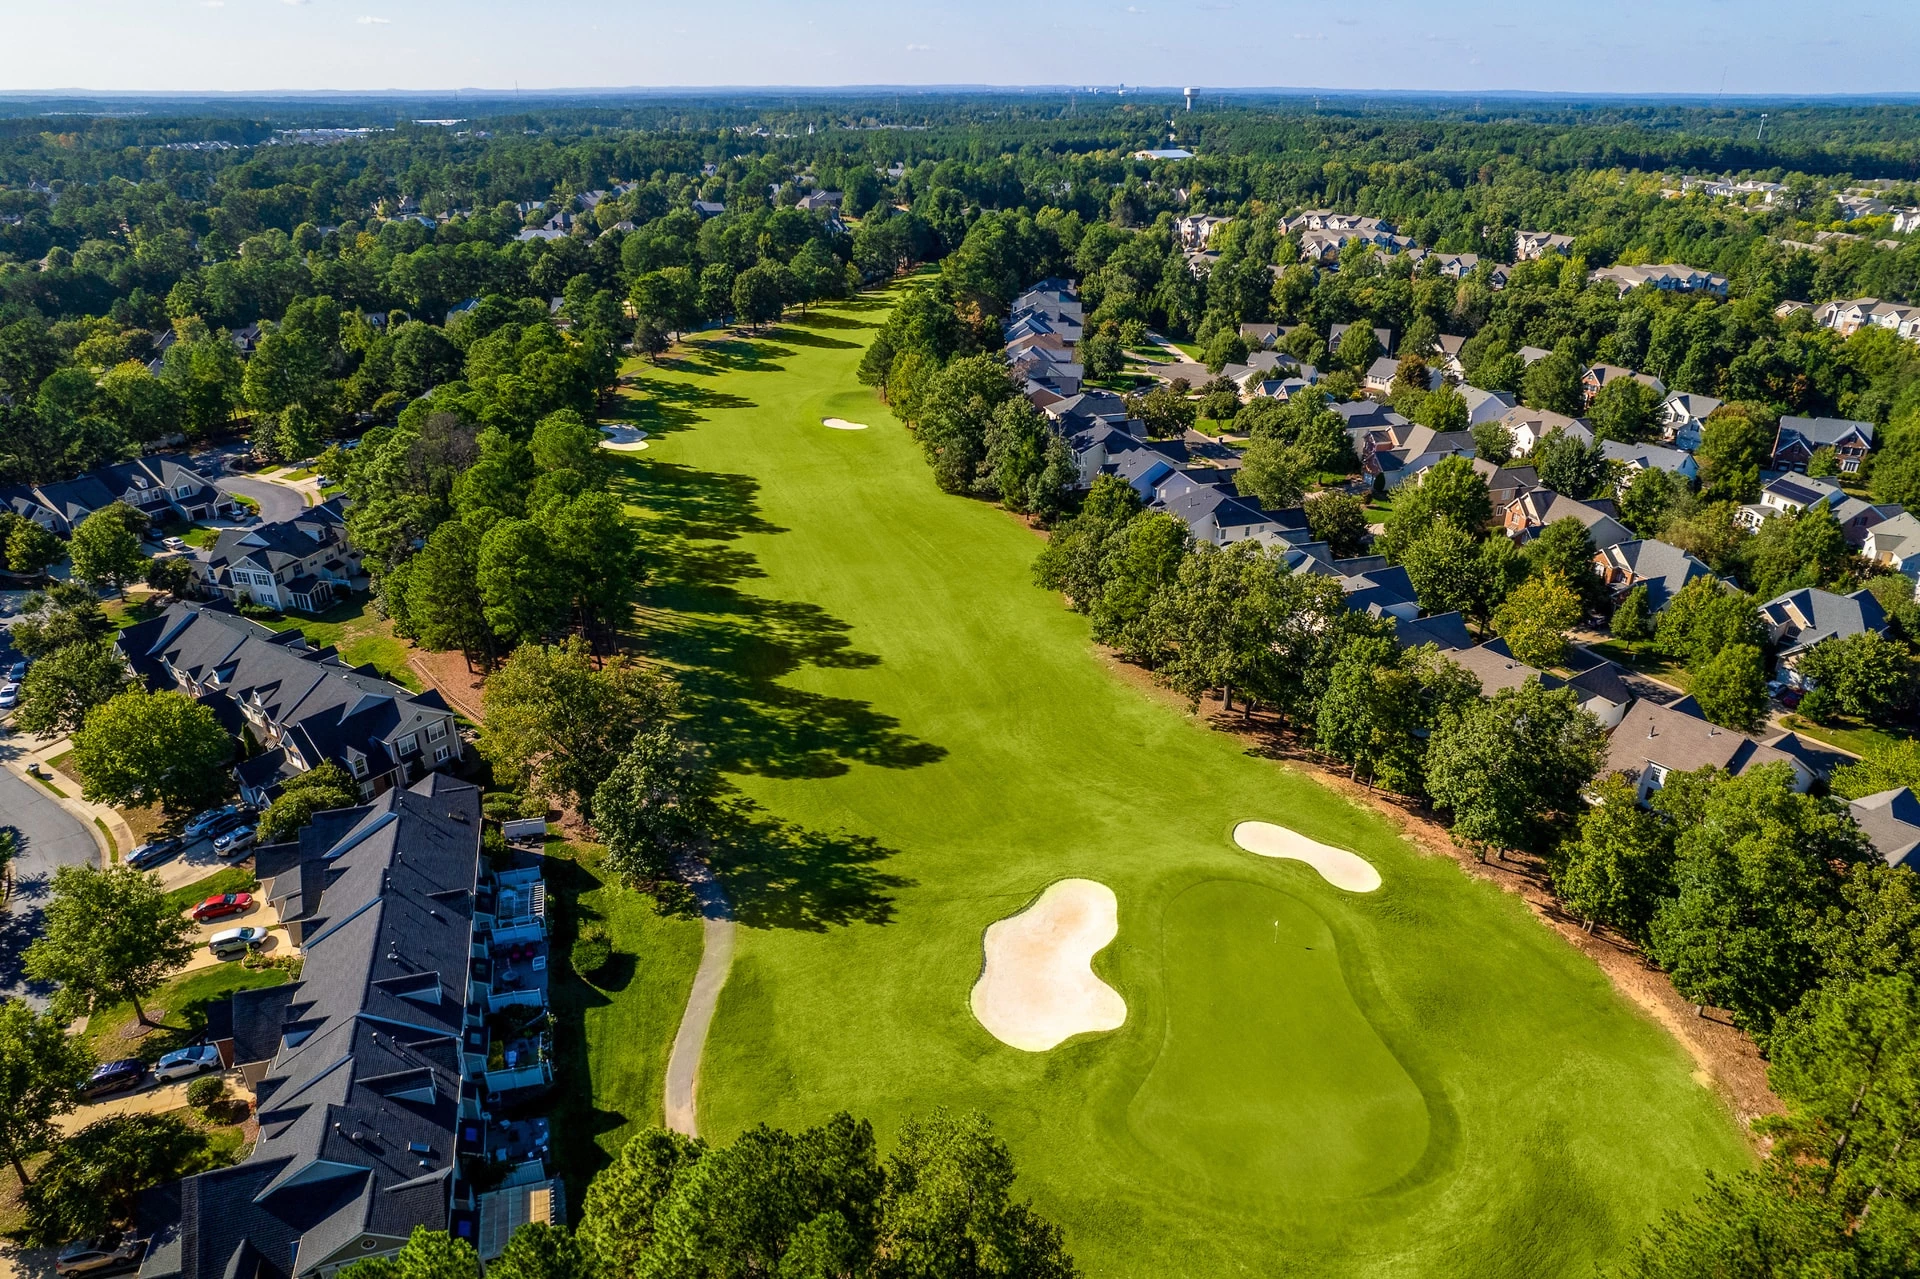
# 9 /
Par: 4
Handicaps:
Men's 5
Women's 3
Yardage by Tee:
GOLD 424
BLUE 392
WHITE 376
RED 322
TEAL 275
Slope:
Gold 137 | Blue 132 | White 124 | Red 121
Pro Tips
Every golfer enjoys a risk-reward hole and Arnold has given you that choice on this dogleg left, par four. Drives that split the fairways will leave a downhill mid-iron approach to a well-protected green. Left center drives can utilize the rolling fairway and leave a short iron, but beware of the fairway bunker guarding the left side.
# 10 /
Par: 4
Handicaps:
Men's 2
Women's 2
Yardage by Tee:
GOLD 458
BLUE 429
WHITE 399
RED 366
TEAL 282
Slope:
Gold 137 | Blue 132 | White 124 | Red 121
Pro Tips
Unlike the front side, the back nine challenges players immediately with this long par four. Avoiding the strategically placed fairway bunkers is crucial in order to hit this long, narrow green. Depending on the gentle breezes that prevail from this valley setting, this hole could play up to a four club difference in your mid- to long-iron approach.
# 11 /
Par: 4
Handicaps:
Men's 4
Women's 6
Yardage by Tee:
GOLD 431
BLUE 406
WHITE 365
RED 336
TEAL 272
Slope:
Gold 137 | Blue 132 | White 124 | Red 121
Pro Tips
Though a little shorter than the previous hole, a water hazard off the tee may be intimidating, but shouldn’t catch many drivers. Club selection on your mid-iron approach is difficult in carrying this bunker-protected, shallow green and avoiding the collection area in back.
# 12 /
Par: 5
Handicaps:
Men's 10
Women's 12
Yardage by Tee:
GOLD 516
BLUE 498
WHITE 463
RED 405
TEAL 365
Slope:
Gold 137 | Blue 132 | White 124 | Red 121
Pro Tips
The first of the par fives on the back nine is reachable in two with a well-placed drive in the left center of the fairway. Holding the green on a long second shot will prove difficult on a right-side pin placement. Short-iron approaches in three will have to avoid the front and rear bunkers protecting this shallow green.
# 13 /
Par: 4
Handicaps:
Men's 18
Women's 18
Yardage by Tee:
GOLD 516
BLUE 313
WHITE 463
RED 405
TEAL 365
Slope:
Gold 137 | Blue 132 | White 124 | Red 121
Pro Tips
Players wanting to recoup previous lost shots will try to overpower this short, panoramic par four. The perfect play is a comfortable tee shot to the level landing area to leave a well-judged, short-iron approach. Downhill leads to a back pin placement, which will leave a difficult shot selection in order to avoid the wetlands protecting the back of this green.
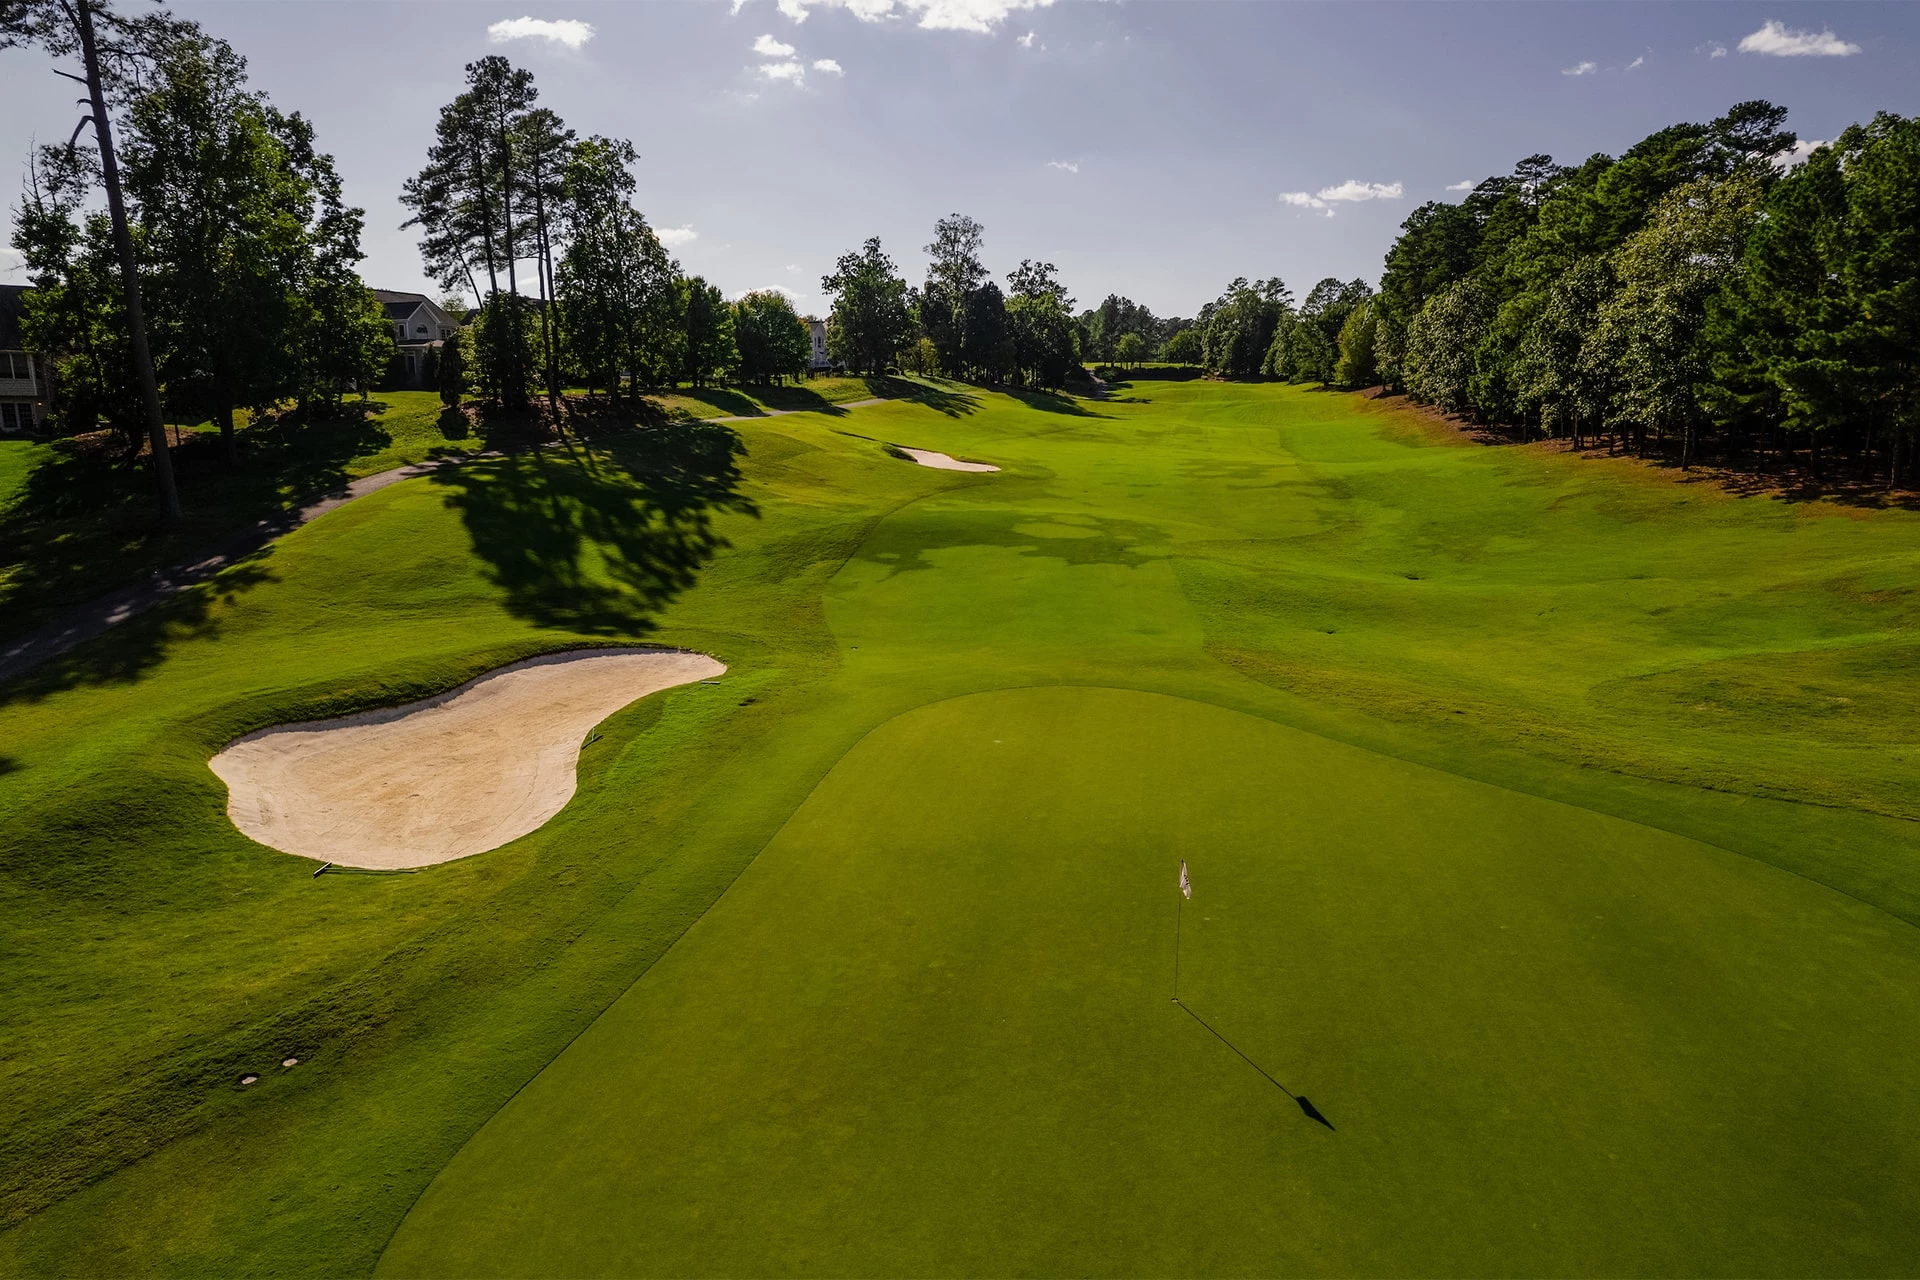
# 14 /
Par: 3
Handicaps:
Men's 16
Women's 16
Yardage by Tee:
GOLD 174
Blue 151
WHITE 140
RED 114
TEAL 114
Slope:
Gold 137 | Blue 132 | White 124 | Red 121
Pro Tips
Large oak and pine trees frame this par three featuring the smallest green on the course. Shots played to the right (to avoid the deep bunkers guarding the left) will be gathered in the collection areas, leaving a difficult downhill chip. Players missing this green will be tested for par.
# 15 /
Par: 5
Handicaps:
Men's 8
Women's 8
Yardage by Tee:
GOLD 531
BLUE 500
WHITE 479
RED 429
TEAL 430
Slope:
Gold 137 | Blue 132 | White 124 | Red 121
Pro Tips
Protected along the entire left side by wetlands, this par five puts a premium on the second shot. Players will decide to either lay up short of the bunkers in the center of the fairway for a midiron approach, or test the bunkers to have a short-iron in. This shallow, gentle green should yield easy two putt pars if hit in regulation.
# 16 /
Par: 3
Handicaps:
Men's 12
Women's 14
Yardage by Tee:
GOLD 195
BLUE 178
WHITE 151
RED 101
TEAL 78
Slope:
Gold 137 | Blue 132 | White 124 | Red 121
Pro Tips
This par three starts the climax for a great finish to the round. Checking the wind for proper club selection will be crucial to carry the water and hold this shallow green. Long shots will leave a difficult bunker shot back toward the water to save par.
# 17 /
Par: 4
Handicaps:
Men's 14
Women's 10
Yardage by Tee:
GOLD 364
BLUE 353
WHITE 332
RED 303
TEAL 280
Slope:
Gold 137 | Blue 132 | White 124 | Red 121
Pro Tips
Placement of your drive on this par four will avoid the protected wetland area that runs up the center of the driving area. A short-iron approach will be difficult to judge with this elevated green. Long shots will leave a fast downhill putt to a front pin placement.
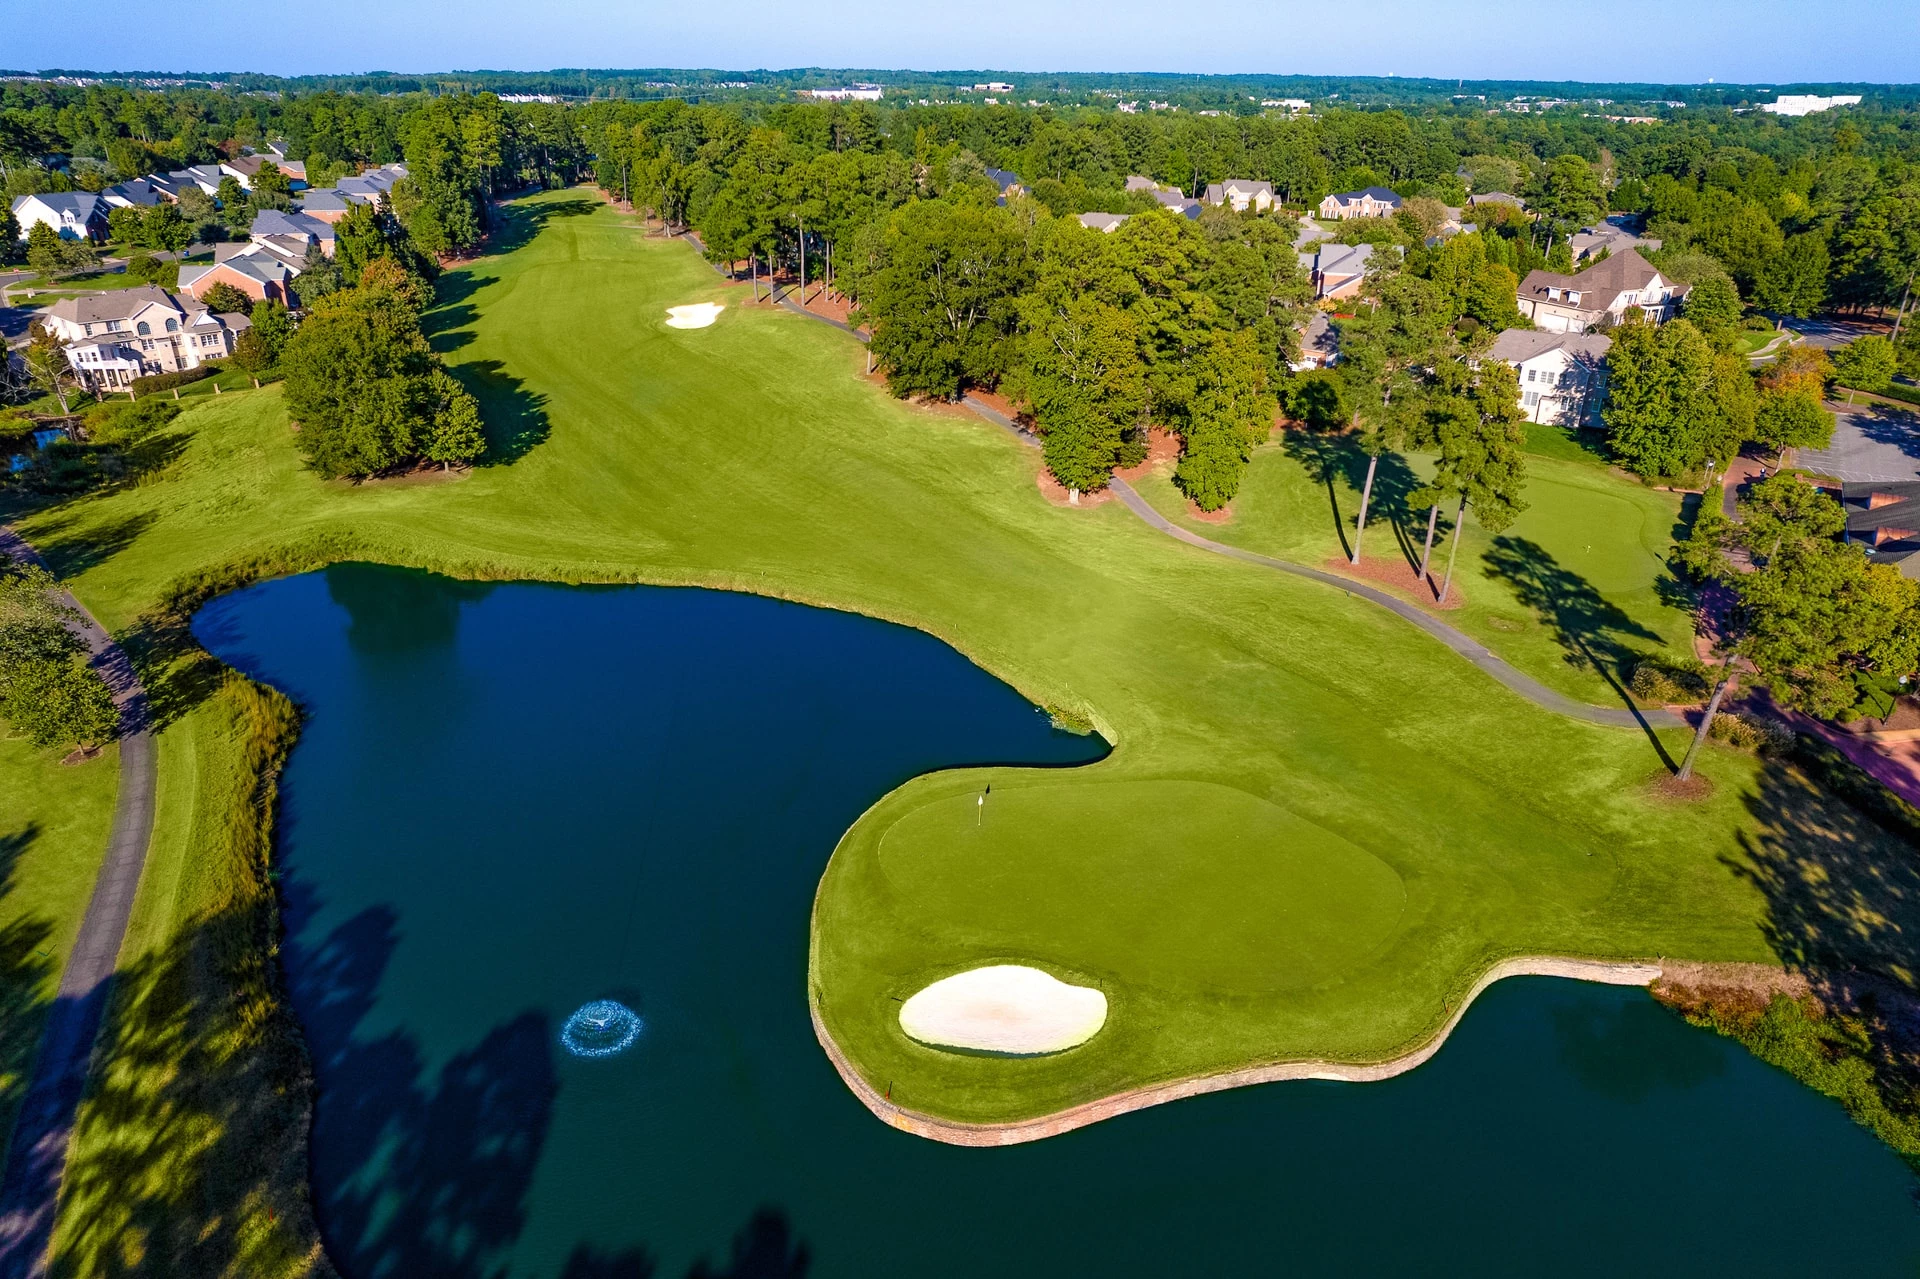
# 18 /
Par: 4
Handicaps:
Men's 6
Women's 4
Yardage by Tee:
GOLD 434
BLUE 408
WHITE 378
RED 349
TEAL 265
Slope:
Gold 137 | Blue 132 | White 124 | Red 121
Pro Tips
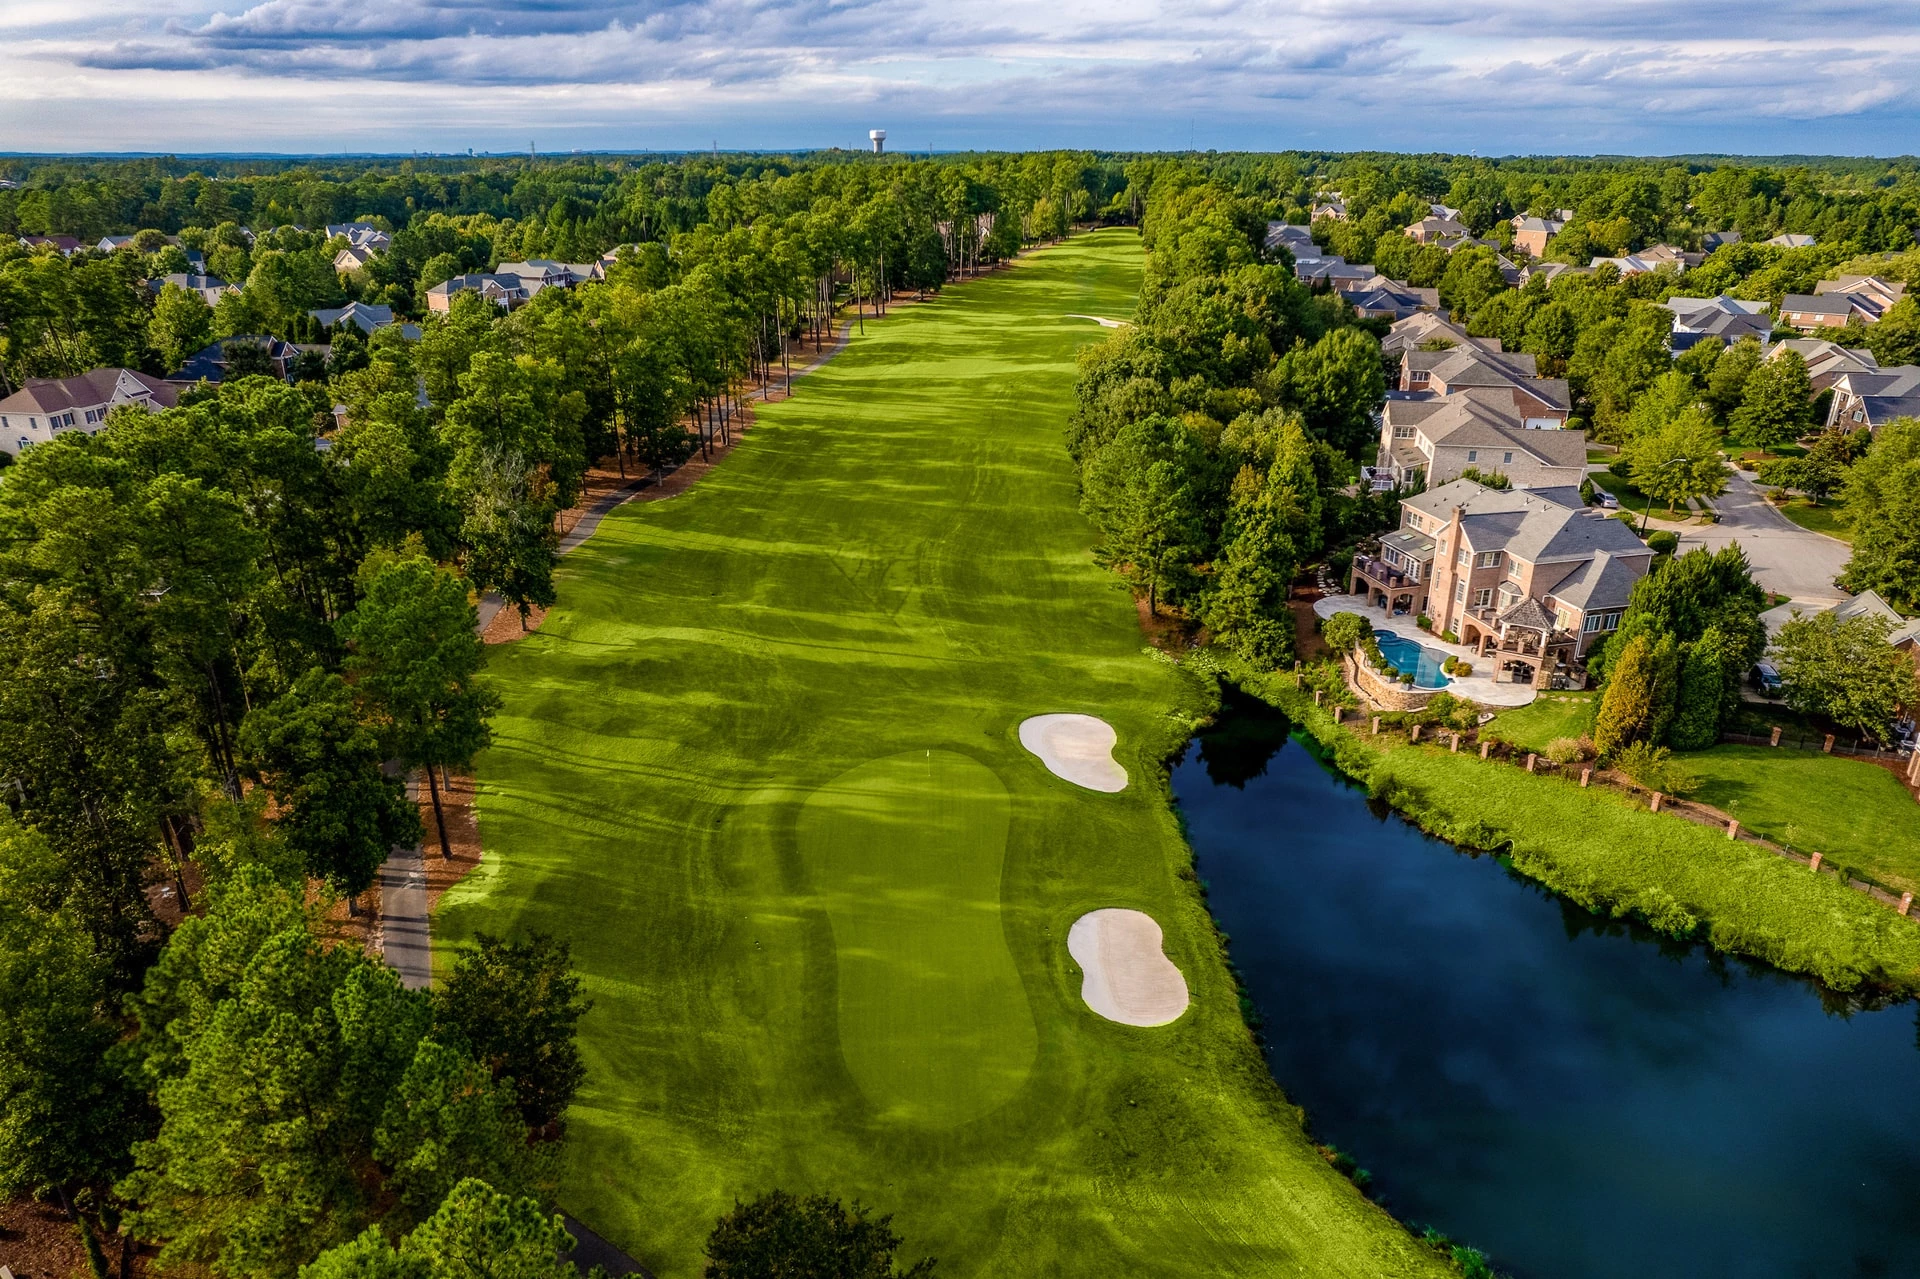
This signature par four is a perfect way to end your round. A well-placed drive will tempt players to test their skills in negotiating this intimidating green setting. Surrounded by water on three sides and bordered by the Carolina ledgestone retaining wall, players may elect to play safe to the left.