Ipswich Country Club Golf Course
Designer: Robert Trent Jones Sr.
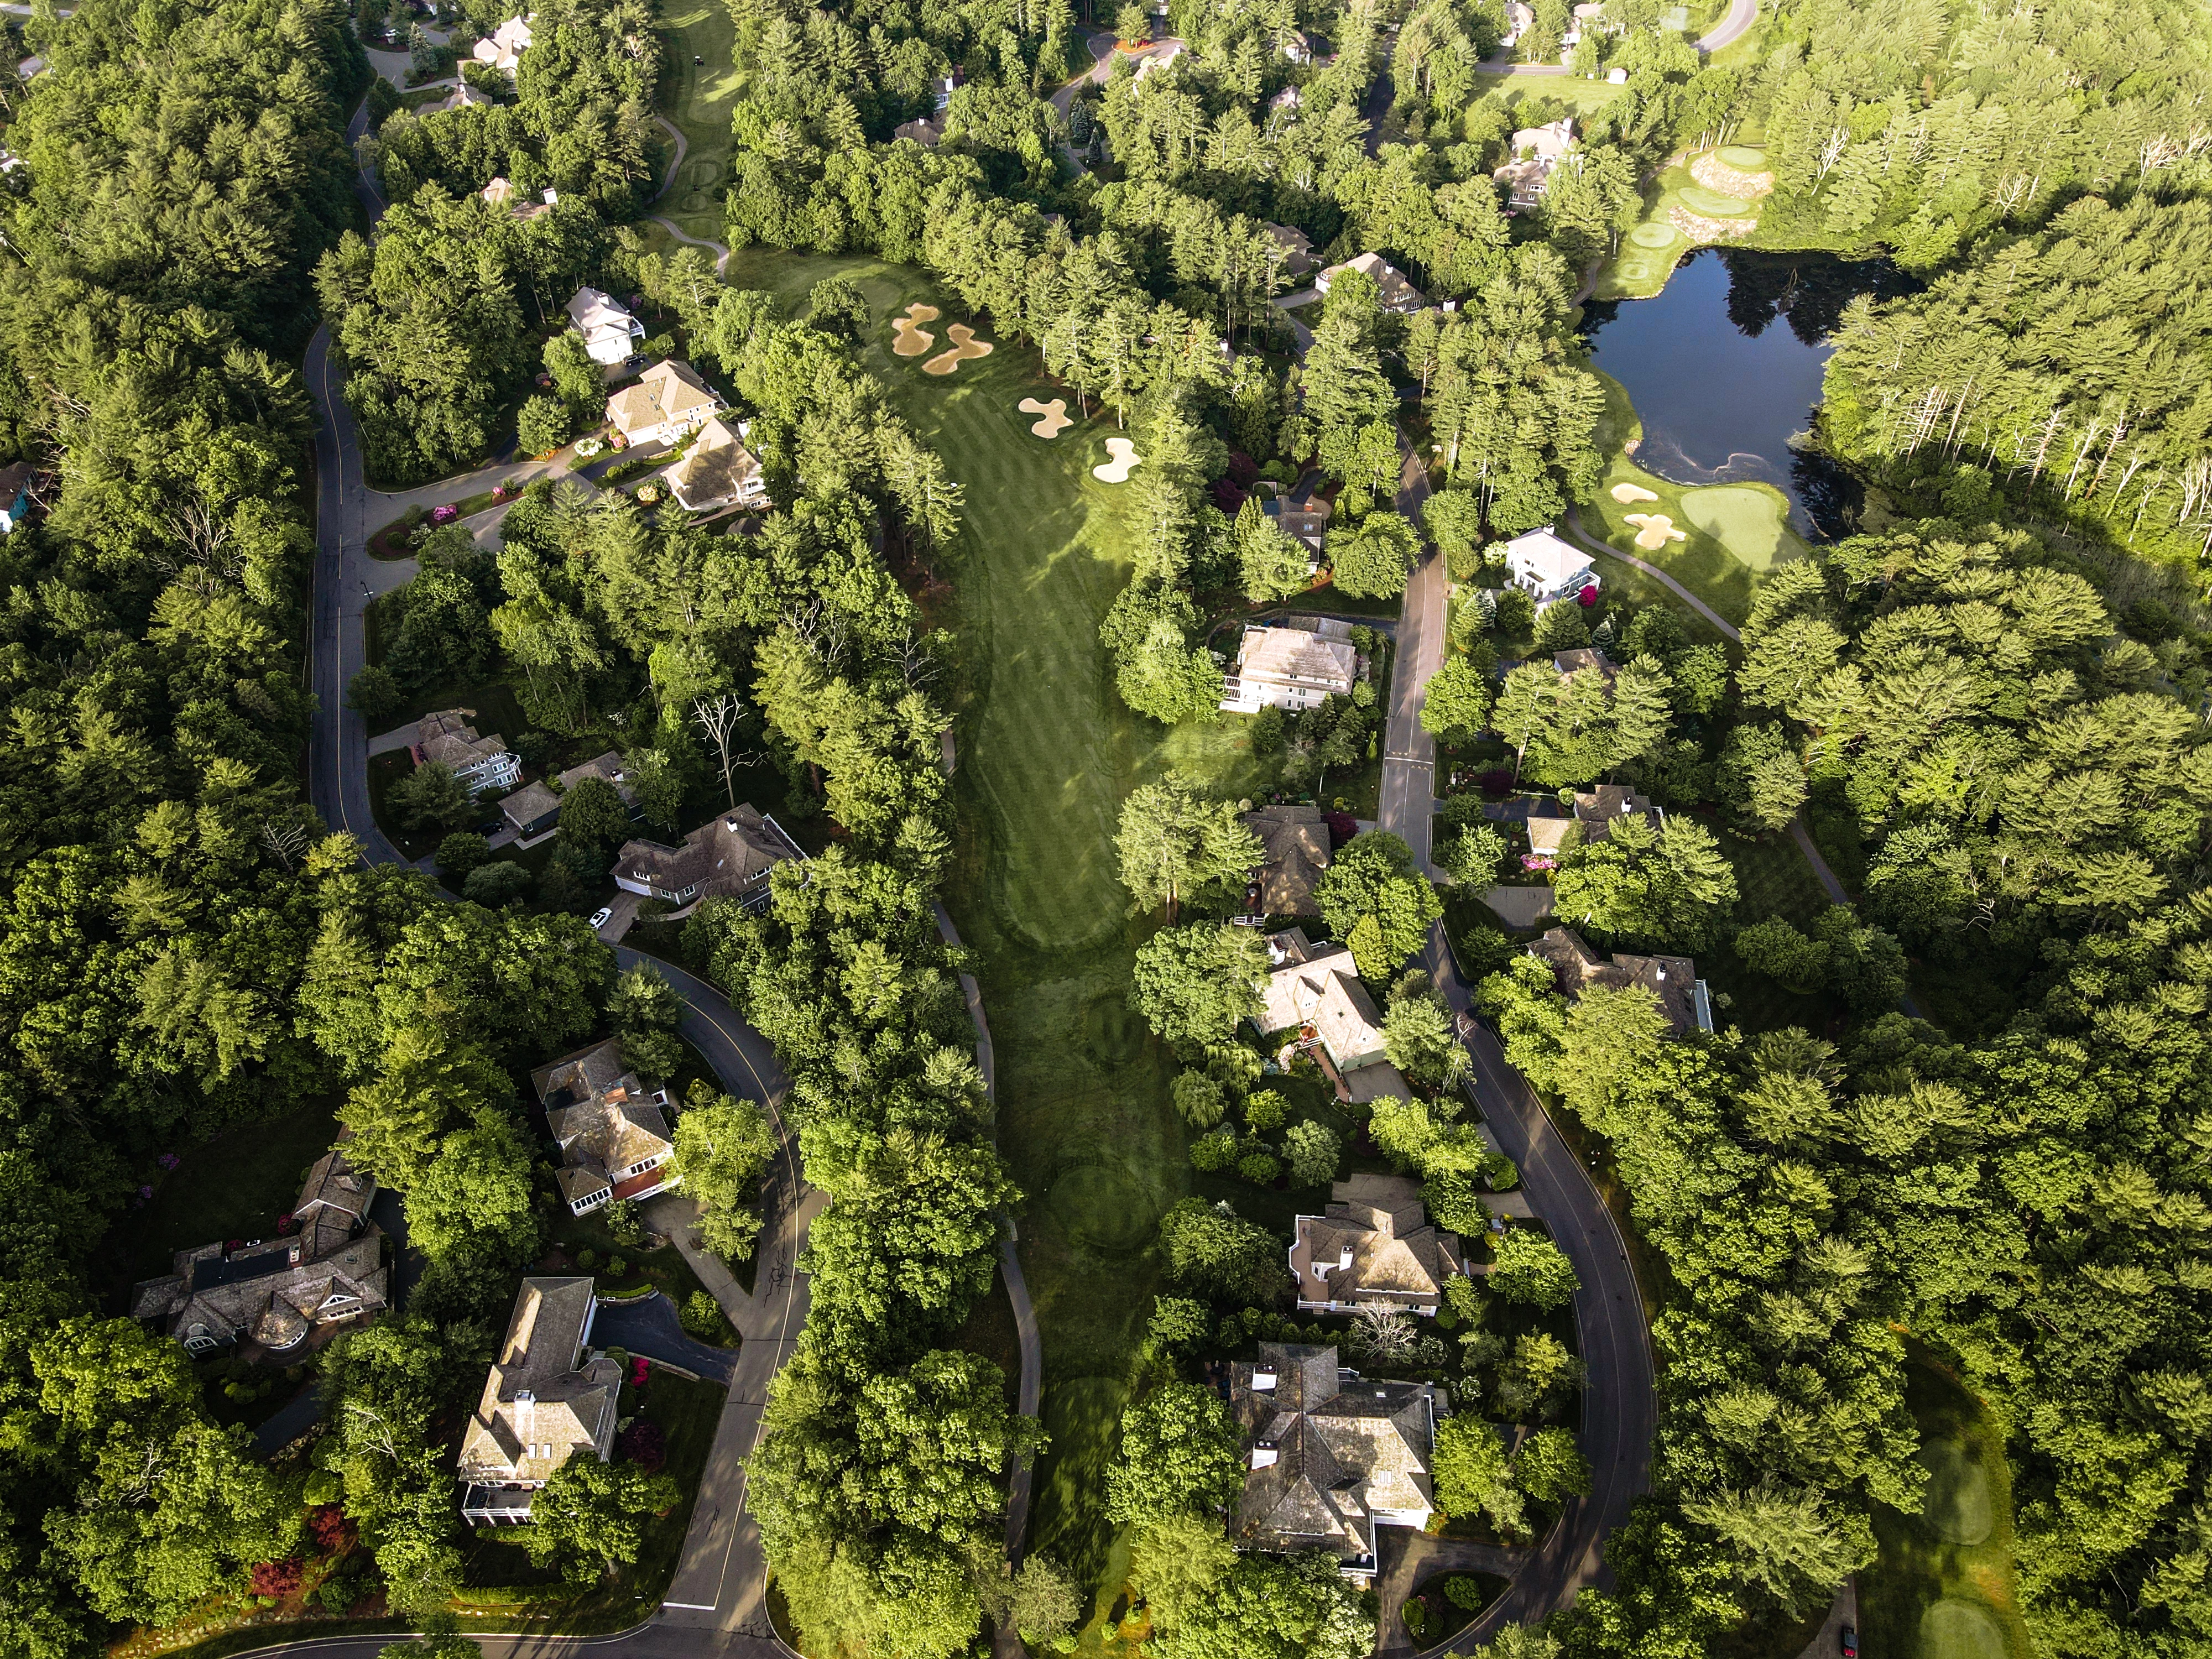
Ipswich Country Club is, first and foremost, a golf club. It features an 18-hole championship golf course designed by the legendary, Robert …
Ipswich Country Club is, first and foremost, a golf club. It features an 18-hole championship golf course designed by the legendary, Robert Trent Jones Sr. The course is a sanctuary for those looking for a great golf experience, with its natural terrain, lakes, wetlands, and tree-lined fairways. Few golf courses match the beauty and challenge found at Ipswich. Offering two magnificent practice facilities made up of a 3.5 acre driving range, 15-spot grass tee area, and a 2.5 acre short game area with three bunkers and two putting greens, members and guests alike enjoy a variety of shot-making situations.

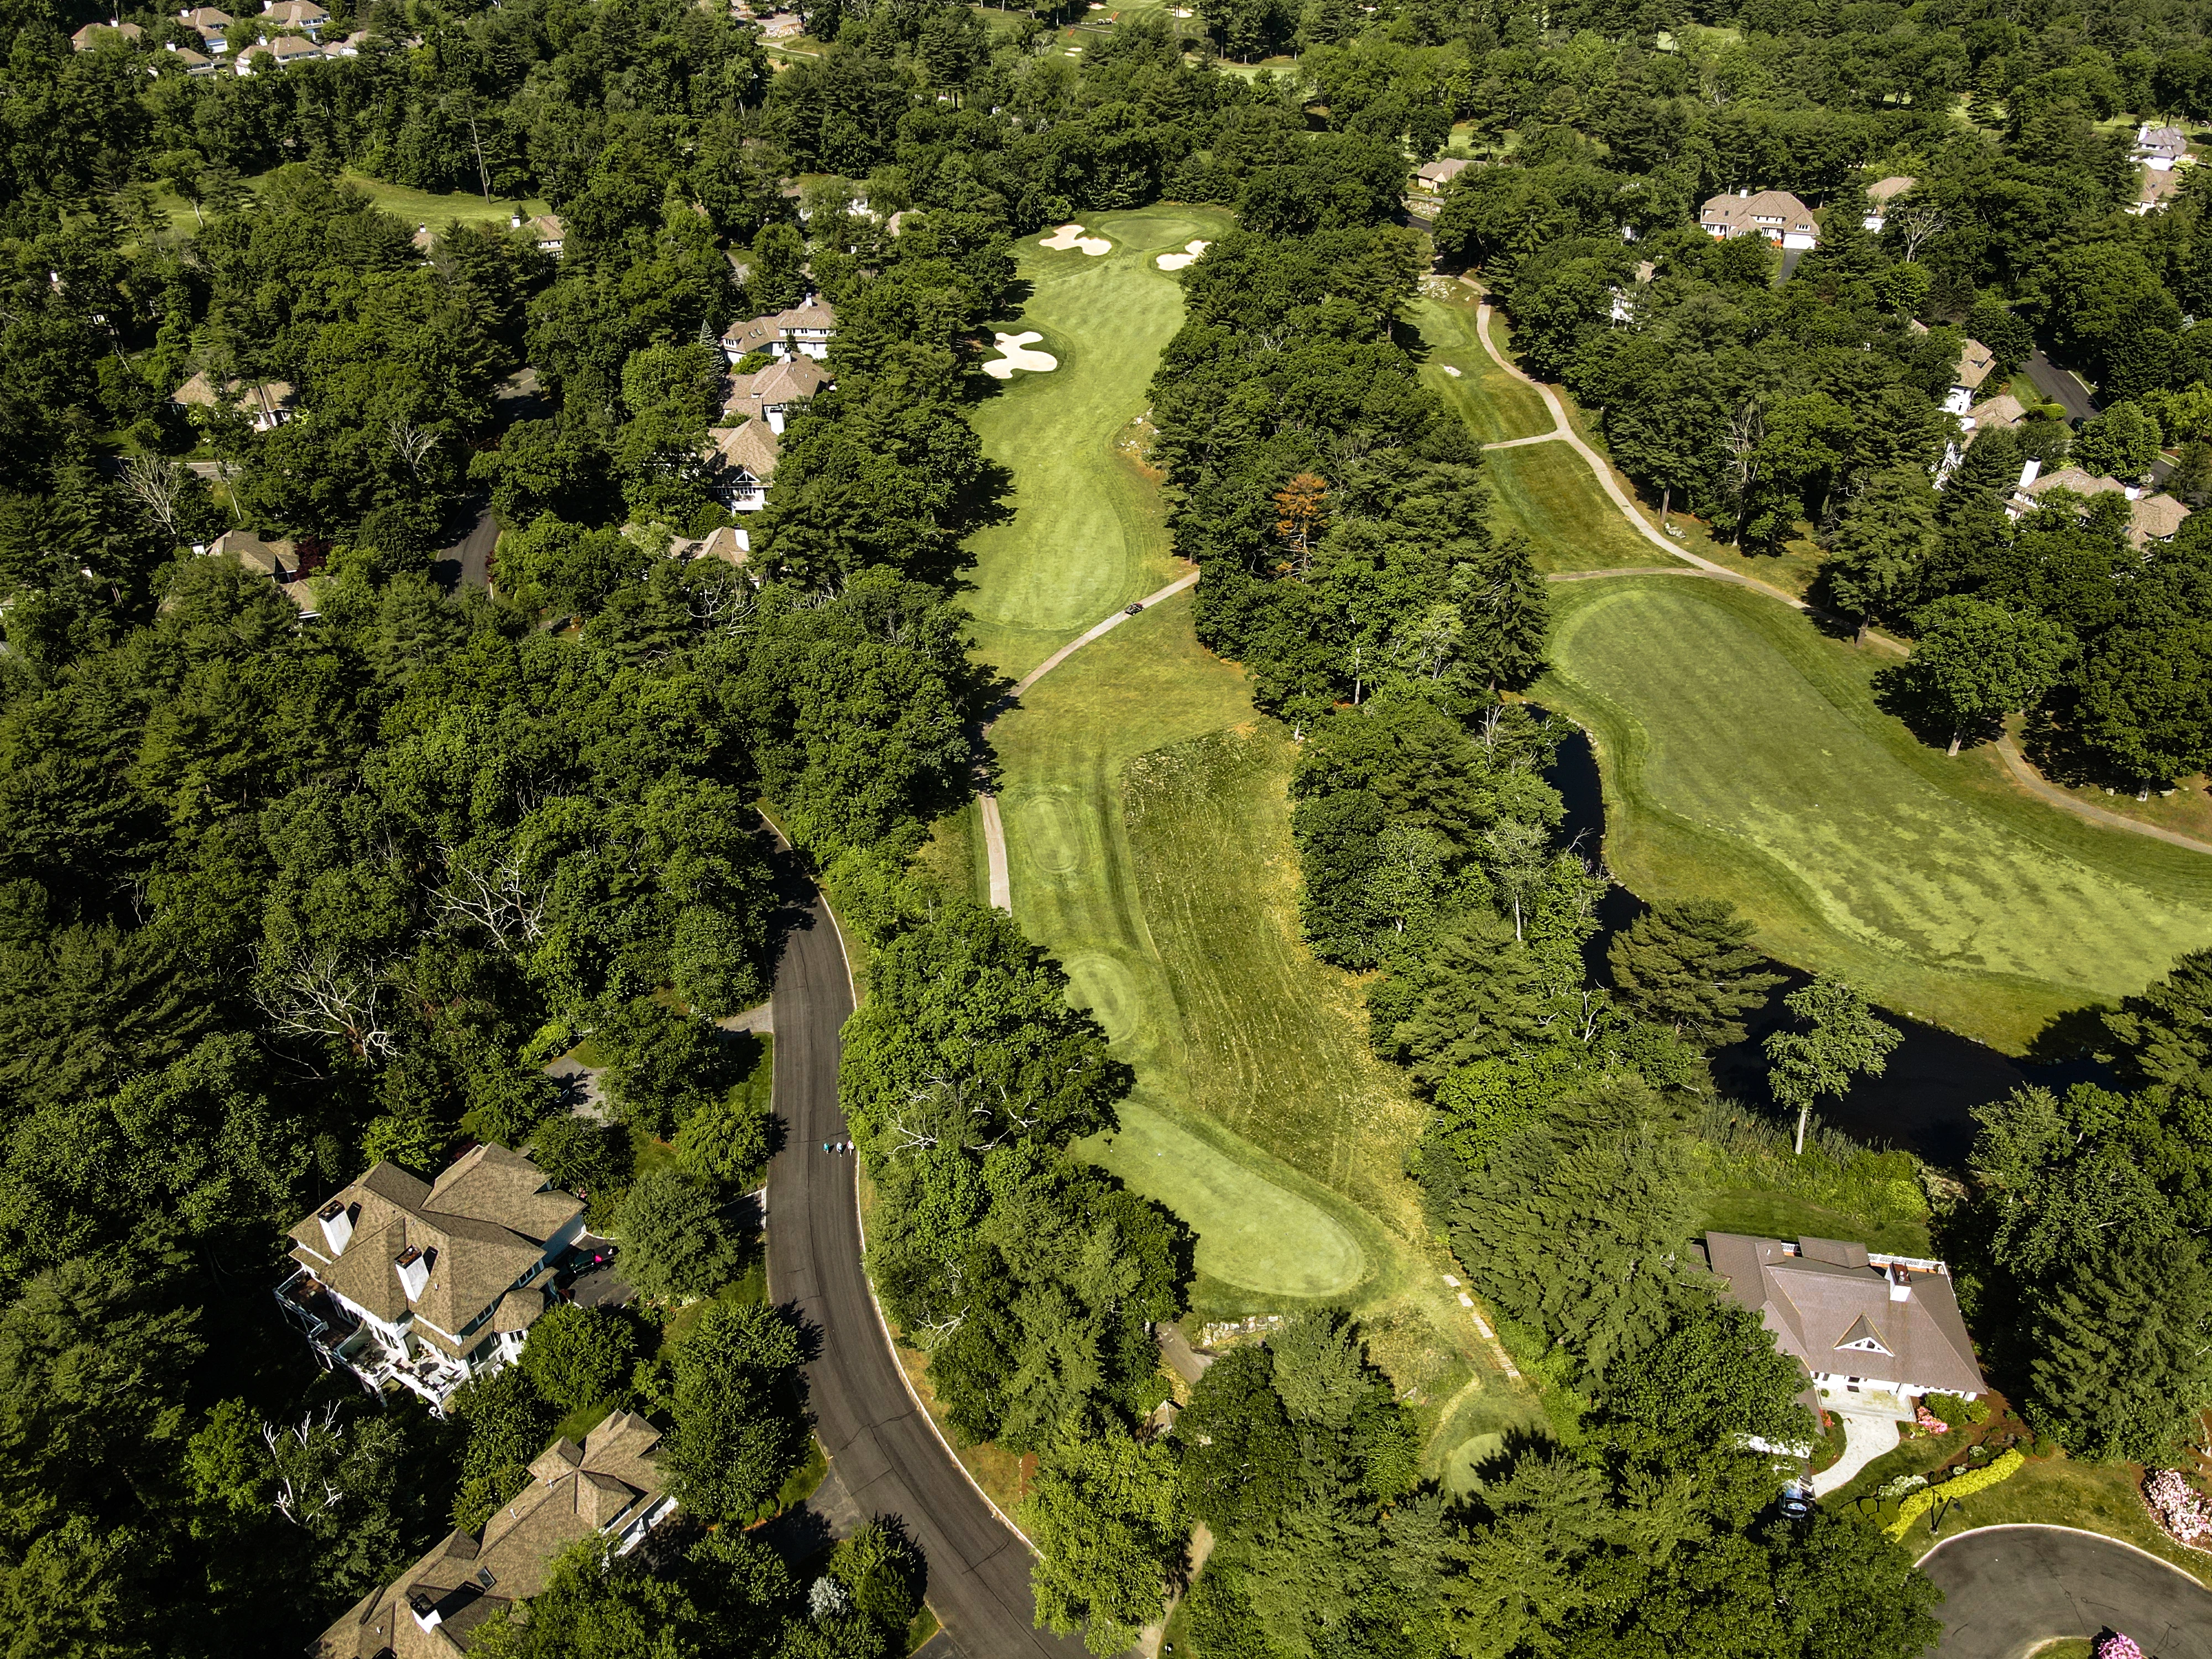
# 1 /
Par: 5
Handicaps:
Men's 7
Women's 7
Yardage by Tee:
GOLD 509
BLUE 489
WHITE 458
PURPLE 458
RED 401
Slope:
Gold 140
Pro Tips
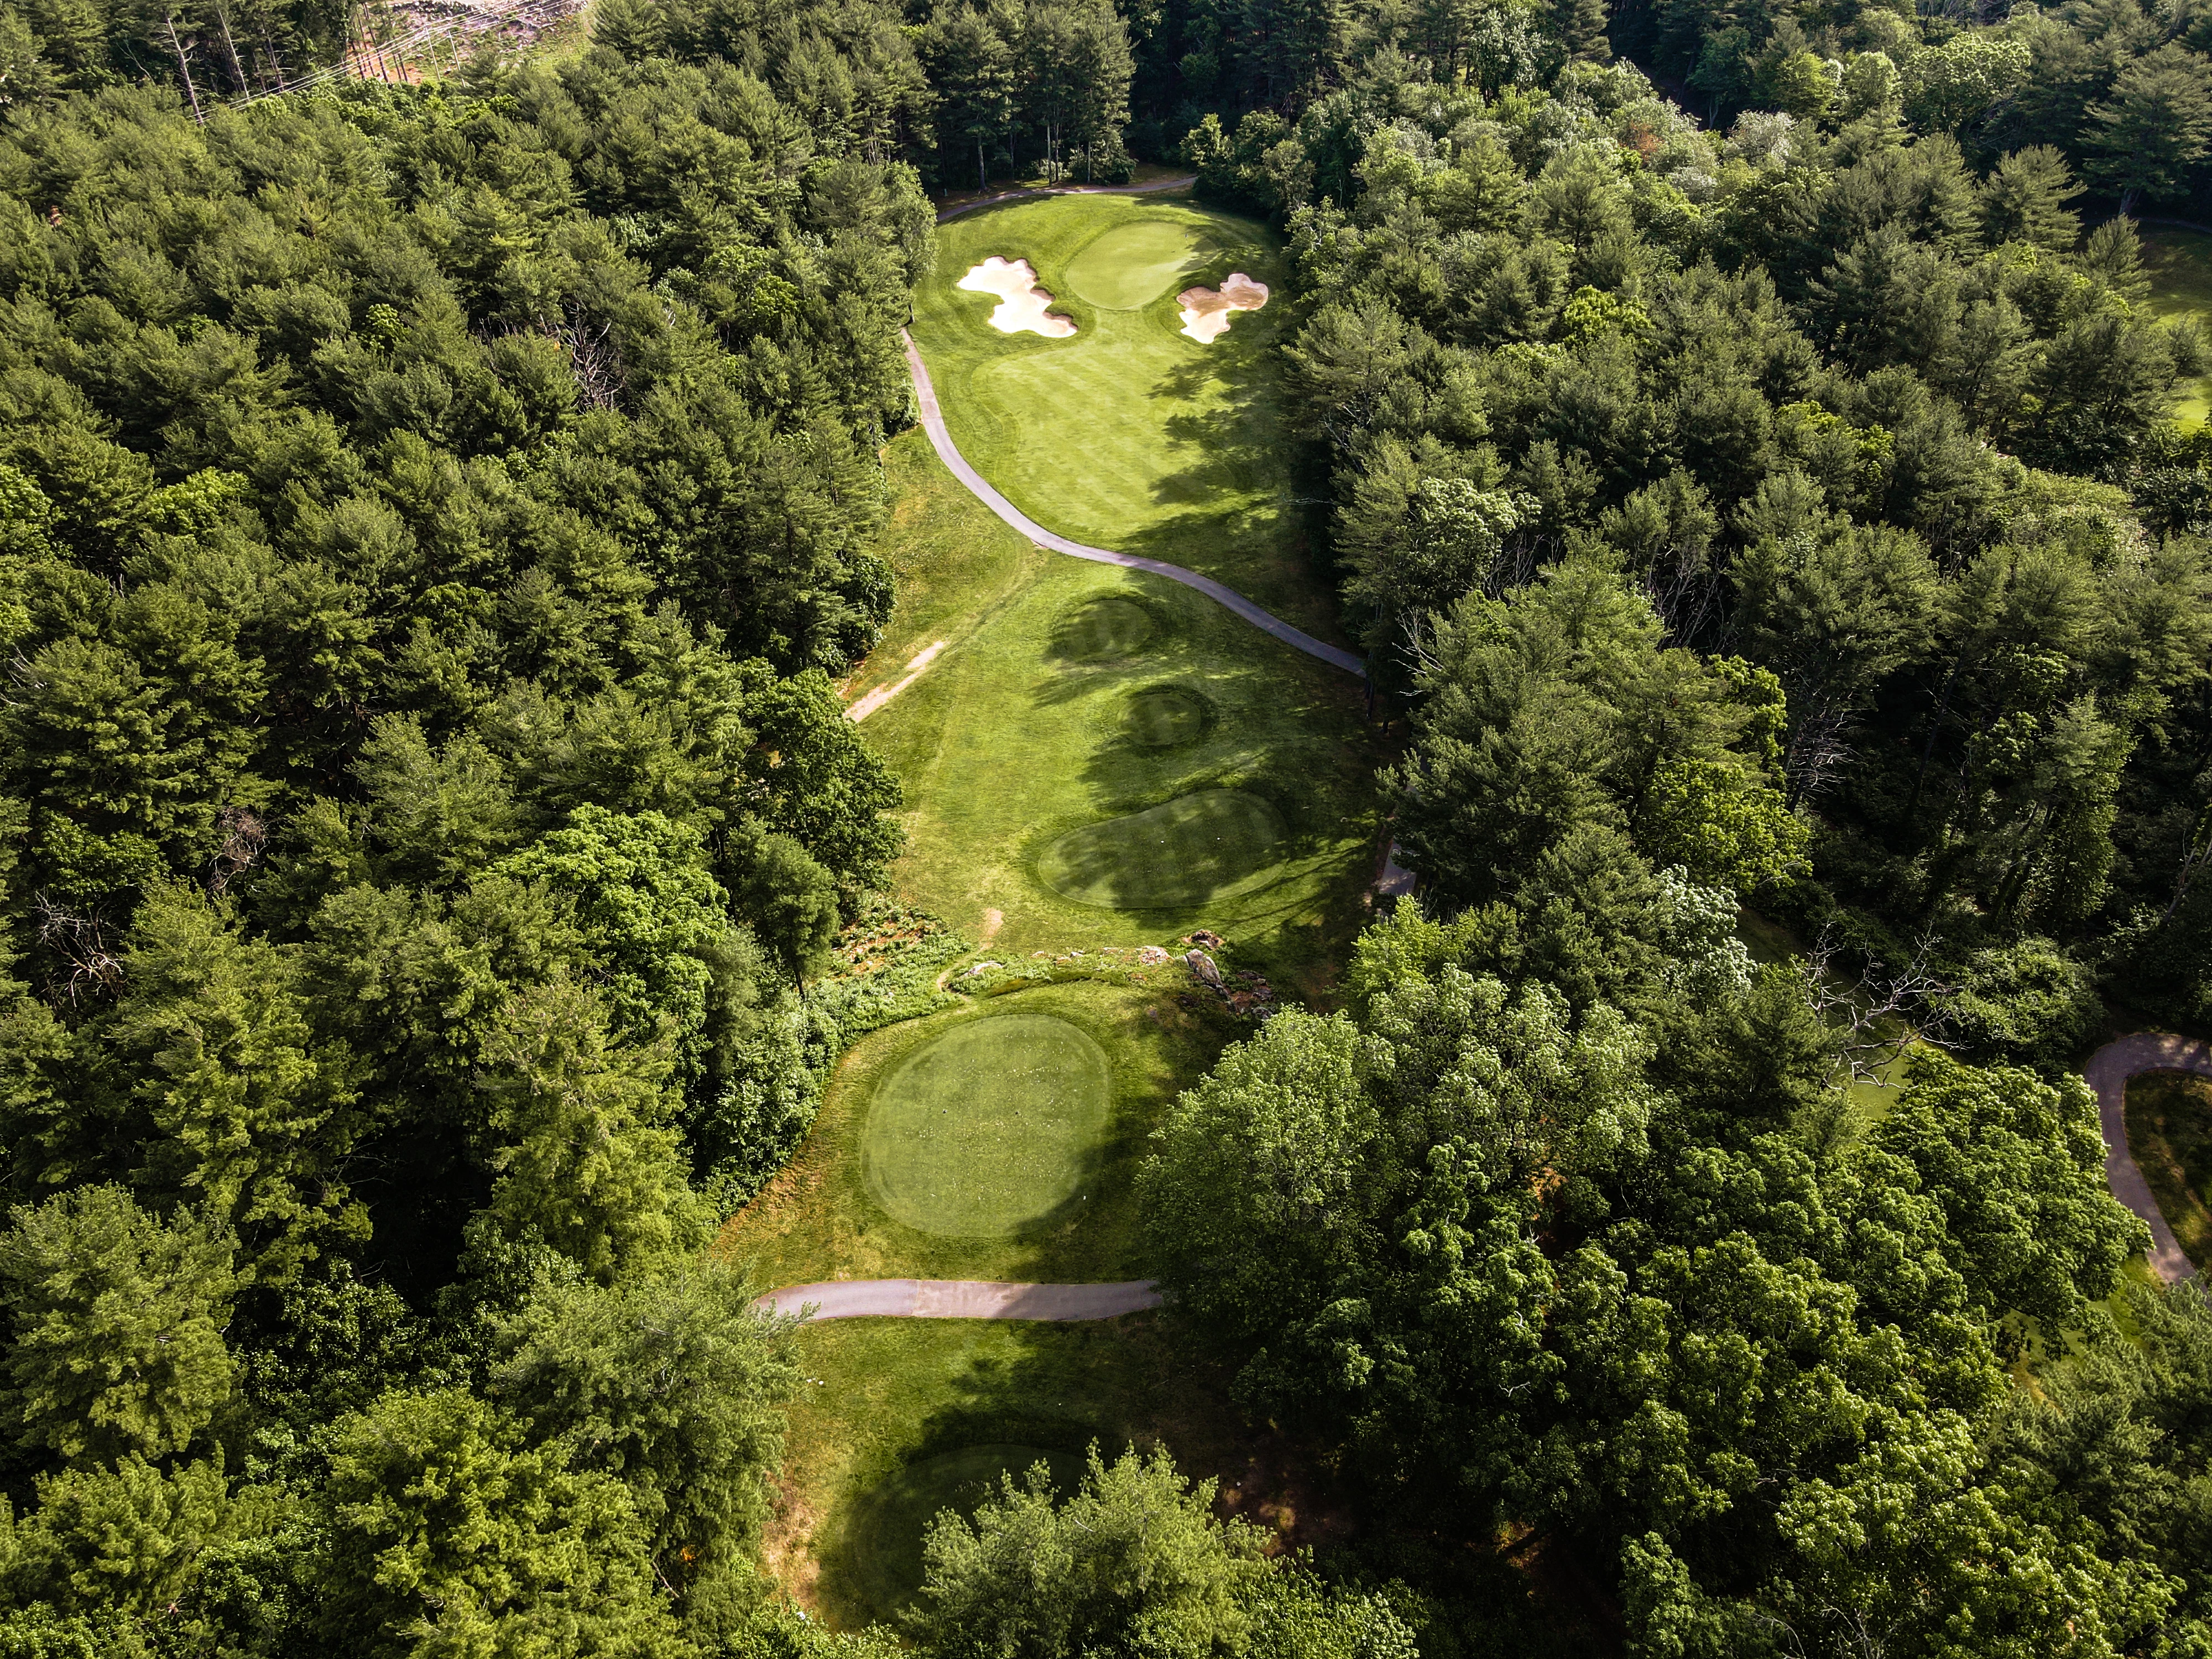
The opening hole is a dogleg par 5 that’s reachable with two solid shots. An ideal tee shot will play off the left of the fairway bunker. From there, players will have an approach shot that must navigate a water hazard, bunkers, and out-of-bounds surrounding the green.
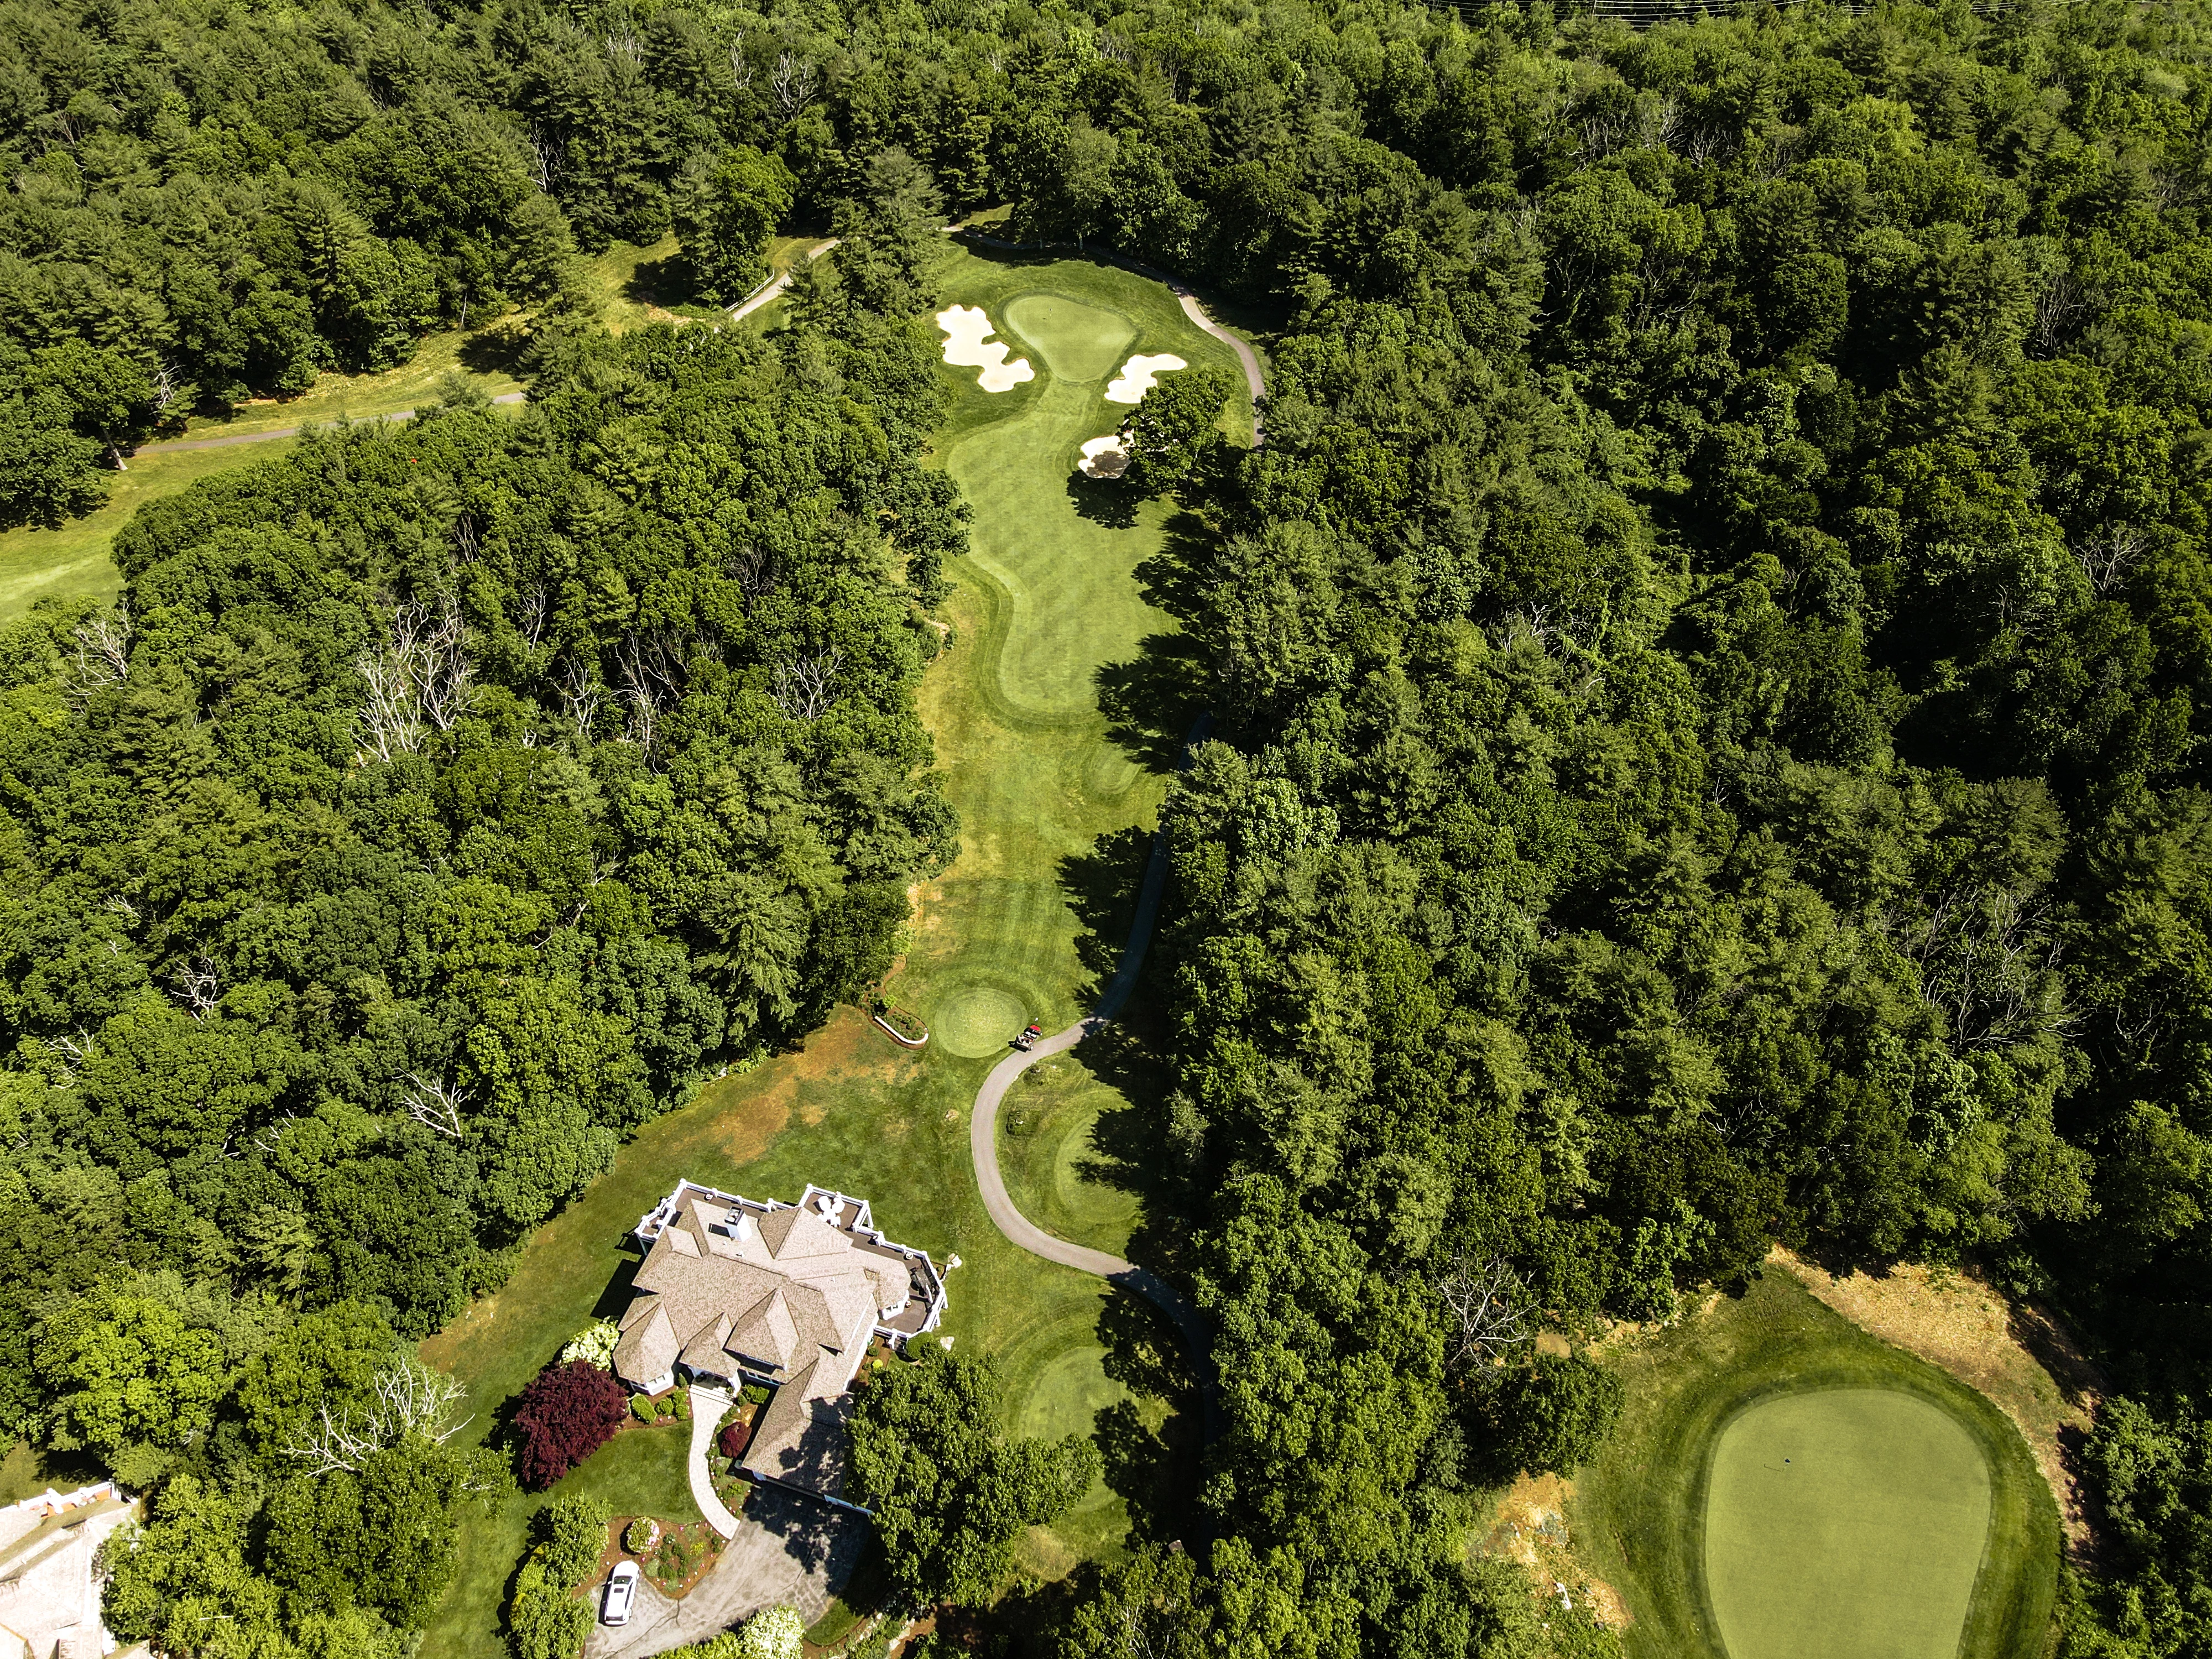
# 2 /
Par: 4
Handicaps:
Men's 13
Women's 13
Yardage by Tee:
GOLD 339
BLUE 323
WHITE 296
PURPLE 254
RED 254
Slope:
Blue 136
Pro Tips
The second hole requires a tee shot of about 230 yards to find a flat landing area. The green is undulated with a front bowl that will impact a player’s shot.
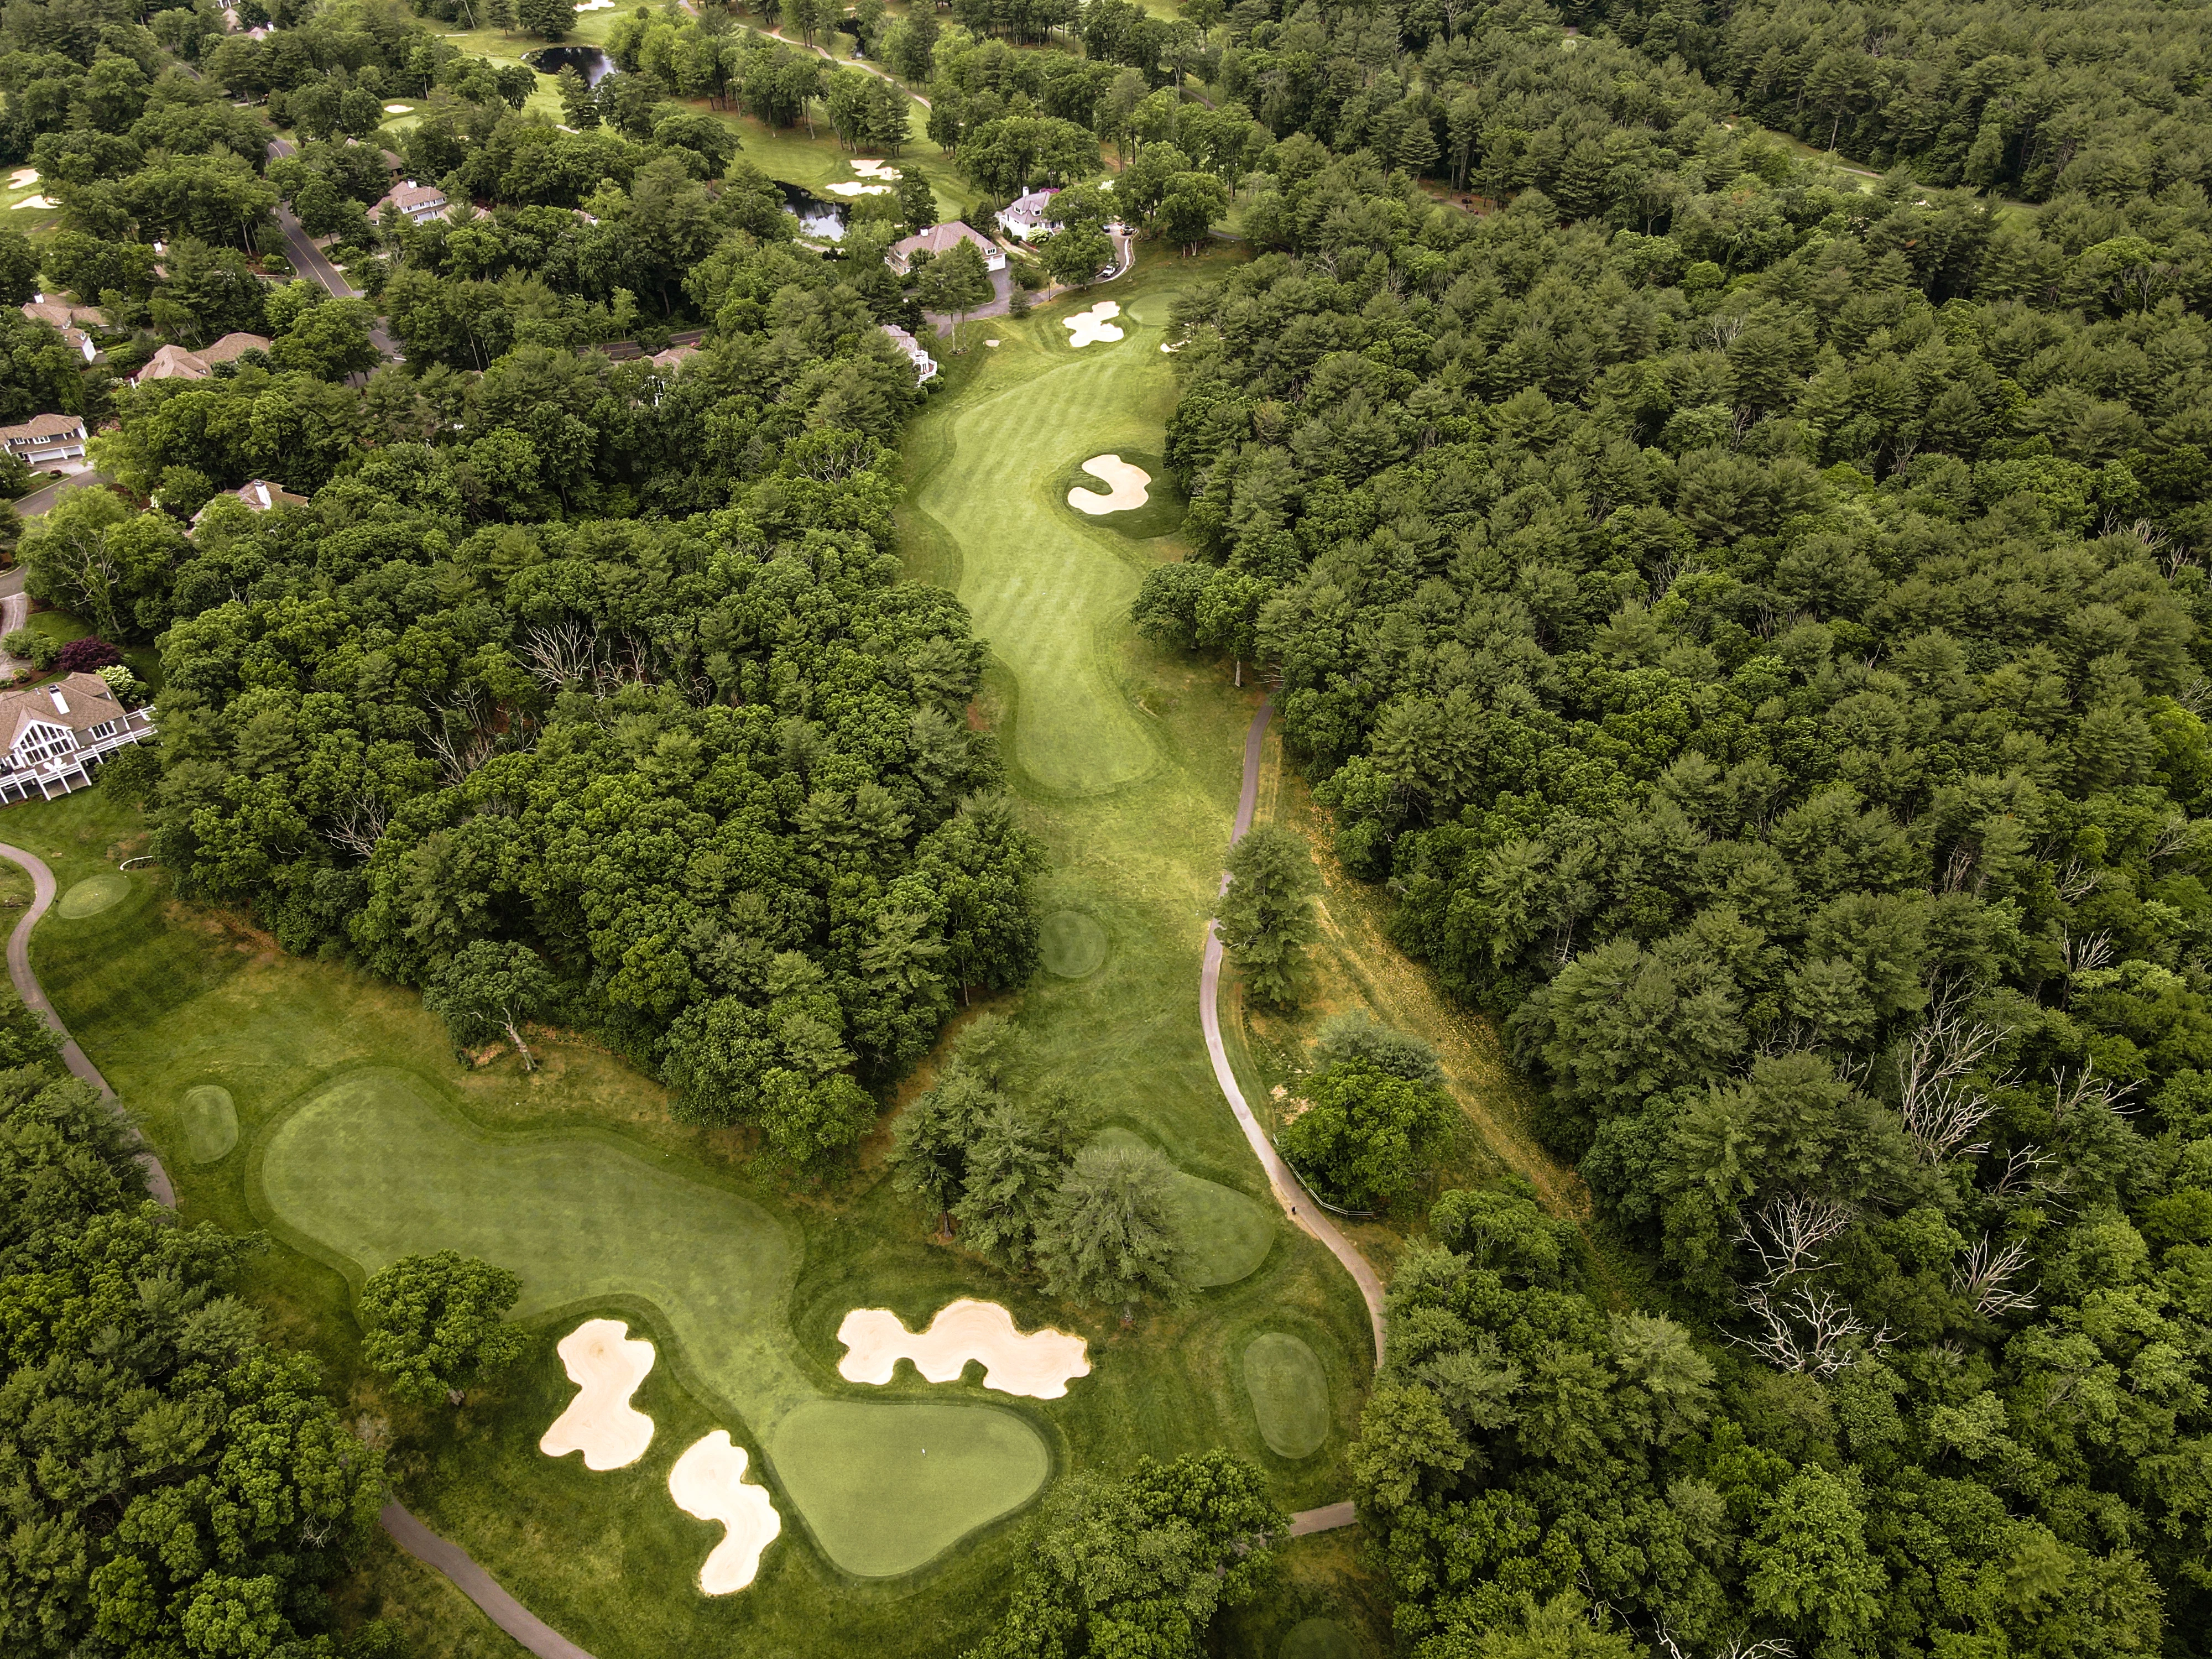
# 3 /
Par: 4
Handicaps:
Men's 11
Women's 11
Yardage by Tee:
GOLD 371
BLUE 345
WHITE 345
PURPLE 317
RED 293
Slope:
White 132
Pro Tips
A tight driving hole, the third places a premium on accuracy off the tee. The approach shot features a heavily bunkered green that’ll challenge a player’s short iron skill.
# 4 /
Par: 4
Handicaps:
Men's 3
Women's 9
Yardage by Tee:
GOLD 456
BLUE 436
WHITE 401
PURPLE 353
RED 324
Slope:
Purple 130
Pro Tips
Two bunkers protect the right side of the landing area off the tee on this par 4. Meaning the ideal line is down the left, where there’s more fairway than it appears. The green is guarded by two bunkers on the left and a water hazard right.

# 5 /
Par: 3
Handicaps:
Men's 15
Women's 15
Yardage by Tee:
GOLD 211
BLUE 191
WHITE 167
PURPLE 142
RED 142
Pro Tips
An intimidating tee shot greets players on the first par 3. Water runs from tee to green and will penalize any shots short or left. Bailing out to the right isn’t much better, though, as two bunkers protect the green on the right.
# 6 /
Par: 5
Handicaps:
Men's 1
Women's 1
Yardage by Tee:
GOLD 552
BLUE 529
WHITE 494
PURPLE 434
RED 434
Pro Tips
The tee shot on the sixth must avoid the hazard down the right side and the trees left. Generally, this hole requires three shots to hit the green, but it’s possible to reach in two with a good drive.
# 7 /
Par: 7
Handicaps:
Men's 17
Women's 17
Yardage by Tee:
GOLD 222
BLUE 196
WHITE 153
PURPLE 132
RED 111
Pro Tips
This downhill par 3 features a green that’s well-protected by bunkers. A tee shot hit off the left side will roll down towards the green.

# 8 /
Par: 4
Handicaps:
Men's 5
Women's 3
Yardage by Tee:
GOLD 432
BLUE 400
WHITE 365
PURPLE 365
RED 279
Pro Tips
The tee shot on this narrow par 4 favors a left-to-right ball flight, which will funnel from the left to the center. The approach shot requires players to carry a stream on the way to a two-tiered green.
# 9 /
Par: 4
Handicaps:
Men's 9
Women's 5
Yardage by Tee:
GOLD 417
BLUE 391
WHITE 352
PURPLE 306
RED 305
Pro Tips
The front nine ends with a dogleg par 4. The tee shot should avoid the first bunker on the left, which will set up an uphill second shot. The smart play is to aim for the right side of the green.
# 10 /
Par: 5
Handicaps:
Men's 10
Women's 8
Yardage by Tee:
GOLD 527
BLUE 488
WHITE 465
PURPLE 430
RED 430
Pro Tips
This par 5 will reward a long, straight drive that avoids the pond on the left. Players who manage that will have an opportunity to hit the green in two. Otherwise, the play is laying-up to a comfortable yardage to attack with a third shot. The approach must avoid trouble on the right.

# 11 /
Par: 3
Handicaps:
Men's 18
Women's 16
Yardage by Tee:
GOLD 147
BLUE 138
WHITE 123
PURPLE 123
RED 102
Pro Tips
A deep front bunker protects this par 3. Featuring plenty of undulation, this green will funnel any shots that land in the middle-back to the left.

# 12 /
Par: 4
Handicaps:
Men's 4
Women's 6
Yardage by Tee:
GOLD 421
BLUE 376
WHITE 356
PURPLE 335
RED 335
Pro Tips
The ideal tee shot is down the left side of the fairway on this par 4, but anything off the fairway to the left is trouble. An approach shot to the center of the green is the smart play, as a missed green can punish as well.
# 13 /
Par: 5
Handicaps:
Men's 2
Women's 2
Yardage by Tee:
GOLD 558
BLUE 526
WHITE 486
PURPLE 461
RED 461
Pro Tips
This par 5 is typically a three-shot hole. The tee shot only requires a long iron or fairway wood to get started. From there, hitting the fairway and advancing the ball ought to be prioritized. The green is guarded by two bunkers and a water hazard on the right.
# 14 /
Par: 4
Handicaps:
Men's 12
Women's 12
Yardage by Tee:
GOLD 380
BLUE 351
WHITE 335
PURPLE 319
RED 285
Pro Tips
A tee shot down the left on this par 4 will bounce off the hill and back into the fairway. The approach ought to avoid going long into a green that’s guarded by two bunkers.

# 15 /
Par: 4
Handicaps:
Men's 8
Women's 10
Yardage by Tee:
GOLD 413
BLUE 382
WHITE 355
PURPLE 321
RED 283
Pro Tips
This dogleg par 4 features a pond around the right side of the corner. Thus, a drive down the left is safer, but requires a player get past the trees to have a clear view of the flattest green on the course.
# 16 /
Par: 3
Handicaps:
Men's 16
Women's 18
Yardage by Tee:
GOLD 224
BLUE 190
WHITE 166
PURPLE 166
RED 120
Pro Tips
The final par 3 typically plays shorter than its yardage and demands an accurate tee shot if a player wants a shot at birdie. Anything right can result in a ball catching the slope and ending in disaster in the woods.
# 17 /
Par: 4
Handicaps:
Men's 14
Women's 14
Yardage by Tee:
GOLD 389
BLUE 345
WHITE 317
PURPLE 262
RED 262
Pro Tips
The ideal line off the tee is down the left side of the fairway to avoid the right bunker. Players can use the slope of the green to funnel the approach to a middle or left pin, but anything on the right will probably require more club.

# 18 /
Par: 4
Handicaps:
Men's 6
Women's 4
Yardage by Tee:
GOLD 455
BLUE 430
WHITE 403
PURPLE 338
RED 338
Pro Tips
The finish is a long par 4 featuring bunkers, water, and extreme elevation changes, making it a signature hole. Players will need to be long and straight off the tee to set up a long-iron approach into a three-tired, elevated green.