Golf Course
Designer: Ralph Plummer
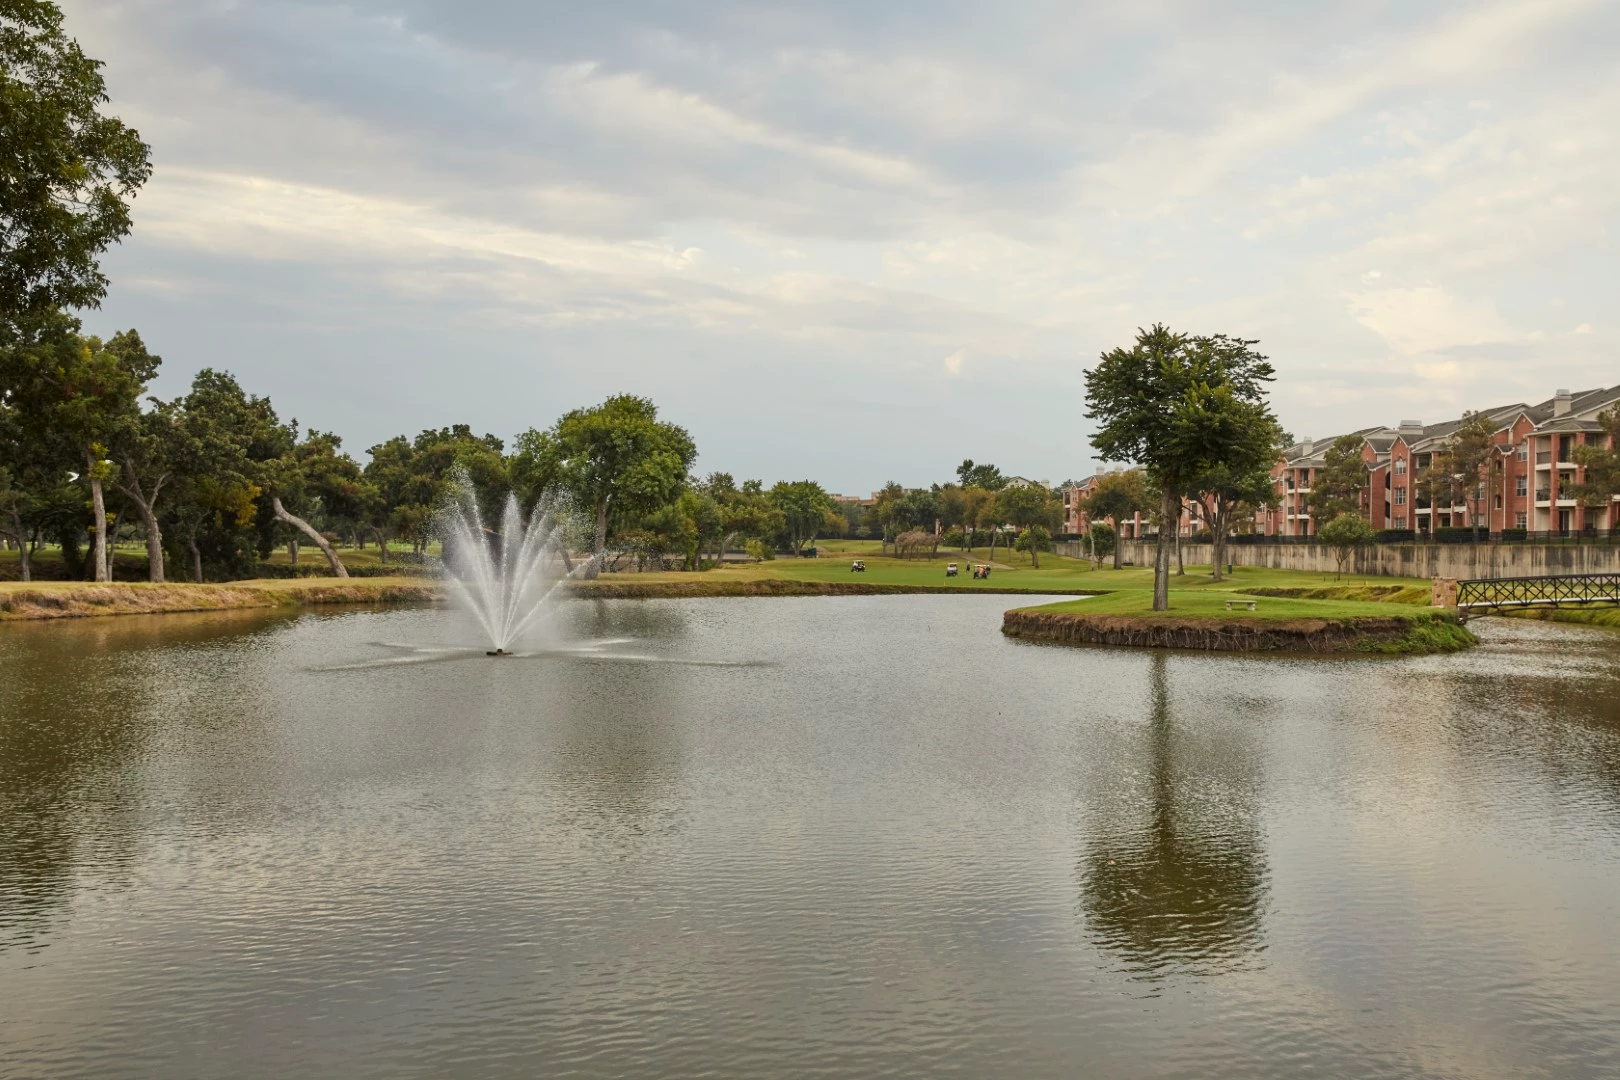
The Creek's renowned 18-hole championship course, originally crafted by Ralph Plummer and revamped in 1986, stands as a testament to golfing…
The Creek's renowned 18-hole championship course, originally crafted by Ralph Plummer and revamped in 1986, stands as a testament to golfing excellence. With 18 holes, a par of 71, a rating of 72.5, a slope of 137, and stretching 6,504 yards, this course embodies a storied legacy of challenge and skill.
# 1 / Hole #1
Par: 4
Handicaps:
Men's 9
Women's 9
Yardage by Tee:
Blue 379
Gold 386
Green 360
Red 318
Pro Tips
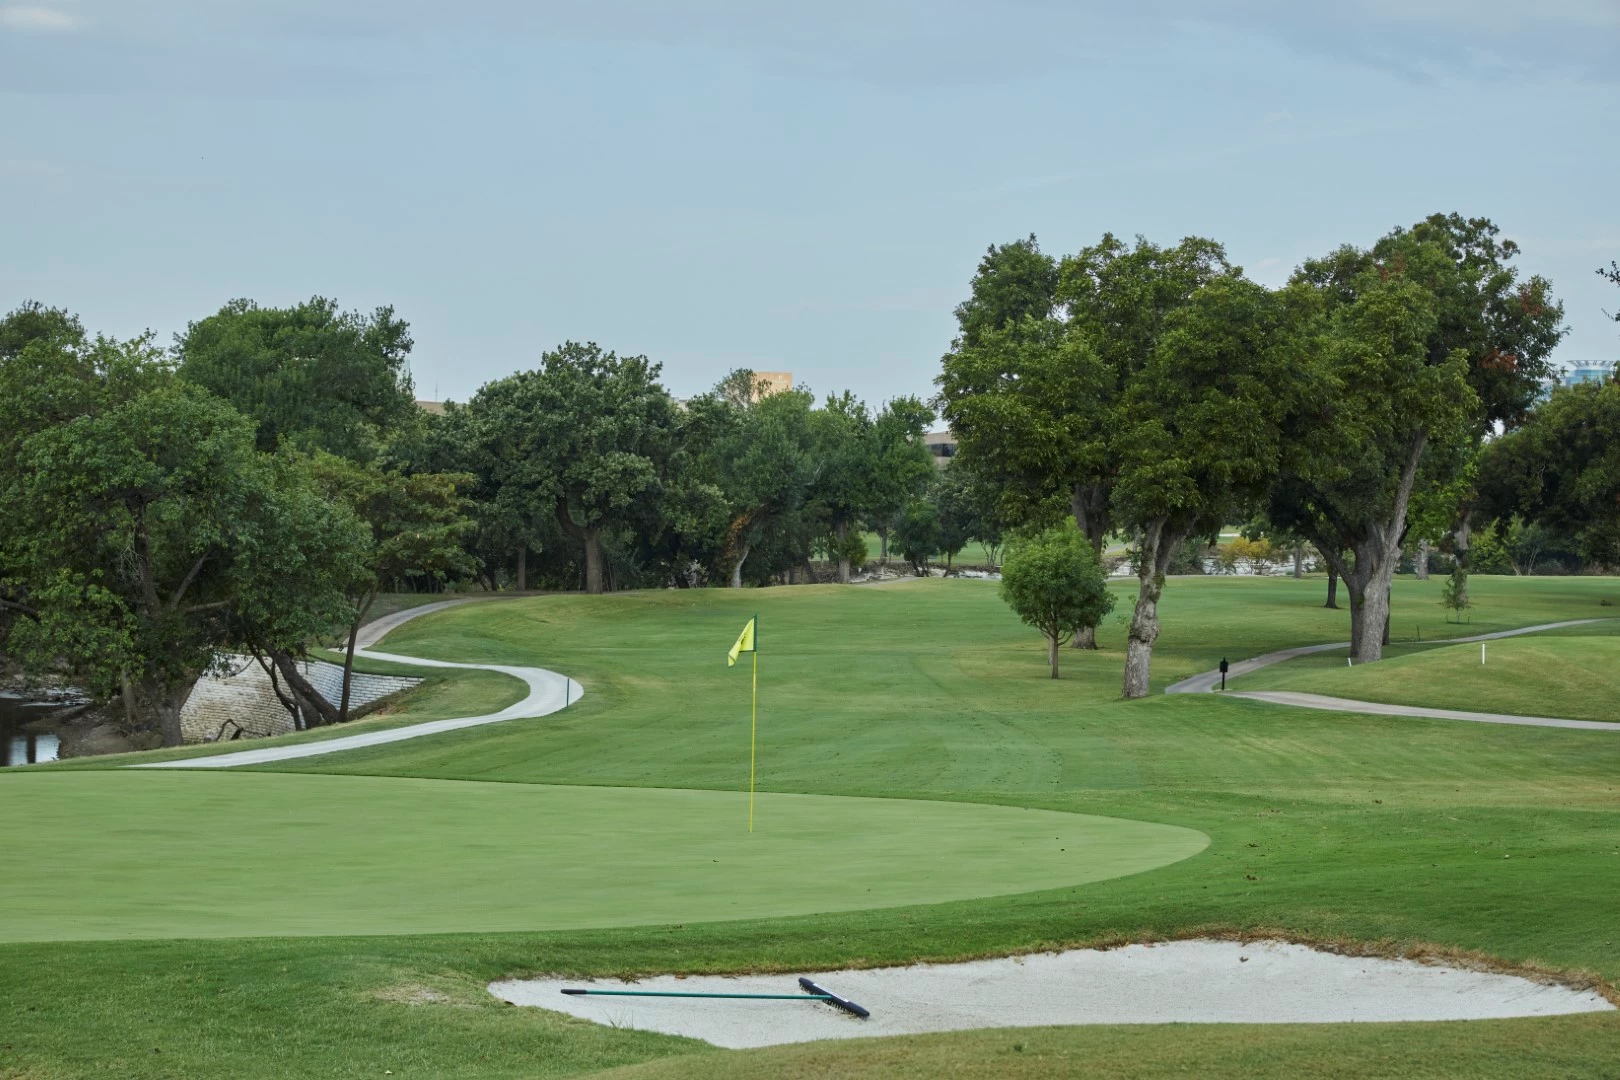
A well hit drive off to the right center of the fairway will leave you a short approach into the green. You will want to avoid White Rock Creek on the left and the fairway bunker on the right if you want to start your round with a par.
# 2 / Hole #2
Par: 4
Handicaps:
Men's 3
Women's 3
Yardage by Tee:
Blue 363
Gold 379
Green 263
Red 234
Pro Tips
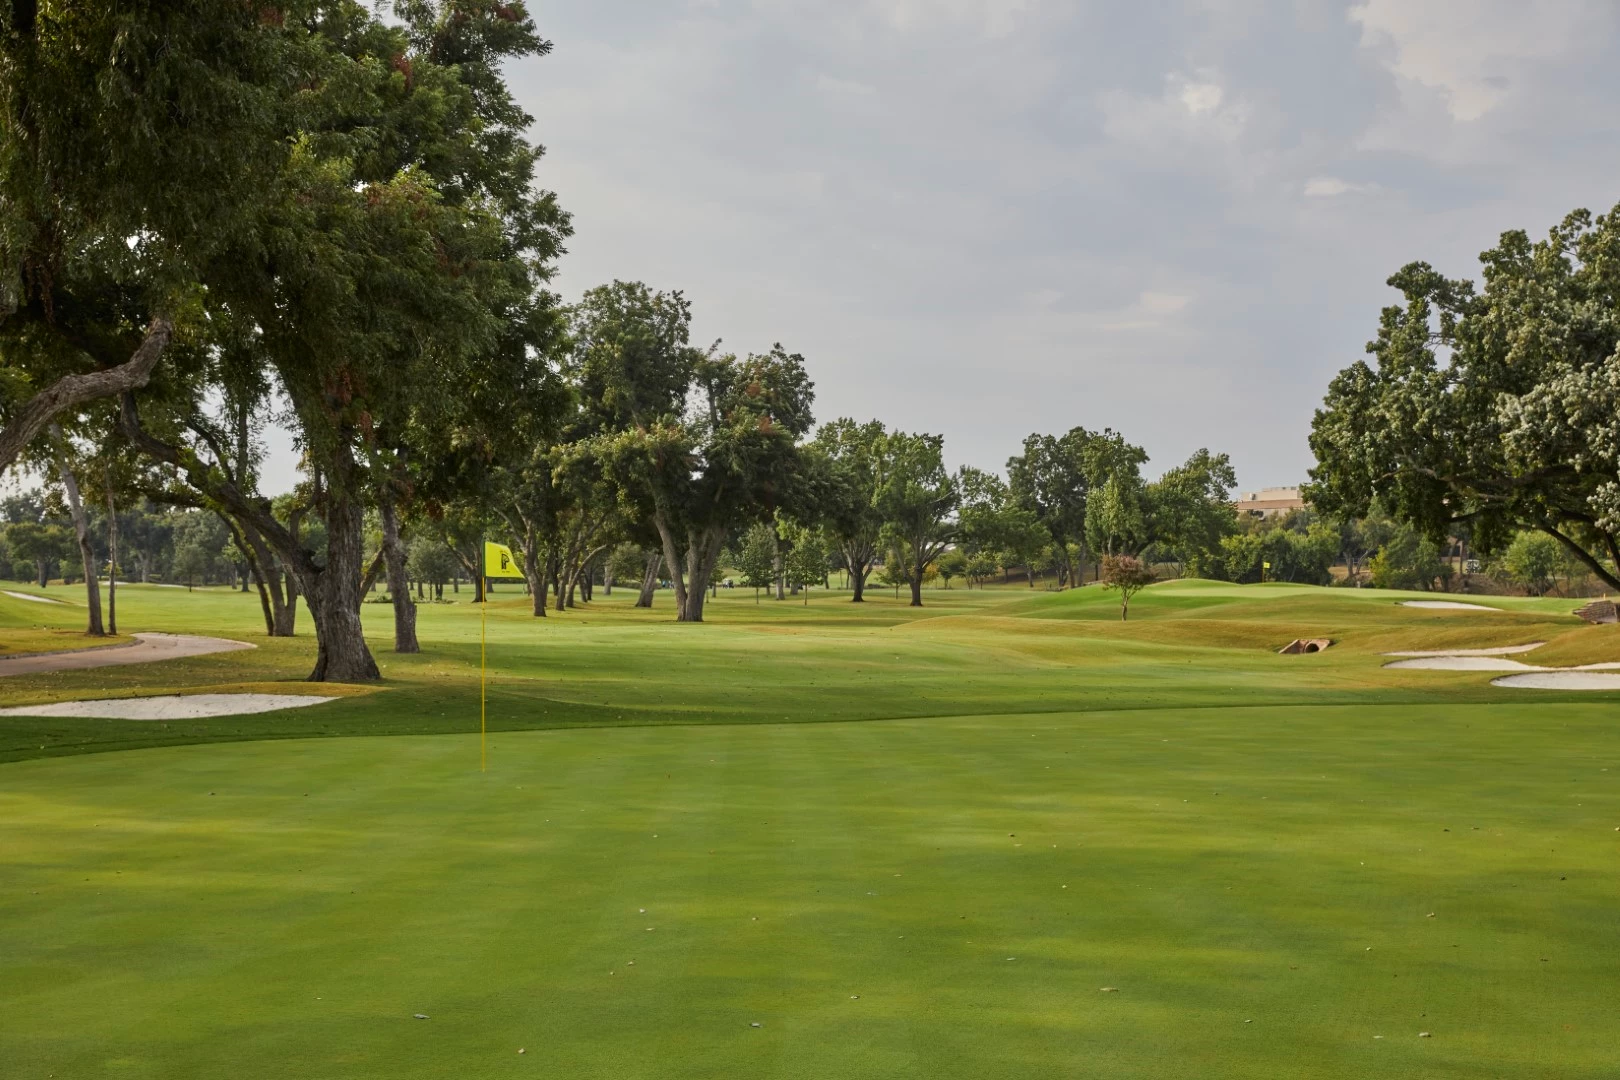
Hitting the ball in the fairway is at a premium on this short par 4. The more risk you are willing to take by going down the right side of the fairway the shorter your approach shot, be careful of White Rock Creek as it protects the green. Take and extra ½ club into the green when hitting your approach shot.
# 3 / Hole #3
Par: 4
Handicaps:
Men's 7
Women's 7
Yardage by Tee:
Blue 379
Gold 379
Green 337
Red 327
Pro Tips
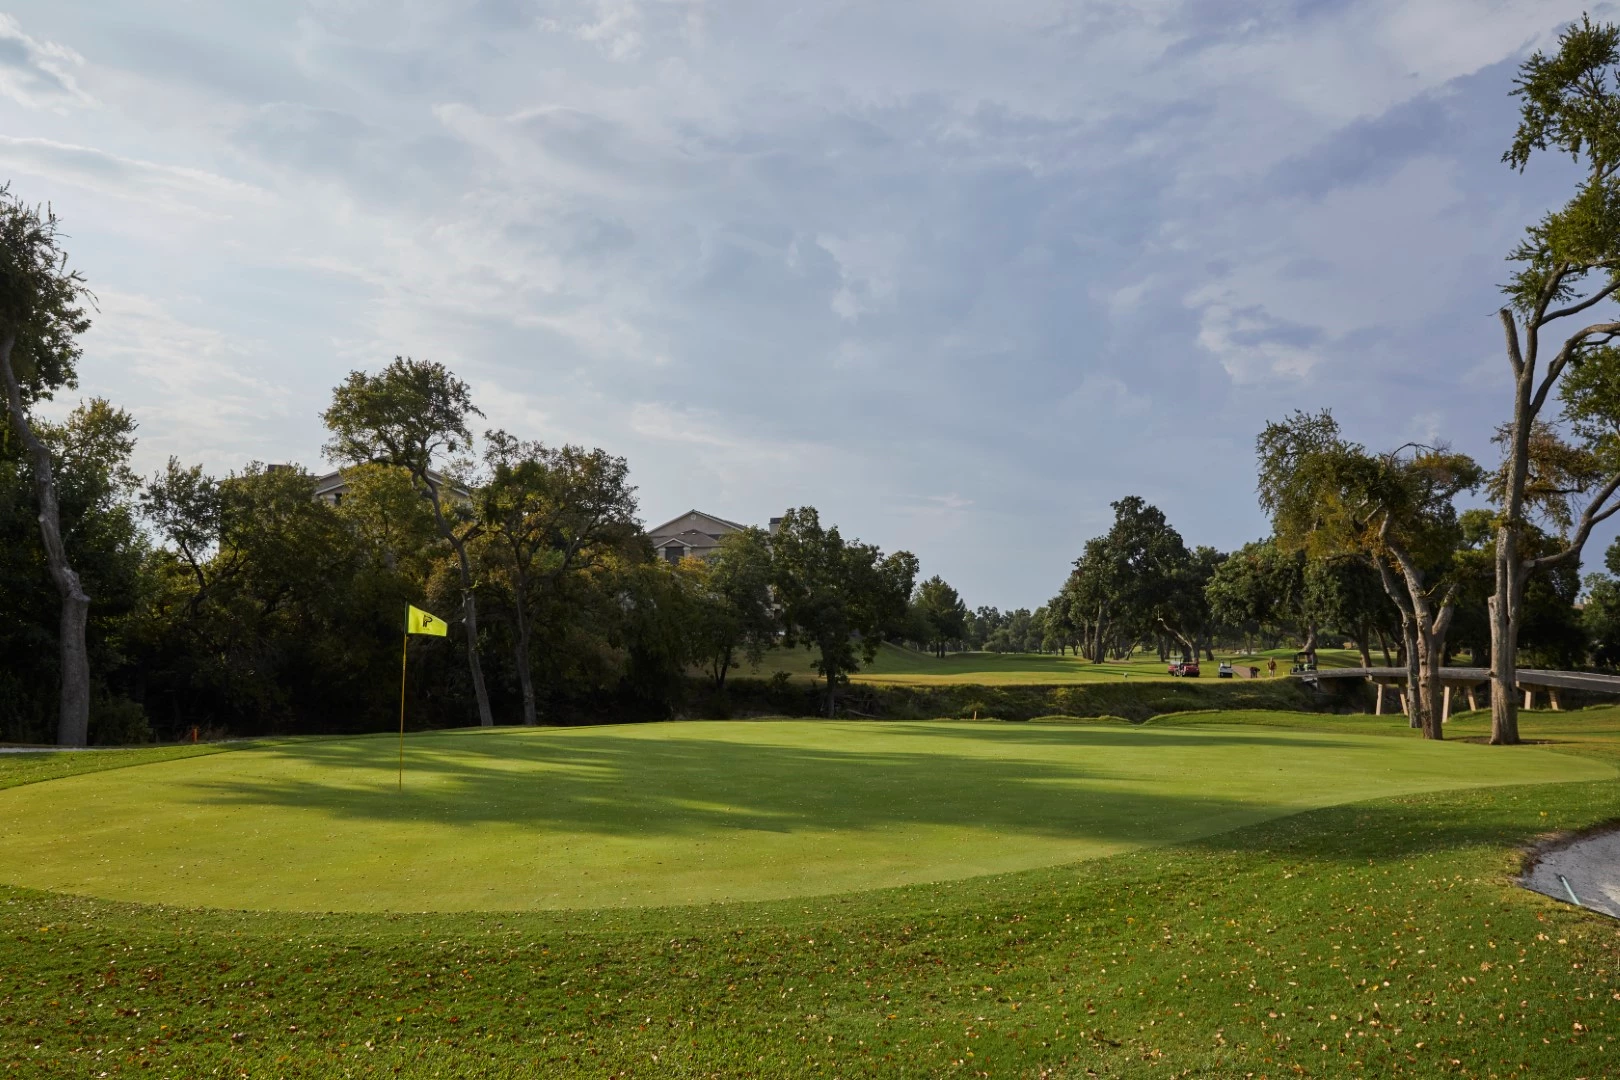
Avoid the fairway bunker on the left and you will have an approach shot to this water protected green. Come up short and the false front will have chipping back up to the green from 15 yards.

# 4 / Hole #4
Par: 3
Handicaps:
Men's 13
Women's 15
Yardage by Tee:
Blue 155
Gold 170
Green 131
Red 112
Pro Tips
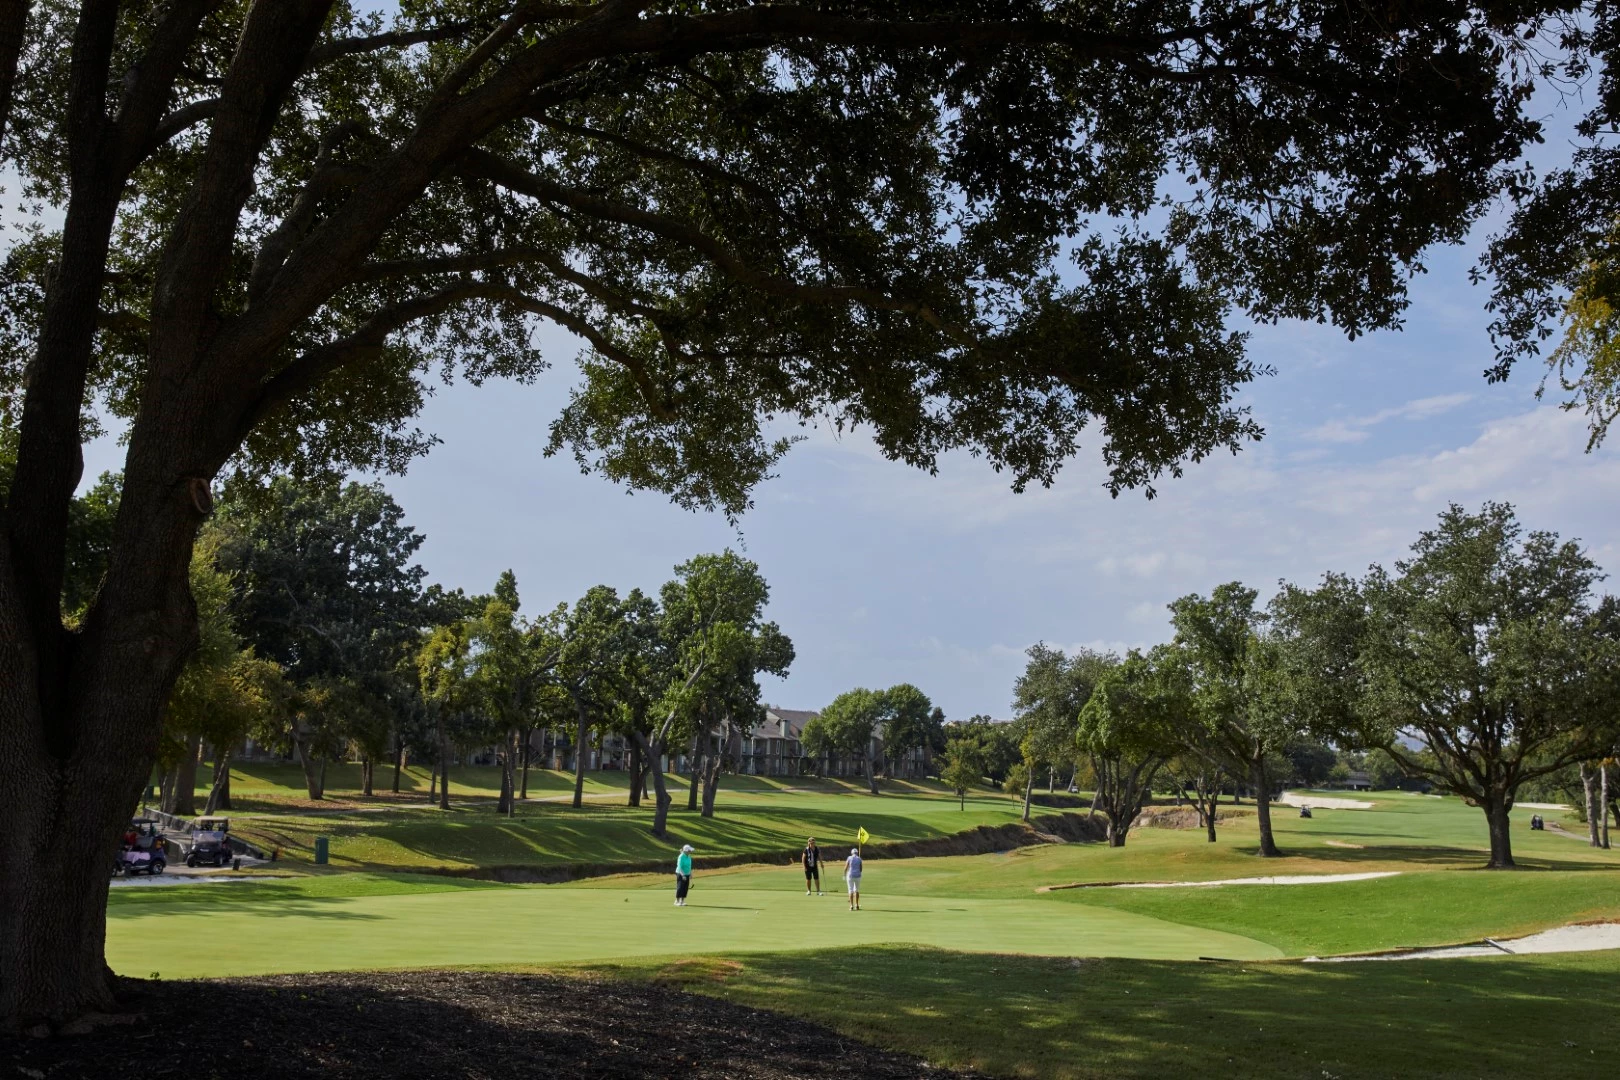
Avoid The Valley of Sin to the left of the green, a difficult up and down awaits you if you end up there. White Rock Creek borders the front of the green and the right side. Try and hit the center of the green.
# 5 / Hole #5
Par: 4
Handicaps:
Men's 15
Women's 13
Yardage by Tee:
Blue 376
Gold 384
Green 349
Red 335
Pro Tips
Hit an iron off the tee to try and find the fairway on this dog leg right. Hit a midiron second shot in order to reach the uphill green if you are wanting to make par on this hole.
# 6 / Hole #6
Par: 5
Handicaps:
Men's 1
Women's 11
Yardage by Tee:
Blue 510
Gold 551
Green 469
Red 435
Pro Tips
If you are going to hit your driver on this Par 5 hug the right side of the fairway as much as possible, this will give you the best angle to hit the green in two for long hitters. For everyone else, try starting with a 3 wood off the tee, followed by a midiron and wedge shot in order to finish the hole strong.
# 7 / Hole #7
Par: 5
Handicaps:
Men's 11
Women's 5
Yardage by Tee:
Blue 498
Gold 512
Green 478
Red 464
Pro Tips
When hitting off the tee, try and hug the left side of the fairway for this par 5 in order to have the best chance to make it on the green in two. This particular green is protected by an array of trees and a large bunker on the right side of the green.
# 8 / Hole #8
Par: 3
Handicaps:
Men's 17
Women's 17
Yardage by Tee:
Blue 210
Gold 225
Green 143
Red 127
Pro Tips
This 210 yard par 3 is one that you must carry over White Rock Creek in order to reach the green. Start off your shot by aiming for the center of the green to have the best chance for success on this hole.
# 9 / Hole #9
Par: 4
Handicaps:
Men's 5
Women's 1
Yardage by Tee:
Blue 347
Gold 384
Green 301
Red 301
Pro Tips
You will want to hit this shot around 160-175 yards down the center of the fairway to have the best angle for your shot up to the green. Near the end of the fairway lies White Rock Creek, just past this lies the green. Avoid going long into the trees at the end of this fairway as it leaves a difficult shot to finish out the front nine.
# 10 / Hole #10
Par: 4/5
Handicaps:
Men's 6
Women's 4
Yardage by Tee:
Blue 375
Gold 396
Green 352
Red 361
Pro Tips
Start by driving down the left center of the fairway, however be conscious of the bunker that lies on the left as well. Once you have hit down the left center, you will have the chance to have a clear short iron approach shot to finish off this hole.

# 11 / Hole #11
Par: 3
Handicaps:
Men's 14
Women's 16
Yardage by Tee:
Blue 128
Gold 149
Green 112
Red 92
Pro Tips
On this short par 3, try and avoid hitting the ball too long and to the right. If hit in the front bunkers, it makes it difficult to make par due to the difficult up and down shot.

# 12 / Hole #12
Par: 4
Handicaps:
Men's 10
Women's 2
Yardage by Tee:
Blue 349
Gold 378
Green 337
Red 327
Pro Tips
Start by hitting a draw on this dog leg left fairway which will leave you with a short approach to the green and set you up for a possible Birdie shot. If the pin is located on the right side of the green avoid pin seeking and aim left of the front bunker. This will still give you a chance at birdie.
# 13 / Hole #13
Par: 4
Handicaps:
Men's 16
Women's 10
Yardage by Tee:
Blue 258
Gold 275
Green 246
Red 240
Pro Tips
This hole begins The Prestonwood Horseshoe of the course. For long hitters, there is potential for a drivable par 4 which is surrounded by water. If that doesn’t pertain to you and your golf game style, we recommend a midiron shot that will give you the ability to follow up with a wedge, setting you up for a Birdie to finish off the hole.
# 14 / Hole #14
Par: 5
Handicaps:
Men's 2
Women's 8
Yardage by Tee:
Blue 493
Gold 527
Green 452
Red 446
Pro Tips
Starting with a drive of roughly 215 yards will give you a clear view down the fairway of this severe dog leg right. It is recommended that you then follow this with a midiron to long iron shot leaving you a wedge to try to get your Birdie. On this hole, avoid going long of the green as out of bounds awaits beyond the green. On this hole there is also a penalty area down the entire left side where you will also encounter White Rock Creek.
# 15 / Hole #15
Par: 4
Handicaps:
Men's 8
Women's 12
Yardage by Tee:
Blue 398
Gold 420
Green 324
Red 321
Pro Tips
There is a speedslot available if you hit your drive shot just left of the bunker on the right of the fairway. This gives you a great chance for Birdie on this difficult par 4. If you go too far to the right and a large oak tree will block you from a shot to the green. The bunker on the left of the green will challenge even the best bunker players to get up and down for par.
# 16 / Hole #16
Par: 4/5
Handicaps:
Men's 4
Women's 6
Yardage by Tee:
Blue 389
Gold 409
Green 362
Red 359
Pro Tips
Try and hit the fairway avoiding the bunker on the right. Follow this shot with a midiron to an elevated green protected by White Rock Creek. This green has a large back to front slope, so keep that in mind as you finish the hole.
# 17 / Hole #17
Par: 3
Handicaps:
Men's 18
Women's 18
Yardage by Tee:
Blue 140
Gold 155
Green 123
Red 115
Pro Tips
Take aim toward the center of the green for a Birdie. Avoid missing both short protected by the pond and left due to White Rock Creek.

# 18 / Hole #18
Par: 4
Handicaps:
Men's 12
Women's 14
Yardage by Tee:
Blue 385
Gold 412
Green 375
Red 303
Pro Tips
The finishing hole! This hole requires a tee shot to avoid the bunkers and trees along the left of the fairway. If you are able to do this successfully, you will have a midiron shot awaiting in order to take you up to an elevated green to finish the course off strong.